


19
Recording
Linked Timer Recordings with a
Digital Receiver
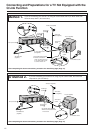
When the AV2 socket of this VCR is connected by a 21-pin
cable to a Digital Receiver, it is possible to have timer
recordings for a Digital Receiver execute automatically simply
by switching the Digital Receiver into timer standby mode and
then switching this VCR into timer recording standby mode.
≥ Note that linked timer recordings may not work
properly with some Digital Receivers.
1 Make sure that “AV2” is set to “TIMER”.
(See page 50.)
2 Insert a video cassette with an intact erasure prevention
tab into the VCR.
3 Switch the Digital Receiver over to the timer standby
mode.
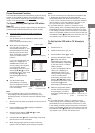
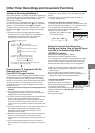
4 Press the TIMER REC button D to switch the VCR over
to the timer recording standby mode.
≥ This VCR does not require any further special timer
recording operations.
≥ The recording will start at the date and time
programmed for the Digital Receiver.
Notes:
≥ Always connect the Digital Receiver to be used for timer
recordings to the AV2 socket of this VCR using a 21-pin
cable.
≥ Linked timer recordings are not counted in the total time of
timer recording programmings.
≥ Make sure that the date and time of the linked timer
recording does not conflict with that of a VCR. If
programmed recordings do overlap, either linked timer
recording or timer recording of VCR have the priority.
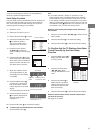
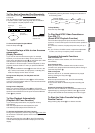
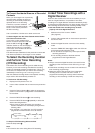
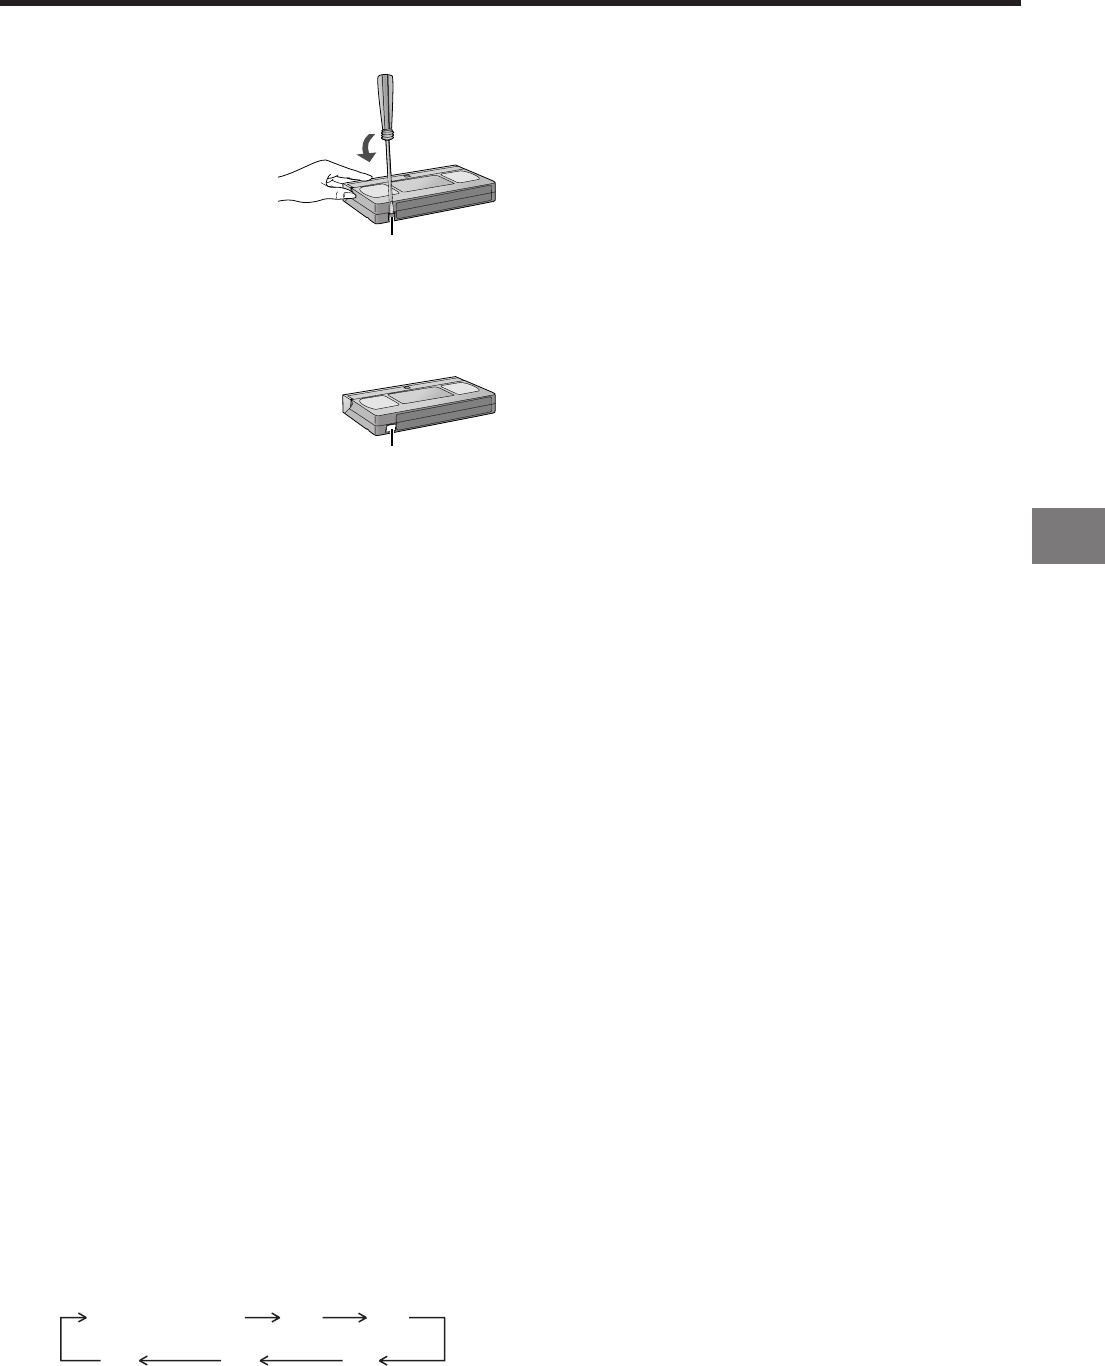
To Prevent Accidental Erasure of Recorded
Contents
When you record again onto a previously
recorded video cassette, the previous
recording is automatically erased and
replaced with the new recording.
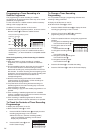
Therefore, to prevent accidental
erasure of the recorded contents,
break out the erasure prevention
tab after recording.
Use a screwdriver or similar tool to break out the tab.
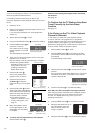
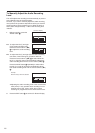
To Record Again onto the Video Cassette with a Broken
Out Erasure Prevention Tab:
If you insert a video cassette with a
broken out erasure prevention tab and
press the REC button J, the “1”
indication flashes on the VCR display to
indicate that recording is not possible.
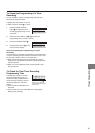
In this case, cover the tab hole with two
layers of adhesive tape.
The adhesive tape substitutes for the prevention erasure tab
and makes it possible to record again on this cassette.
To Select the Recording Duration
and Perform Timer Recording
(OTR Recording)
OTR means One-Touch Recording and is called this way,
because you can start recording and select the recording
duration by repeatedly pressing a single button. This is very
convenient, for example when you want to start recording
immediately but need to go out or want to go to bed.
After the selected recording duration has elapsed, recording
stops and the VCR automatically switches off.
To Perform an OTR Recording:
1 Display the VCR picture on the TV.
2 Insert a video cassette with an intact erasure prevention
tab.
3 Press the Channel buttons N to select the programme
position on which the TV programme to be recorded will
be broadcast.
4 Press the REC/OTR button c to start recording.
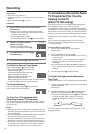
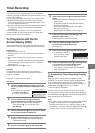
5 Press the REC/OTR button c repeatedly to select the
desired recording duration.
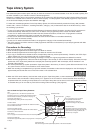
≥ Every time you press this button, the recording
duration indicated in the VCR display changes in the
following order.
≥ For example, if you select “30”, the VCR records a
programme from that moment on for 30 minutes.
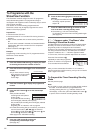
To Stop the OTR Recording Before the End:
Press the Stop button 9.
Note:
≥ This function also works during Direct TV Recording.
Erasure prevention tab
Adhesive tape
30
(min.)
240
(min.)
180
(min.)
120
(min.)
60
(min.)
Counter display
(normal recording mode)