


50
For Automatic Change of the Brightness
of the VCR Display When the VCR Is
Switched Off
1 Press the MENU button U to display the Main menu on
the TV screen.
2 Press the Cursor buttons
(3421) R to select “Display”,
“VCR display” and the entry field
for “VCR display” in this order.
3 Press the Cursor buttons (34) R to select the desired
condition.
≥ When the VCR is switched off, the brightness of the
VCR display is as follows:
ON: Indications are brightly lit.
OFF: Indications are not lit.
DIMMED: Indications are dimly lit.
4 Press the OK button T to conclude the setting.
5 Press the EXIT button S to exit the On Screen Display.
Settings for the Main Menu Item
“Functions”
To Set the Type of External Source
Equipment that Is Connected to the AV2
21-pin Scart Socket
1 Press the MENU button U to display the Main menu on
the TV screen.
2 Press the Cursor buttons
(3421) R to select
“Functions”, “AV2” and
“DECODER”, “TIMER” or “EXT”
in this order.
3 Press the Cursor buttons (34) R to select the type of
external source equipment which is connected to
the VCR’s AV2 21-pin socket.
≥ Set the external source equipment as follows:
DECODER: When a decoder is connected.
TIMER: When a digital receiver is connected.
≥ When this is set, it is possible to have
timer recordings for a Digital Receiver
execute automatically simply by
switching the Digital Receiver into timer
standby mode and then switching this
VCR into timer recording standby
mode. (See page 19.)
EXT: When another VCR or a satellite receiver
is connected.
4 Press the OK button T to conclude the setting.
5 Press the EXIT button S to exit the On Screen Display.
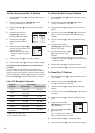
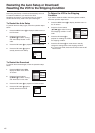
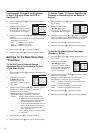
Channel Guide
:OFF
OSD:4:3
Subtitles:OFF
Power save:OFF
VCR display:
DIMMED
Main menu
Timer record
Tape Library
Display
Tuning
Clock
Functions
Language
Country
Satellite
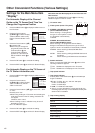
To Set the Colour TV System Used During
Playback or Recording from an External
Source
1 Press the MENU button U to display the Main menu on
the TV screen.
2 Press the Cursor buttons
(3421) R to select
“Functions”, “TV system” and
“PAL/MESECAM” in this order.
3 Press the Cursor buttons (34) R to select the type of
colour TV system (PAL or MESECAM) to be used during
playback or during recording from an external source.
4 Press the OK button T to conclude the setting.
5 Press the EXIT button S to exit the On Screen Display.
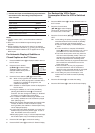
To Set the Playback Picture Sharpness
(Sharper or Softer)
1 Press the MENU button U to display the Main menu on
the TV screen.
2 Press the Cursor buttons
(3421) R to select
“Functions”, “Picture” and the
presently selected Sharpness
mode (“AUTO”, “SHARP” or
“SOFT”) in this order.
3 Press the Cursor buttons (34) R to the desired picture
sharpness for playback.
Although the VCR adjusts the picture sharpness
automatically, you can change it, if necessary.
AUTO: To select automatic sharpness adjustment of
the playback picture
SHARP: To make the playback picture sharper
SOFT: To make the playback picture softer
4 Press the OK button T to conclude the setting.
5 Press the EXIT button S to exit the On Screen Display.
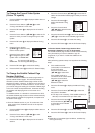
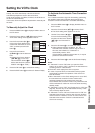
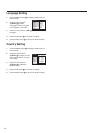
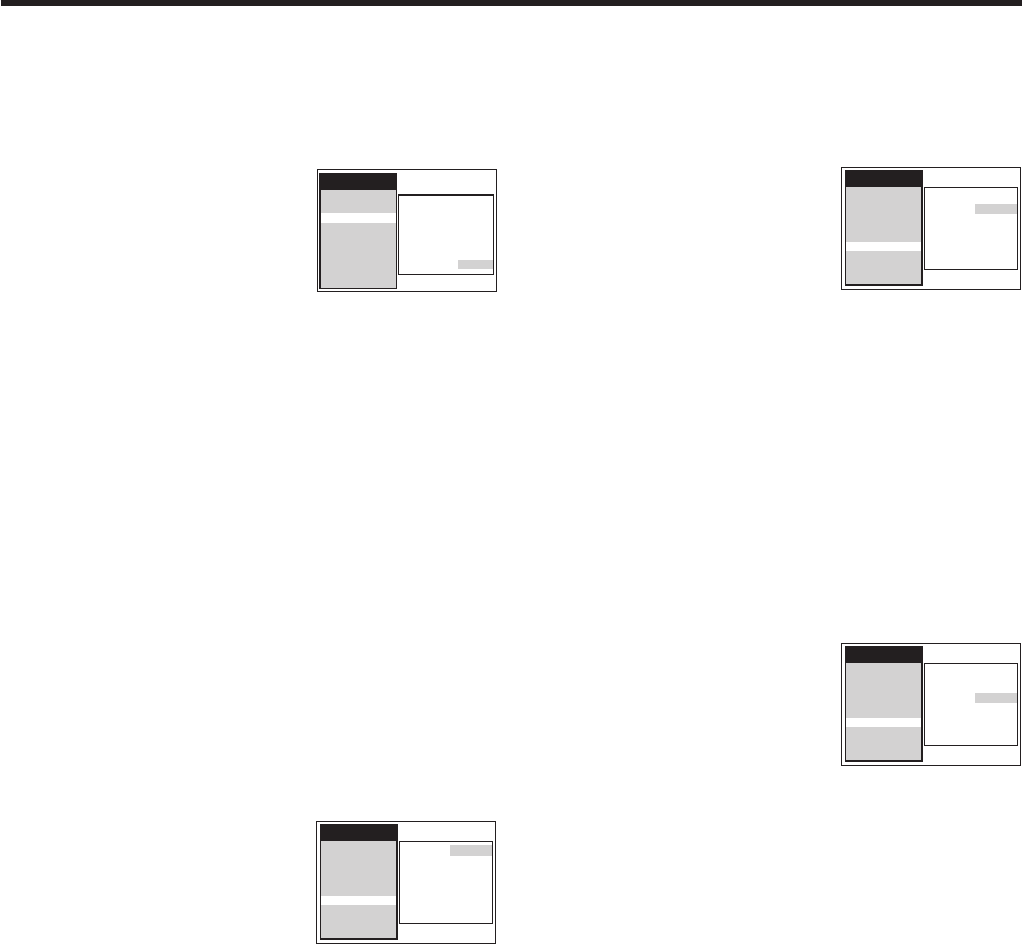
Main menu
AV2:
DECODER
TV system: PAL
Picture:
AUTO
Remote:
VCR 1
Audio mode:NORMAL
SQPB: AUTO
Timer record
Tape Library
Display
Tuning
Clock
Functions
Language
Country
Satellite
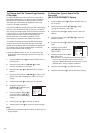
Main menu
AV2:
DECODER
TV system: PAL
Picture:
AUTO
Remote:
VCR 1
Audio mode:NORMAL
SQPB: AUTO
Timer record
Tape Library
Display
Tuning
Clock
Functions
Language
Country
Satellite
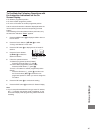
Main menu
AV2:
DECODER
TV system: PAL
Picture:
AUTO
Remote:
VCR 1
Audio mode:NORMAL
SQPB: AUTO
Timer record
Tape Library
Display
Tuning
Clock
Functions
Language
Country
Satellite