


E
10
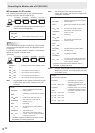
Menu Items
Caution
• Do not switch off the main power after setting the
SCHEDULE.
• Specify the correct date and time. (See page 7.)
SCHEDULE does not function unless the date and time are
specied.
• Check regularly that the set date and time are correct.
• When the SCHEDULE is set, the setting of STANDBY
MODE is disabled. (The current power consumption will be
the same as when STANDARD is set.)
TIPS
• Up to 8 SCHEDULE items can be registered.
• Setting the SCHEDULE ashes the power LED alternately
in red and orange in standby mode.
• A SCHEDULE that has a large number has precedence
over that of a small number when schedules overlap.
n
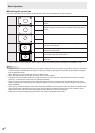
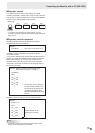
ADVANCED items (AV input) (See page 6.)
FLESH TONE
Adjust the hue control.
3D-NR
Reduce the noise of playback images on video.
Setting a higher level reduces more noise. However, it may
cause blurring on an image.
MPEG-NR
Reduce block noise caused by digital compression.
3D-Y/C (AV5)
Specify whether to perform 3-dimension Y/C separation.
If dot interference or cross-color is occurring in fast-motion
scenes, selecting “OFF” may improve the image quality.
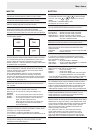
C.M.S.-HUE
Adjusts color tone with 6 colors of R (red), Y (yellow), G
(green), C (cyan), B (blue), and M (magenta).
C.M.S.-SATURATION
Adjusts color vividness with 6 colors of R (red), Y (yellow), G
(green), C (cyan), B (blue), and M (magenta).
C.M.S.-VALUE
Adjusts color brightness with 6 colors of R (red), Y (yellow),
G (green), C (cyan), B (blue), and M (magenta).
TIPS
• When FLESH TONE is set to LOW or HIGH, C.M.S.-HUE/
-SATURATION/-VALUE cannot be set.
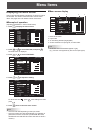
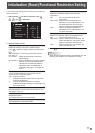
Adjustments for PC screen display
n
Automatic adjustment
When you use the PC3 input terminal or PC4 input terminals
to display a PC screen for the rst time, or when you change
the setting of the PC, use the automatic screen adjustment.
1. Switch the input to PC3 or to PC4 and display the
adjustment pattern. (See the description below.)
2. Press
MENU
and use or to display the SCREEN
menu.
3. Press and select “AUTO”.
4. Press
.
The automatic adjustment is complete in several seconds.
5. Press
MENU
twice to close the menu screen.
TIPS
• If the screen cannot be adjusted properly with one
automatic adjustment, repeat the automatic adjustment two
or three times. Try manual adjustment if necessary.
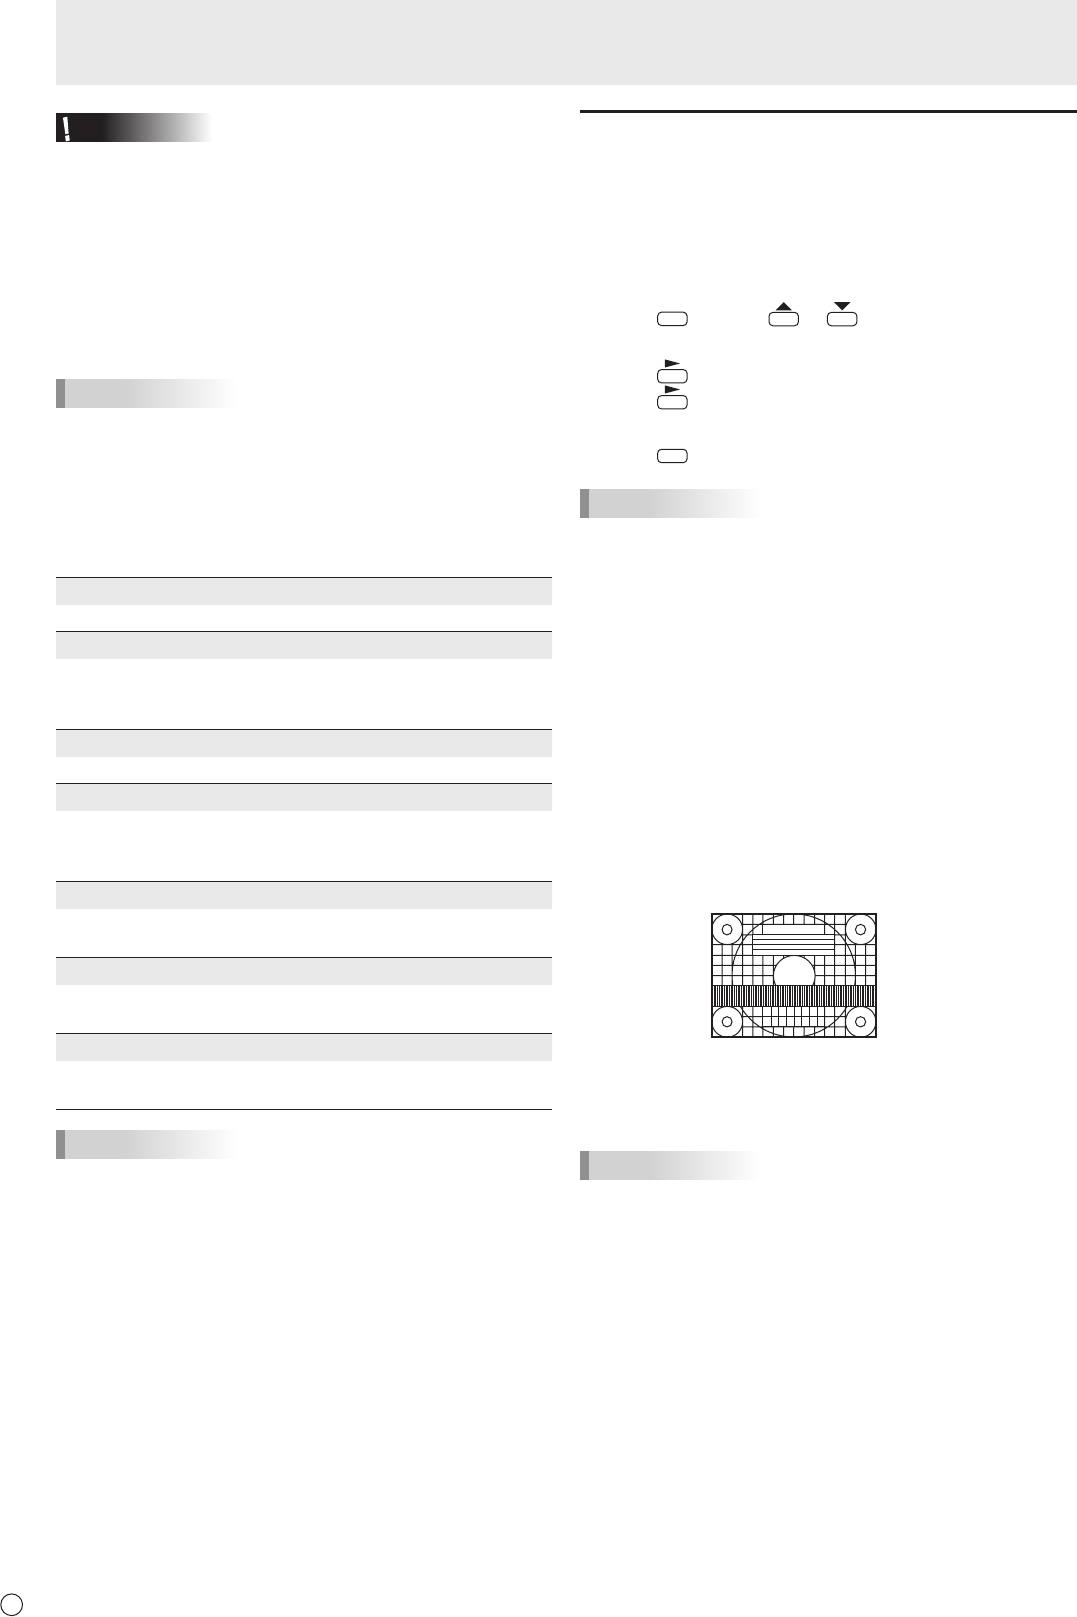
n
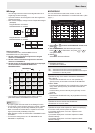
Screen display for adjustment
Before making adjustments in the SCREEN menu or
PICTURE menu, display an image to brighten the entire
screen. If you are using a Windows PC, use the adjustment
pattern on the supplied CD-ROM.
Opening the adjustment pattern
1. Load the supplied CD-ROM into the computer’s CD-
ROM drive.
2. Open the CD-ROM in [My Computer].
3. Double-click [Adj_uty.exe].
The adjustment pattern will appear.
Adjust the screen automatically or manually.
4. Whenadjustmentisnished,pressthe[Esc]onthe
computer’s keyboard to quit the adjustment program.
5. Eject the CD-ROM from the CD-ROM drive.
TIPS
• If the display mode on the computer you are using is
65,000 colors, the color levels in the color pattern may
appear differently or grayscale may appear to be colored.
(This is due to the specications of the input signal and is
not a malfunction.)