


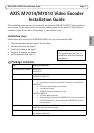

AXIS M7014/M7010 Installation Guide Page 7
ENGLISH
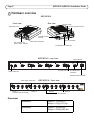
Install the hardware
Important!
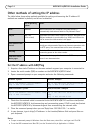
The casing of the AXIS M7014/M7010 is not approved for outdoor use - the product may only be
installed in indoor environments.
Notes:
• The AXIS M7014/M7010 can simply be placed on a flat surface or mounted. See below for mounting
instructions.
• Punch out the protective pads and stick them to the underside of the video encoder to prevent scratches on
the surface where the video encoder is placed.
Mount the video encoder (AXIS M7014)
The video encoder is supplied with a mounting kit containing screws and plugs for mounting the
video encoder to a concrete wall:
1. Place the video encoder against the wall, and mark the four mounting holes (see image on
page 6).
2. Drill the four mounting holes.
3. Insert the provided wall plugs into the wall, and fasten the video encoder to the wall using the
screws provided.
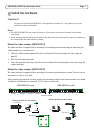
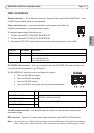
Mount the video encoder (AXIS M7010)
The video encoder is supplied with a mounting kit containing brackets and screws. The unit can be
mounted in a rack or on a wall.
After removing the existing 4 screws, attach the mounting bracket to the video encoder at an angle
suitable for installation in a standard 1U 19” rack, or on the wall.
AXIS M7010 on wall AXIS M7010 in rack
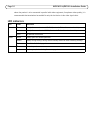
Group 1
Group 2 Group 3
Group 4
Bracket position for rack mount
Bracket
Bracket position for wall mount
This side up
This side up
Mounting bracket
This side up