


12
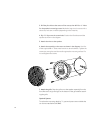
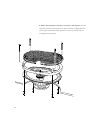
3. Drill the pilot hole at the center of the cutout, then drill four
1
⁄8" holes
for the speaker’s mounting screws. Make the large circular cutout with a
saber saw, hole saw or nibbler (depending on the material).
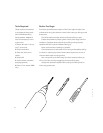
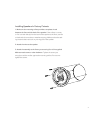
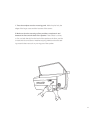
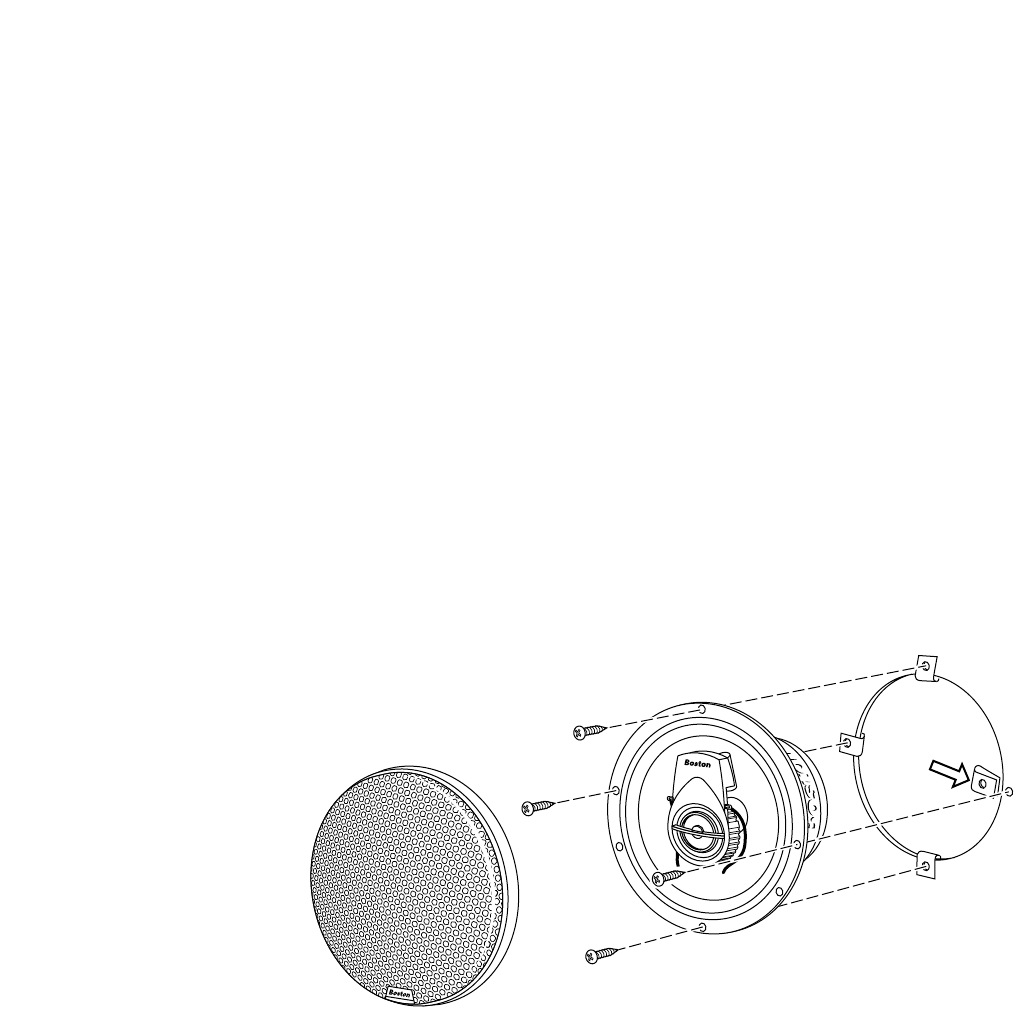
4. Slip “U”-clips over the screw holes. Position the flat side toward the
speaker as shown in the diagram.
5. Attach the wires to the speaker.
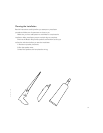
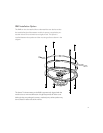
6. Attach the assembly to the cutout as shown in the diagram. Use four
of the supplied #8 x1" sheet metal screws or other hardware. Tighten the
screws just enough to seal the woofer against the mounting surface. Do
not overtighten the screws.
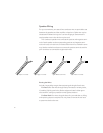
7. Attach the grille. Snap the grille on to the speaker assembly from the
front. Be sure to align the logo on the bottom of the grille before attach-
ing the grille.
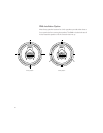
Optional Spacers
To reduce the mounting depth by
1
⁄2", optional spacers are available that
can be mounted behind the RM6.