D User’s Guide i-soamp-4cx
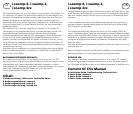
D.1. OPERATING THE EQUIPMENT FOR THE FIRST TIME
1. Turn on the radio with the volume set at low.
2. After checking the operation of the individual loudspeakers, set the
volume of the radio a little higher. If appropriate, now use the level adjuster of
the power amplifier to adjust the basic volume of the loudspeakers. The volume
ratio of the front and rear loudspeakers as well as the subwoofer can now be
adjusted with the corresponding level adjusters (see operating elements).
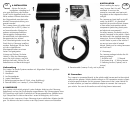
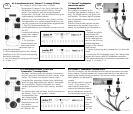
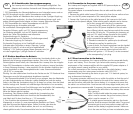
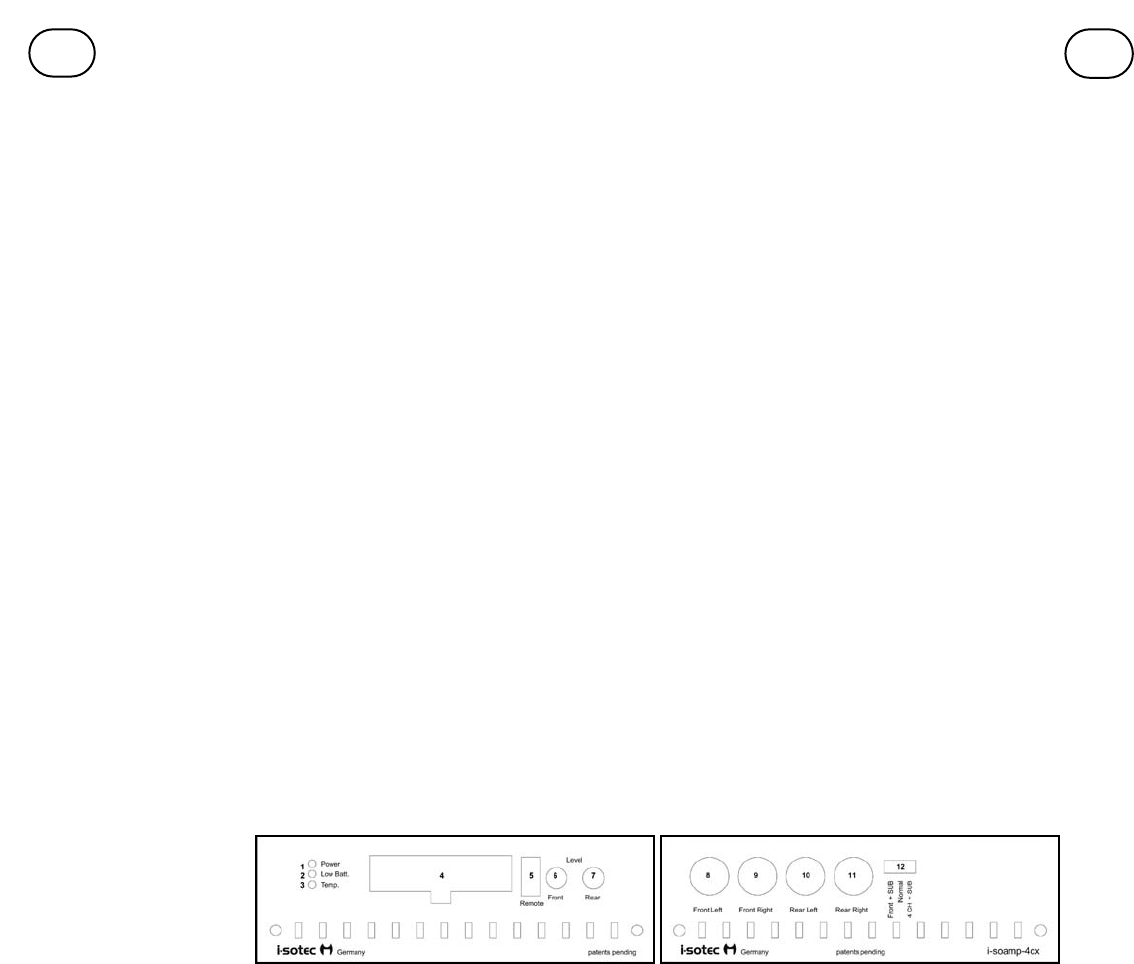
D.2 OPERATING ELEMENTS and CONNECTIONS
3. Indicator “radio ON” GREEN 2. Indicator “low batt”) YELLOW
3. Excess temperature indicator (temp.) RED
4. System plug for power, loudspeaker input and output
5. Remote input for connecting to the i-soamp-MM. Use is optional. Normally
the i-soamp-4cx is switched on with the radio amplifier. In connection with
other amplifiers or with a radio, that cannot switch on the i-soamp-4cx, or if
the RCA-sockets are used, this input is needed to switch on the i-soamp-4cx.
6. Loudspeaker control front
7. Loudspeaker control rear or subwoofer in the front+subwoofer operating mode
8. RCA Input front/left 9. RCA Input front/right
10. RCA Input rear/left 11. RCA Input rear/right
12. Selector switch for operating mode
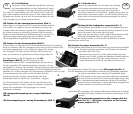
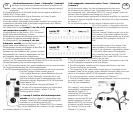
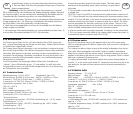
D.3 Alternative connection via RCA plugs
If you own a Radio with preamp outputs (RCA sockets) you can also connect the
radio via RCA plugs to the i-soamp-4cx. Please note that the RCA input runs par-
allel to the so called high level inputs (ISO plug for speaker connection) so only
one connection is to be made. To use the RCA input, you need an additional RCA
adapter cable, and also a cable for the remote input (not supplied).
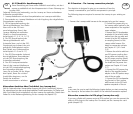
For this connection, power supply and speaker output of the i-soamp are con-
nected via the i-soamp cable harness as described in chapter A1.2, points 1-5.
The signal transfer from the radio to the i-soamp is, contrary to chapter A1.2
point 6, done via an RCA cable. Also the remote input of the i-soamp must be
connected to the remote output of the radio with a fitting cable. If you are not
sure about the correct outputs and cables, ask your qualified car audio dealer for
assistance!
For connection option „normal“ (amplification of front and rear loudspeakers via
the i-soamp, see also chapter A1.3) the four RCA inputs of the i-soamp (Front
and Rear Left/Right) are connected via an RCA cable to the corresponding out-
puts of the radio.
For connection option „front + sub“ (amplification of front loudspeakers and an
optional i-sotec subwoofer via the i-soamp, see chapter A1.4) ONLY the RCA
inputs „Front Left“ und „Front Right“ of the i-soamp are connected via an RCA
cable to the corresponding outputs of the radio. Otherwise, the active filters
required
for sub-
woofer
operation
are not
activated!
D Bedienung i-soamp-4cx
D.1 Erste Inbetriebnahme
1. Schalten Sie das Radio mit kleiner Lautstärke ein.
2. Nach der Funktionskontrolle der einzelnen Lautsprecher stellen Sie eine
etwas höhere Lautstärke am Radio ein. Justieren Sie jetzt gegebenenfalls mittels der
Level-Einsteller der Endstufe die Grundlautstärke der Lautsprecher. Das
Lautstärkeverhältnis von Front- und Rear-Lautsprechern, bzw. des Subwoofers, lässt
sich nun mit den entsprechenden Level-Einstellern (siehe Bedienelemente) justieren.
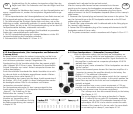
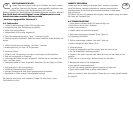
D.2 Bedienelemente und Anschlüsse
1. Betriebsanzeige (Radio ON) GRÜN 2. Unterspannungsanzeige (Low Batt.) GELB
3. Übertemperaturanzeige (Temp.) ROT
4. Systemstecker (Strom, Lautsprecher Ein- und Ausgänge)
5. Remote Eingang. Die Benutzung ist optional. Im Normalfall wird der i-soamp
durch den Radioverstärker angeschaltet. In Verbindung mit anderen Verstärkern
oder Radios, die den i-soamp nicht einschalten können, sowie beim Anschluss
über Cinch-Kabel wird dieser Eingang dafür benötigt.
6. Lautstärkeregler Front
7. Lautstärkeregler Rear oder Subwoofer in der Front + Subwoofer Betriebsart
8. Cinch-Eingang Vorne Links
9. Cinch-Eingang Vorne Rechts
10. Cinch-Eingang Hinten Links
11. Cinch-Eingang Hinten Rechts
12. Wahlschalter für Betriebsart
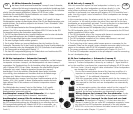
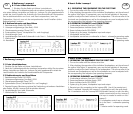
D.3 Anschluss über Cinch-Kabel
Falls Ihr Radio einen Vorverstärker-Ausgang hat (Cinch-Anschlüsse), können Sie, ab-
weichend von den vorab beschriebenen Varianten, ihr Radio auch über Cinch-Kabel
(nicht mitgeliefert) mit dem i-soamp verbinden. Bitte beachten Sie, dass die Cinch-
Eingänge parallel zu den High-Level-Eingängen (Iso-Stecker f. Lautsprecheranschluss)
geschaltet sind und daher nur einer dieser Eingänge verwendet werden darf. Strom-
versorgung und Lautsprecher-Ausgang des i-soamp werden auch in dieser Variante
über den i-soamp-Kabelbaum verbunden (Kapitel A1.2 Punkte 1-5). Die Signal-
Übertragung vom Radio zum i-soamp erfolgt, abweichend von Kapitel A1.2 Punkt
6, über Cinch-Kabel. Außerdem wird der Remote-Eingang des i-soamp über ein
geeignetes Kabel (nicht mitgeliefert) mit dem Remote-Ausgang des Autoradios ver-
bunden. Wenn Sie nicht sicher sind, welches die richtigen Ausgänge und Kabel
sind, fragen Sie bitte Ihren Car-Audio-Fachhändler um Rat!
In der Anschlussvariante „normal“ (Betrieb der Front- und Rear-Lautsprecher über
den i-soamp, siehe auch Kapitel A1.3) werden die vier Cinch-Eingänge des i-
soamp (Front und Rear Left/Right) per Cinch-Kabel mit den entsprechenden
Ausgängen des Radios verbunden. In der Anschlussvariante „Front und
Subwoofer“ (Betrieb der Front-Lautsprecher und eines optionalen i-sotec
Subwoofers über den i-soamp, siehe auch Kapitel A1.4) werden NUR die
Anschlüsse „Front Left“ und
„Front Right“ per Cinch-Kabel
mit den entsprechenden
Ausgängen des Radios verbun-
den. Nur so ist die für den
Subwoofer- betrieb notwendige
Frequenzfilterung möglich!
D
UK


