12
A400HLX, A600HLX
®
Test Power Wiring
1. Turn on the receiver but do not turn up
the volume. The amplifier power light
should come on. If not, check the
REM and +12V wires.
2. Turn up the receiver volume slightly. All
speakers should operate. If not, check
wiring connections at amplifier and
speakers.
Testing
Test Speaker Connections
These tests make sure the speakers are
connected right. If speakers don’t play at all,
one (or both) speaker wires may be
disconnected. If the wrong speaker plays (you
hear left speaker when you expect right
speaker) make sure you connected the wires
correctly.
Before you finish the installation, you should do the following tests to make sure the wiring is correct
and everything is operating properly.
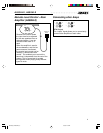
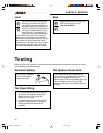
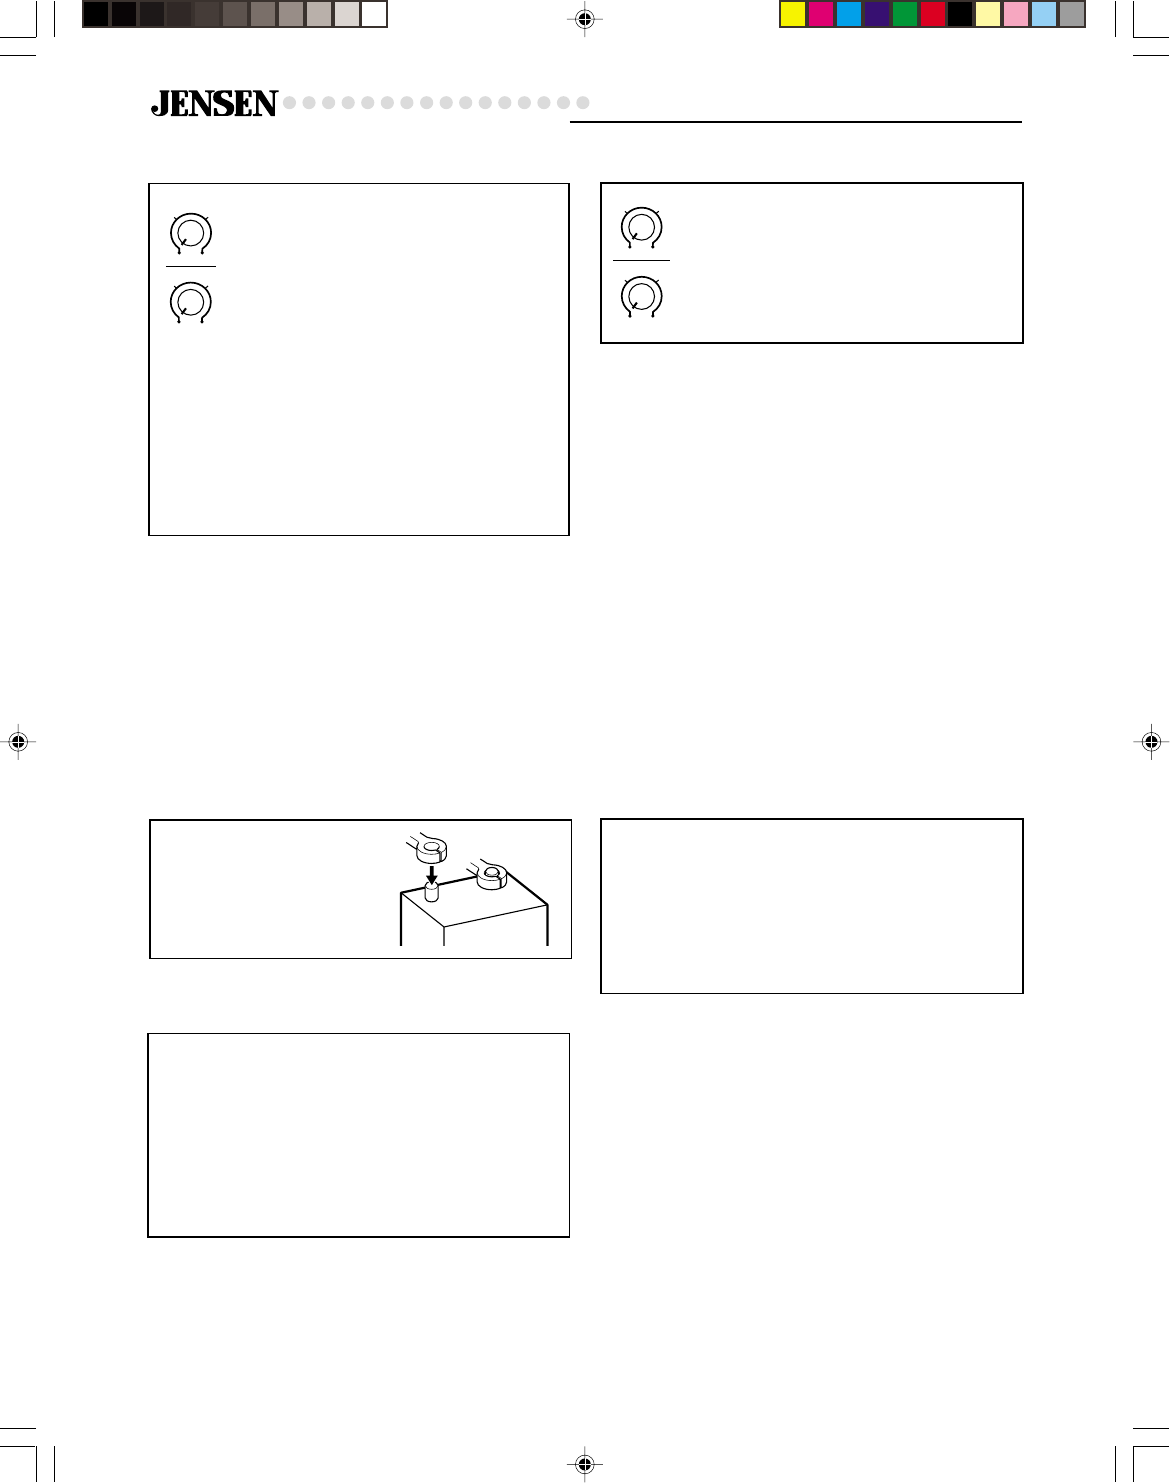
Reconnect Battery
When wiring is complete,
reconnect the battery
negative terminal.
+
–
Bass
Level
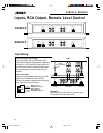
The input level control matches the
output of your radio to the input of
the amplifier. After the installation is
complete, make sure the input level
control on the amp is turned down all
the way (counterclockwise or all the
way to the left). Play a tape or CD
(make sure bass and treble settings
or EQ are flat too) and turn the volume up
slowly until you just start to hear distortion.
Now back the volume down just a bit. On the
amp, slowly turn up the input level control
(clockwise or to the right) until you just start to
hear distortion and back it down a bit. Now
your radio and amplifier levels are matched.
BASS increases the volume of the
bass at 45Hz by up to 12 db.
Use very carefully!
8V
8V
.3V
.3V
LEVEL
LEVEL
2
4
2
4
0dB
0dB
12dB
12dB
BASS
BASS
3
5
3
5
REC002_A4n600HLX_E 1/9/02, 4:13 PM12


