


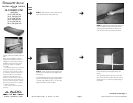
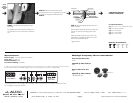
➔
➔
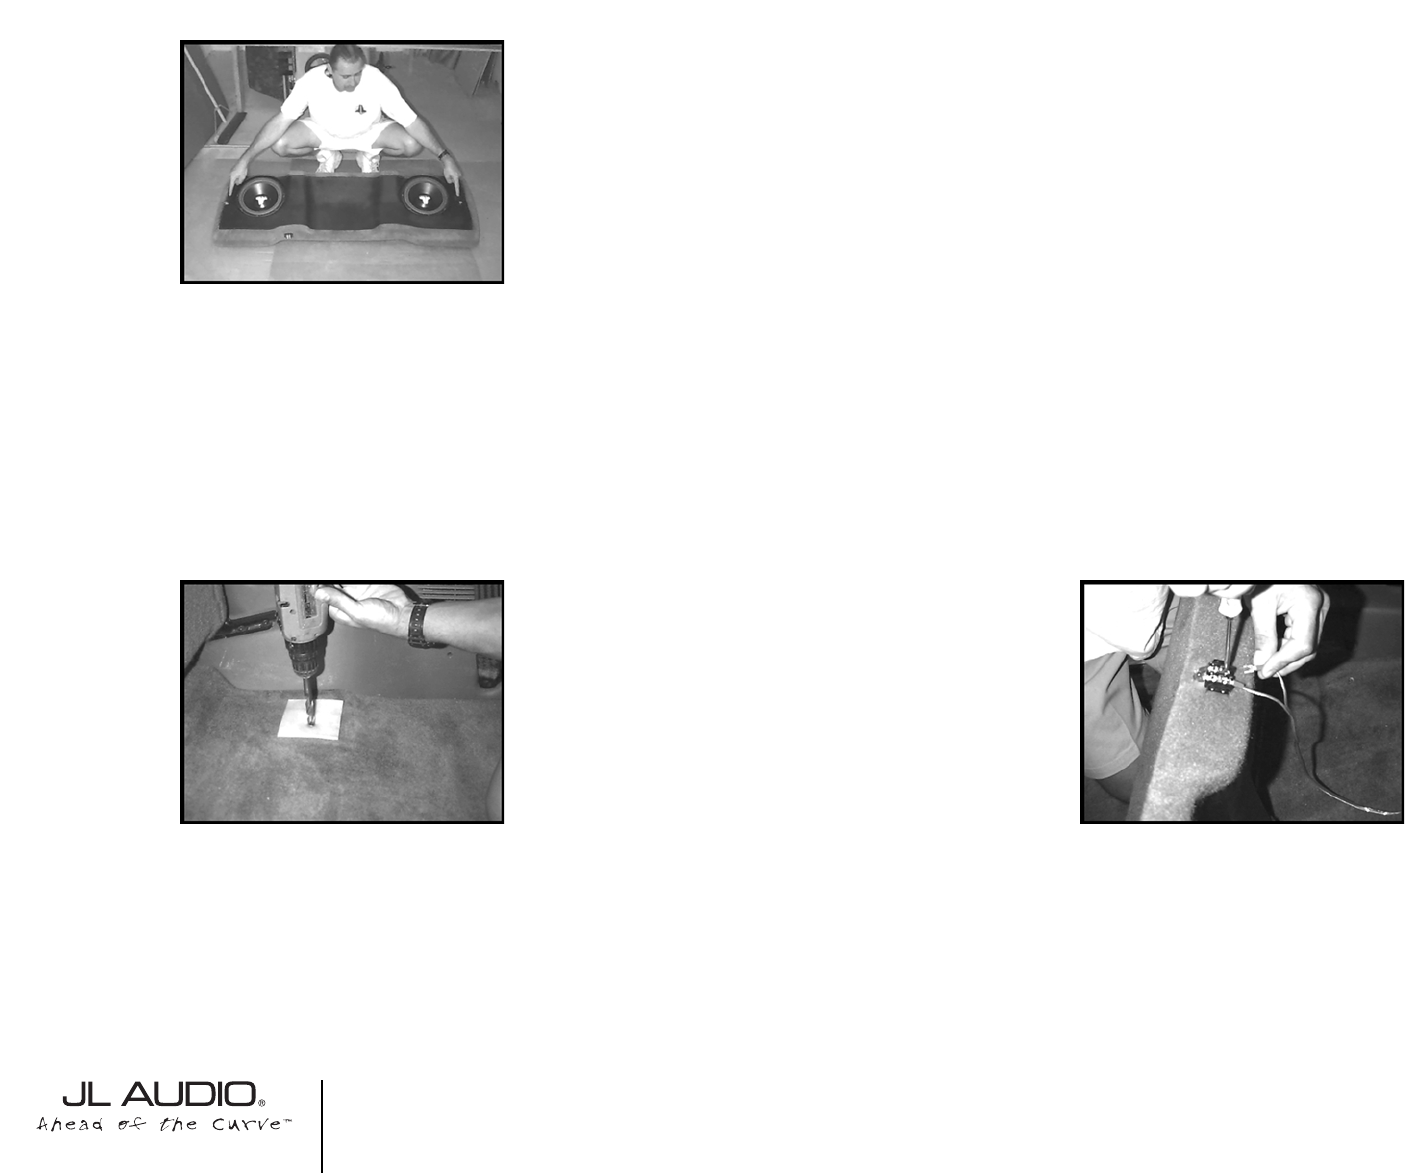
STEP 5:
Insert the supplied pair of socket
cup set screws into the threaded inserts of
the bottom of the enclosure. Leave 1/2”
exposed.
Cont.
From
Previous
Page
Continued on Next Page ➔
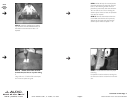
➔
STEP 8: *Double check under the truck
for brake lines, fuel lines or any other wiring.
*
Using a drill and a 1/2” drill bit. Drill at the impres-
sion on the wax squares as a guide.
STEP 9: Double check the woofers for proper
functioning.
Run speaker wire to the enclosures mounting loca-
tion and secure it to the wire terminal on the enclo-
sure.
STEP 6:
With the help of a second person,
place the enclosure into the truck and posi-
tion it in the mounting location. Once in
place, firmly press down onto the enclosure.
You can even sit on it.This is allowing the
socket cup set screws to leave an impression
onto the wax squares.
STEP 7: Remove the enclosure from the
truck. Make sure that the wax square stay
adhered to the carpet. Also back out the
socket cup set screws to expose 1-1/2”.
SB-D-TRKEXT/10W1, JL AUDIO, Inc 2004.
Sheet SKU#011105 Revision6/28/2004 Page 2
www.jlaudio.com
➔