


Continued on Next Page
SB-SC-TC/10W3v3_INSTR_SKU#01124
SB-SC-TC/10W3v3_INSTR_SKU#01124
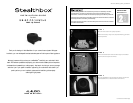
STEP 7
Remove the spare tire without disturbing the Stealthbox®.
Remove the rear sill plate from vehicle.
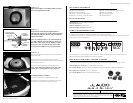
STEP 6
Make sure that the front L-bracket’s mounting hole is
positioned over the hole from the removed grommet.
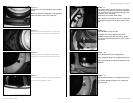
STEP 5
Position the spare tire and Stealthbox® so the spare tire
matches up with the curve of the left side foam panel.
STEP 4
Place the spare tire onto the Stealthbox®, with the yellow
side up.
Position the spare tire and Stealthbox® so the spare tire is
matches up with the curve of the rear sill plate.
Page 2 • JL Audio, Inc 2006
STEP 9
Lay the Stealthbox
®
onto it’s top side.
Run speaker wire from the amplifier location to the
Stealthbox
®
location, apply spade forks onto the speaker
wire, secure to the terminal and check for proper operation
of the woofer.
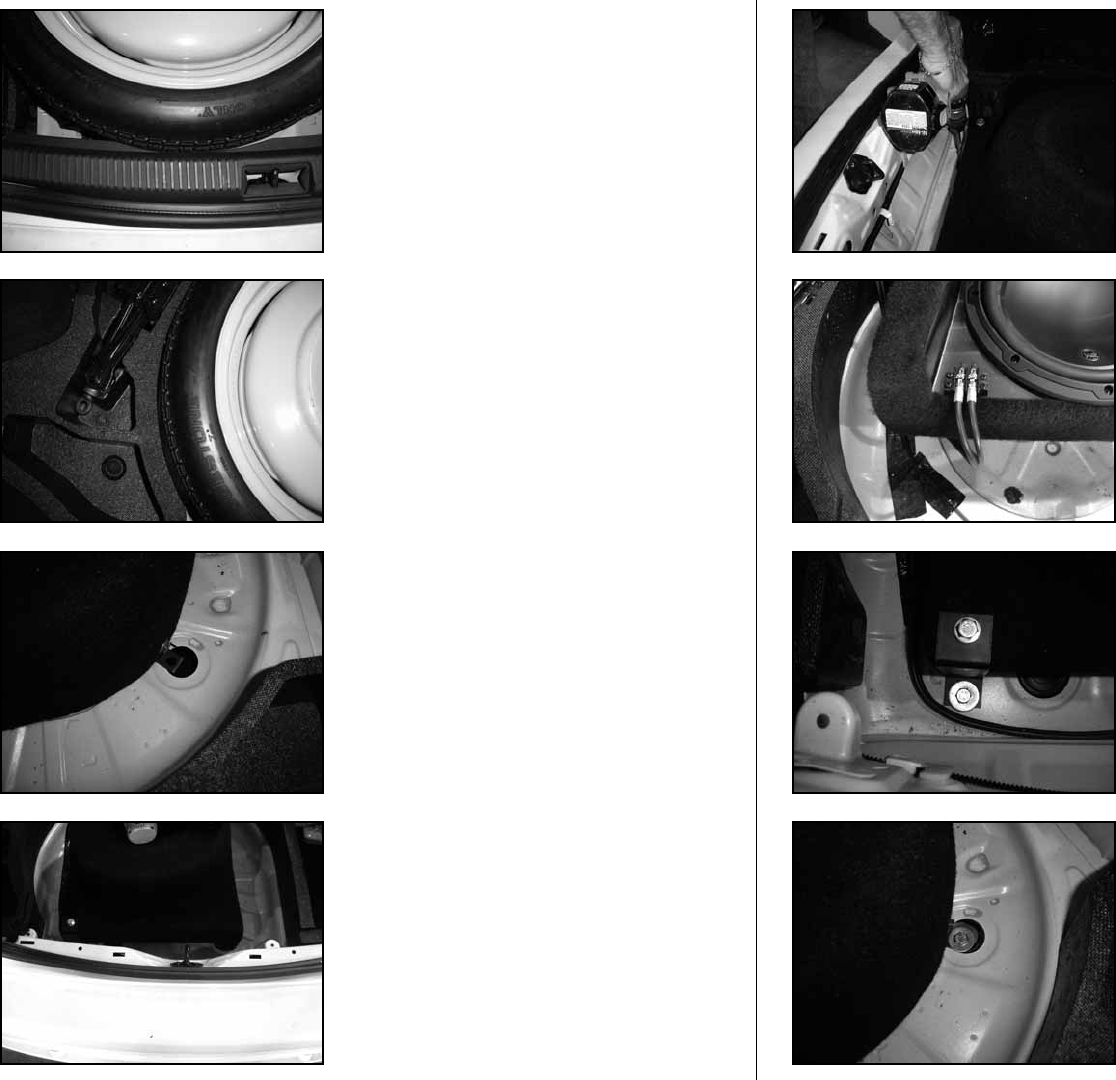
STEP 11
Apply a supplied flat washer onto a supplied hex cap screw.
Drop this bolt assembly through the front L-bracket and
large factory hole.
STEP 10
Lay the Stealthbox® back to it’s original position.
Apply a supplied flat washer onto a supplied hex cap screw.
Insert this bolt assembly through the rear Z-bracket and the
drilled hole.
STEP 8
Note: Before drilling, make sure that you are not going
to be drilling into any gas lines, brake lines, transmission
lines, electrical wiring or anything else that might cause
a reduction in your weekly pay.
Always wear eye protection when drilling!
With a drill and a 3/8-inch drill bit, using the rear L-bracket’s
mounting hole as a guide. Drill through the vehicle’s wheel
well.