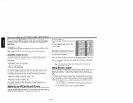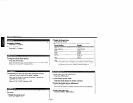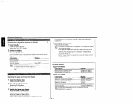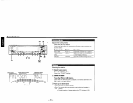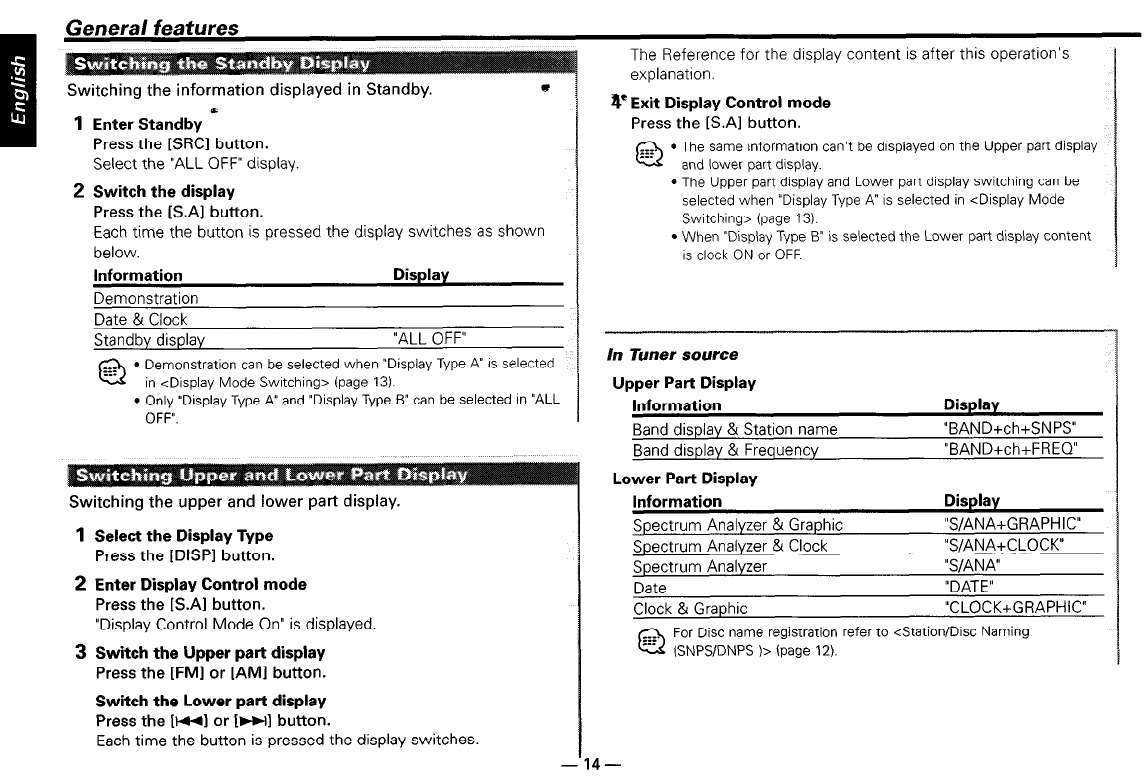
Switching the information displayed in Standby.
1
Enter Standby E
Press the [SRCl button.
Select the “ALL OFF” display
2 Switch the display
Press the [S.Al button.
Each time the button is pressed the display switches as shown
below.
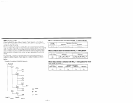
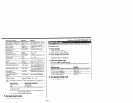
Information
Display
Demonstration
Date & Clock
Standby display
“ALL OFF”
@,
l
Demonstration can be selected when “Display Type A” IS selected
In &splay Mode Switching> (page 13).
l
Only “Display Type A” and “Display Type B” can be selected In “ALL
OFF”.
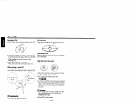
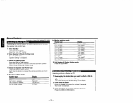
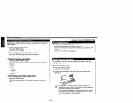
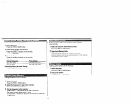
Switching the upper and lower part display.
1
Select the Display Type
Press the [DISPI button.
2 Enter Display Control mode
Press the [S.Al button.
“Display Control Mode On” is displayed.
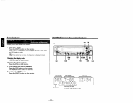
3 Switch the Upper part display
Press the [FM] or [AMI button.
Switch the Lower part display
Press the [WI or 1~1 button.
Each time the button is pressed the display switches.
The Reference for the display content is after this operation’s
explanation.
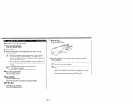
4’Exit Display Control mode
Press the [SAI button.
@
l
The same information can’t be displayed on the Upper part display
and lower part display.
l
The Upper part display and Lower part display switching can be
selected when “Display Type A’ is selected in <Display Mode
Switching> (page 13).
l
When “Display Type B” IS selected the Lower part display content
IS clock ON or OFF.
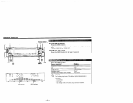
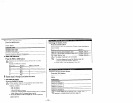
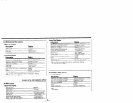
In Tuner source
Upper Part Display
Information
Display
Band display & Station name
“BAND+ch+SNPS”
Band display & Frequency
“BAND+ch+FREQ”
Lower Part Display
Information
Display
Spectrum Analyzer & Graphic
“S/ANA+GRAPHIC”
Spectrum Analyzer & Clock
“S/ANA+CLOCK”
Spectrum Analyzer
“S/ANA”
Date
“DATE”
Clock & Graphic
“CLOCK+GRAPHIC”
@
For Disc name registration refer to <Station/Disc Naming
(SNPVDNPS )> (page 12).


