6
Lexicon NT Series Amplifiers
Operation
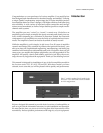
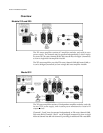
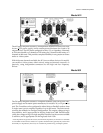
Front Panel LEDs All amplifiers in the Lexicon NT Series are equipped with sophisticated com-
parator circuits which detect sources of signal distortion including clipping,
excessive DC or supersonic signals, and short circuits in the cabling. Multi-
function LEDs on the front panel are provided to alert you to various opera-
tional states of the amplifier.
In normal operation, the front panel LEDs will be lit green, indicating that
power is on and the unit is in normal operation.
The LEDs will light yellow when the amplifier is at the threshold of clipping.
Red indicates actual overload or distortion. Turn the volume down immedi-
ately! — The speaker you save may be your own!
NOTE: The Lexicon NT Series amplifiers are quite powerful and can
damage almost any speaker if used carelessly. Lexicon is not respon-
sible for speaker damage nor is it reasonable to expect the speaker
manufacturer to honor warranty claims on speakers that have been so
abused.
When the amplifier is turned off, it is normal for the individual LEDs to dim at
differing rates, sometimes changing color as well. If one or more LEDs fail to
light up, disconnect the power cord and check the fuses next to the power cord.
CAUTION: Replace fuses only when the power cord is detached from
the amplifier and with the type and size of fuses listed on the amplifier
rear panel.
The Lexicon CP-3
PLUS
and all of the DC-1 series of Digital Controllers provide
a low voltage trigger signal when they are in operation. This signal can be used
to turn on as many as 4 amplifiers whenever you turn on your processor.
(Contact Lexicon if you need to turn on more than 4 amplifiers.)
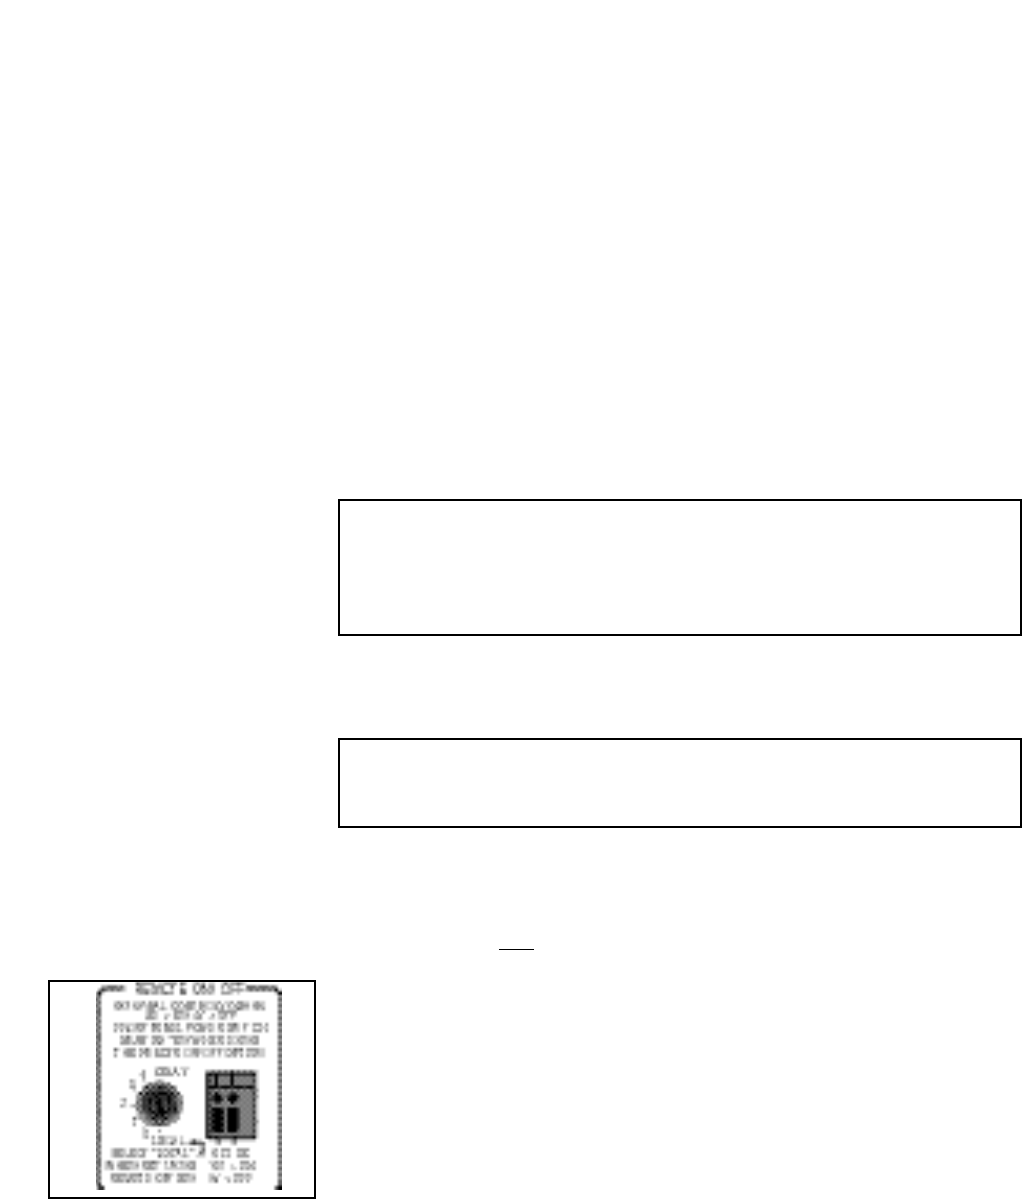
The timing of the Turn ON function is controlled by a six-position rotary switch
on the amplifier. The delay function is provided to allow sequential power-up
of multiple amplifiers, minimizing potential power line disruptions by stagger-
ing the Turn ON times. At the 0 setting, the amplifier will turn on immediately
when it receives the 5V trigger signal. Positions 1-4 will give delays of approxi-
mately 1-4 seconds, respectively, before power up.
The input trigger circuit is completely solid-state, and draws 33mA during the
maximum delay (4 seconds), and 16mA when ON. It will accept signals from
3.8-20V. To connect a trigger signal, loosen the small screw in the round hole
above the rectangular wire terminal opening. Strip off a few millimeters of wire
insulation, and insert the bare wire into the rectangular opening. Tighten the
screw, and make sure that the wire is held captive.
Remote Trigger


