39
APPENDIX B: OPTIONAL RAIN HOODS
A weather-protected version of the MM-10 subwoofer is avail-
able with rain hood kits that safeguard the subwoofer’s elec-
tronics from the elements in fixed, outdoor installations. The
rain hood is available in both horizontal (PN 40.174.015.01)
and vertical (PN 40.174.015.02) versions. The rain hood is
made of a durable, high-impact polycarbonate that is also
transparent, allowing the subwoofer's connections and LEDs
to be visible.
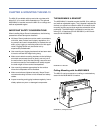
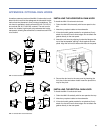
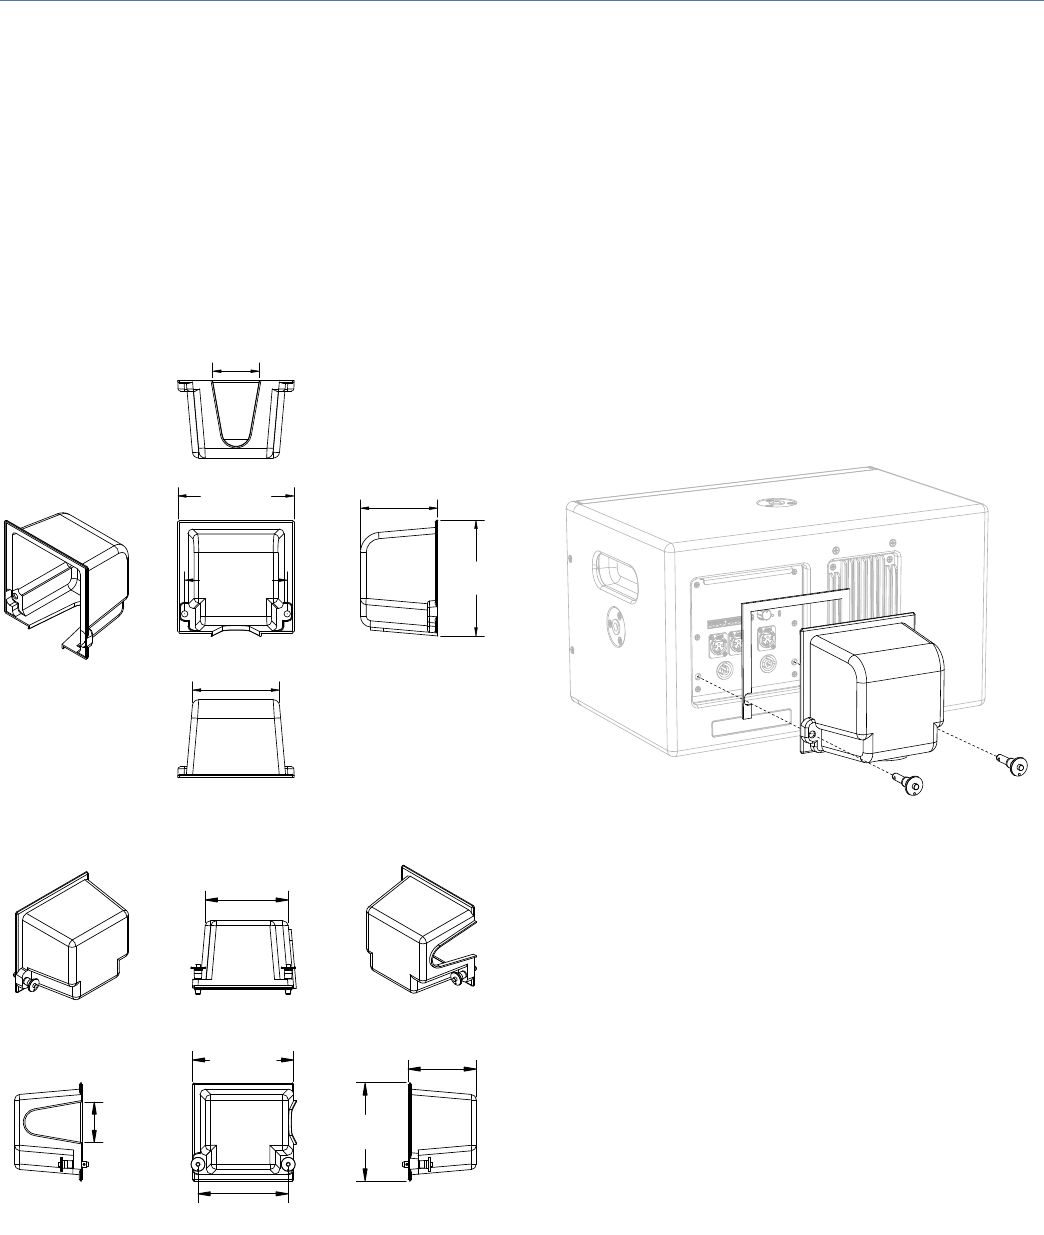
INSTALLING THE HORIZONTAL RAIN HOOD
To install the MM-10 horizontal rain hood:
1. Orient the MM-10 horizontally with its user panel to the
left.
1. Attach any required cables to the subwoofer.
2. If the rain hood’s gasket material is not attached, firmly
attach it to the rain hood’s inner edges. Do not attach the
gasket directly to the user panel.
3. Attach the rain hood by slipping it under the flange at the
top of the loudspeaker, placing it flush against the user
panel. Align the rain hood’s holes with those in the panel.
4. Secure the rain hood to the user panel by inserting the
lock pins in the two bottom holes. Insert the pins all the
way so they lock.
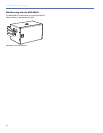
INSTALLING THE VERTICAL RAIN HOOD
To install the MM-10 vertical rain hood:
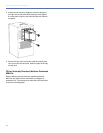
1. Orient the MM-10 vertically with its user panel at the top.
2. Attach any required cables to the subwoofer.
3. If the rain hood’s gasket material is not attached, firmly
attach it to the rain hood’s inner edges. Do not attach the
gasket directly to the user panel.
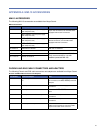
MM-10 Horizontal Rain Hood Dimensions
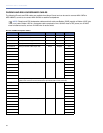
MM-10 Vertical Rain Hood Dimensions
6.25
[158.8mm]
6.22
[157.9mm]
2.50
[63.5mm]
4.68
[118.8mm]
4.15
[105.4mm]
5.51
[140.0mm]
6.06
[154 mm]
4.22
[107 mm]
6.25
[159 mm]
5.57
[141 mm]
5.13
[130 mm]
2.50
[64 mm]


