


Adjusting initial settings
1
Initial settings lets you perform initial set up of
different settings for this unit.
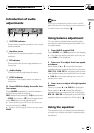
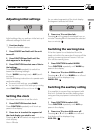
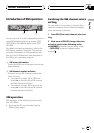
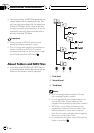
1 Function display
Shows the function status.
1 Press SOURCE and hold until the unit
turns off.
2 Press FUNCTION and hold until the
clock appears in the display.
3 Press FUNCTION to select one of the in-
itial settings.
Press FUNCTION repeatedly to switch be-
tween the following settings:
ClockWARN (warning tone)AUX (auxili-
ary input)
Use the following instructions to operate each
particular setting.
# To cancel initial settings, press BAND.
# You can also cancel initial settings by holding
down FUNCTION until the unit turns off.
Setting the clock
Use these instructions to set the clock.
1 Press FUNCTION to select clock.
Press FUNCTION repeatedly until clock ap-
pears in the display.
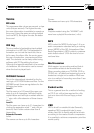
2 Press c or d to select the segment of
the clock display you wish to set.
Pressing c or d will select one segment of the
clock display:
HourMinute
As you select segments of the clock display
the segment selected will blink.
3 Press a or b to set the clock.
Pressing a will increase the selected hour or
minute. Pressing b will decrease the selected
hour or minute.
Switching the warning tone
If the front panel is not detached from the
head unit within five seconds of turning off the
ignition, a warning tone will sound. You can
turn off the warning tone.
1 Press FUNCTION to select WARN.
Press FUNCTION repeatedly until WARN ap-
pears in the display.
2 Press a or b to turn WARN on or off.
Pressing a or b will turn WARN on or off and
that status will be displayed (e.g.,
WARN :ON).
Switching the auxiliary setting
It is possible to use auxiliary equipment with
this unit. Activate the auxiliary setting when
using auxiliary equipment connected to this
unit.
1 Press FUNCTION to select AUX.
Press FUNCTION repeatedly until AUX ap-
pears in the display.
2 Press a or b to turn AUX on or off.
Pressing a or b will turn AUX on or off and
that status will be displayed (e.g.,
AUX :ON).
Initial Settings
En
35
English
Section
09
HHHHHHHHHHHHHH