


9
13
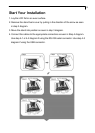
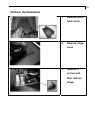
Start Your Installation
1. Lay the LCD flat on an even surface.
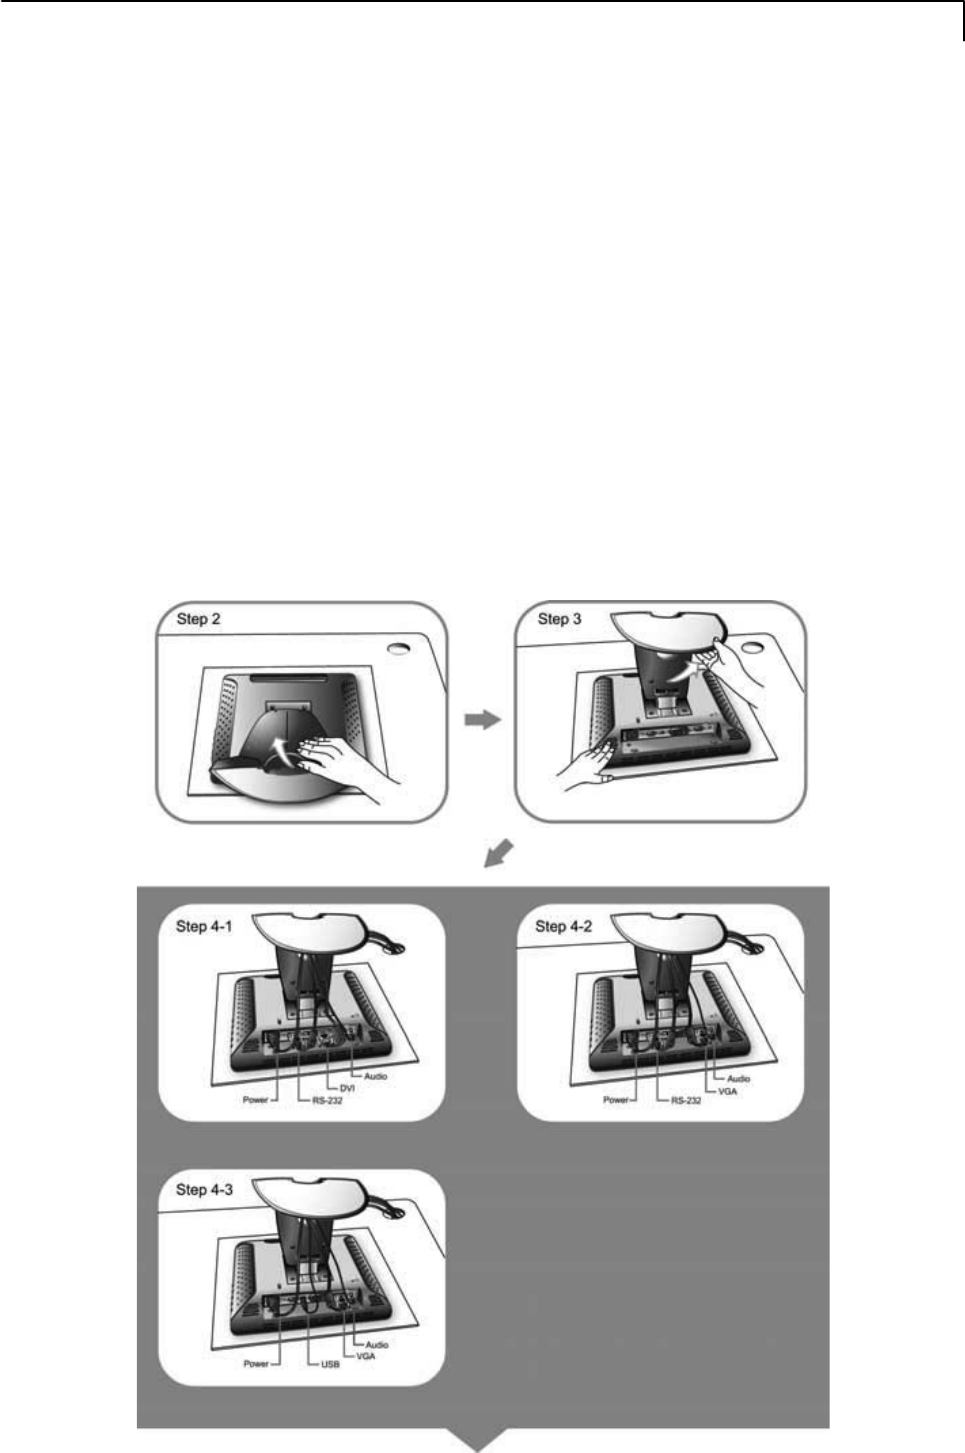
2. Remove the stand back cover by pulling in the direction of the arrow as seen
in step 2 diagram.
3. Move the stand into position as seen in step 3 diagram.
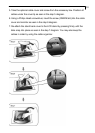
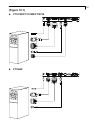
4. Connect the cables to the appropriate connectors as seen in Step 4 diagram.
Use step 4-1 or 4-2 diagram if using the RS-232 serial connector. Use step 4-3
diagram if using the USB connector.