


P O L K A U D I O / M O M O D E S I G NA M E R I C A N P O W E R , I T A L I A N F I N E S S E
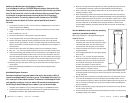
Installing the Polk/MOMO System Mid/Woofers in Factory Locations
Most cars have speaker grilles that blend with the rest of the car’s interior. Sometimes it is
difficult to determine how to remove these grilles to gain access to the speaker that you intend
to replace. If you have one of these grilles, you may want to consider using a professional
installer. On some cars, the grilles are held by screws or spring clips. The screws will be
obvious, the spring clips won’t.
If there are screws, remove them, put them in a safe spot, and remove the grilles. To remove a
clip-on grille, use your flat-blade screwdriver or a putty knife to gently pry up the grille. If it
resists, back off and think again about the professional install. The cost of one of these can
sometimes be less than the cost of new door panels. Some grilles are integral parts of the door
panel and are not removable. In these cases you will need to remove the entire door panel to
gain access to the speaker location.
This will usually require removal of door handles, window mechanisms, and other parts such
as door pulls and lock buttons.
1 . Once you get the grille off, remove the factory speakers. Save the hardware.
You may be able to reuse it to mount your new speaker.
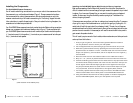
2 . Cut the supplied driver wire (the heavier gauge of the two sets of wire) in half.
3 . Remove the yellow crossover cover by squeezing the cover at the tabs. Attach
speaker wires to the crossover “woofer” terminals. Attach the wire with the white
stripe to the positive (+) terminal screw, and the un-striped wire to the negative (-)
terminal screw.
4 . Route the driver wire from the crossover location to the mid/woofer location.
5 . Strip 1/8” – 1/4” (4-6 mm) of plastic insulation from the cut ends of the driver wire.
6 . Unscrew the binding post thumbnuts on the mid/woofers to fully expose the hole in
the terminal shaft and slip the other end of the wire into the holes in the input ter-
minals. Tighten the thumbnuts finger-tight (do not over-tighten the nuts as you
may strip the threads). Be sure to attach the wire with the white stripe to the posi-
tive (red) terminal, and the un-striped wire to the negative (black) terminal.
7 . If the factory speaker had three screw holes, you’ll need to drill additional screw
holes to accommodate the four screw pattern of the Polk/MOMO mid/woofer.
8 . Using the hardware retained from the factory speaker or the screw clips supplied
with the Polk/MOMO speaker, secure your new speaker to the car panel.
Installing the Components
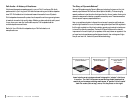
The Polk/MOMO System Crossovers
You will need to make wiring connections from your amp or radio to the crossovers and from
the crossovers to your mid/woofers and tweeters (Figure 1). Choose crossover box locations
that are convenient for making these connections. As there are adjustments on and in the
crossover networks which you will need to access during the “fine tuning” stage of the instal-
lation, place them in a spot that’s easy to get to. Once you’re done fine-tuning the system, the
crossovers can be hidden away and secured.
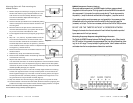
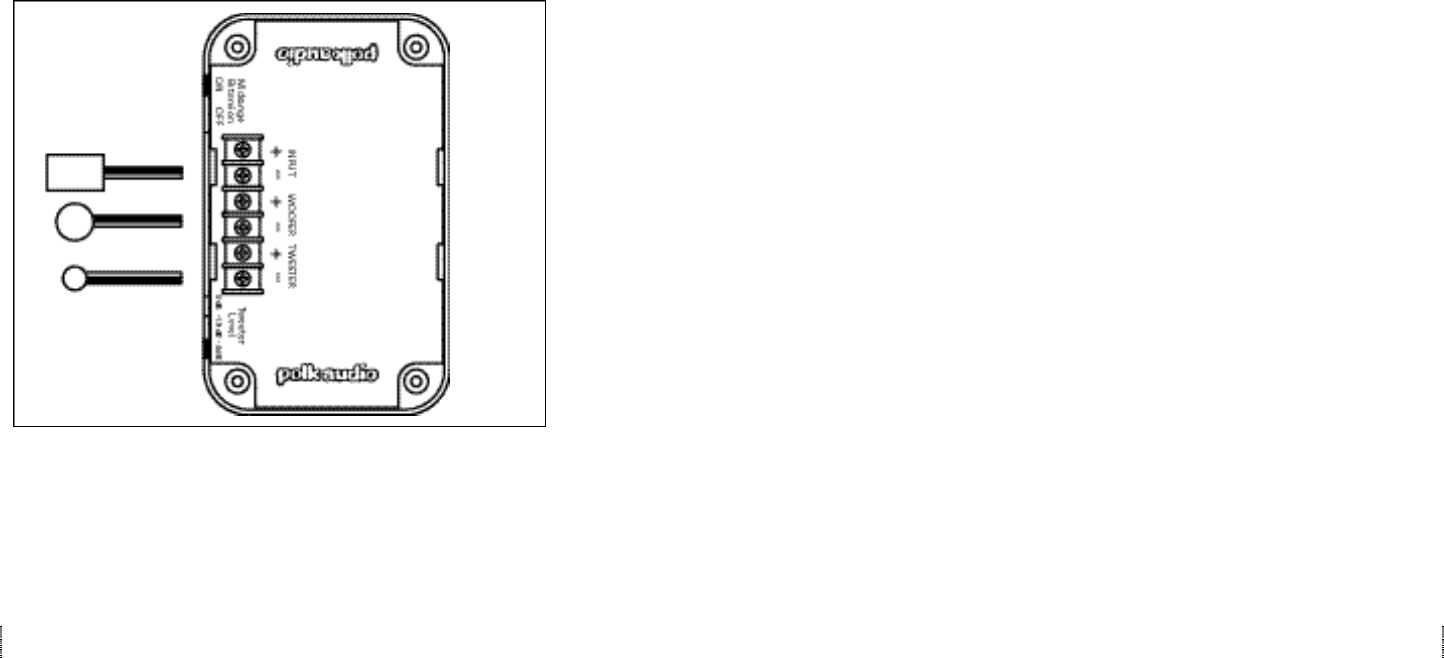
Your Polk/MOMO Series crossovers have clearly marked terminals. Before making connections
between your crossovers, mid/woofers and tweeters, refer to Figure 1. The wires provided with
your Polk/MOMO System have one conductor with a white stripe. Use this wire as the positive
(+) lead and connect it to the positive (+) terminals on your crossovers as well as to the posi-
tive (+) terminals of each speaker.
Figure 1
(Note: Crossover is not weather proof)
I N P U T
W O O F E R
T W E E T E R