2 ISA0001
• Desoldering equipment or solder braid
• Four 4.7-volt ¼-watt zener diodes (Microsemi DZ840731ET/R; QSC part number QD-0004.7-ZT)
Test equipment required:
• Oscilloscope
• 2-ohm resistive load (rated for at least 1200 watts)
• Wire or other means of shorting the amplifier output
• Variable AC transformer (e.g., Variac, Powerstat, etc.) rated for 25A (120V) or 12A
(230V). Make sure your AC supply is appropriate for the amplifier.
• 1 kHz audio sine wave generator
• Digital multimeter
• AC current probe (e.g., BK Precision model CP-1)
• Trimpot adjustment tool (non-conductive)
Note: The circuit boards in the ISA 750 and ISA 800T are double-sided, while those in
the ISA 450 and 500T are single-sided. Therefore, to minimize disassembly, this bulletin
recommends two different procedures among these models:
• In the ISA 750 and ISA 800T, the zener diodes will be unsoldered and soldered from the component side. The instruc-
tions for this procedure begin below.
• In the ISA 450 and ISA 500T, the new zener diodes will be soldered “piggyback”-style to the old ones. The instructions
for this procedure begin after those for the ISA 750 and ISA 800T.
0.3"
7.6 mm
0.4"
10.2 mm
D107 & D210:
D207 & D110:
0.15–0.2"
3.8–5.1 mm
Procedure: Replacing zener
diodes in an ISA 750 or ISA 800T
amplifier
1. Disconnect the amplifier from AC and wait at least 10 minutes
for internal voltages to bleed down. Remove the top cover.
2. Prepare the new zener diodes as shown in Figure 1.
3. Remove the four screws on the bottom of the amplifier that
fasten the heat sink to the chassis.
4. Remove the three screws that attach the channel module
assembly to the chassis standoffs.
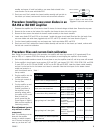
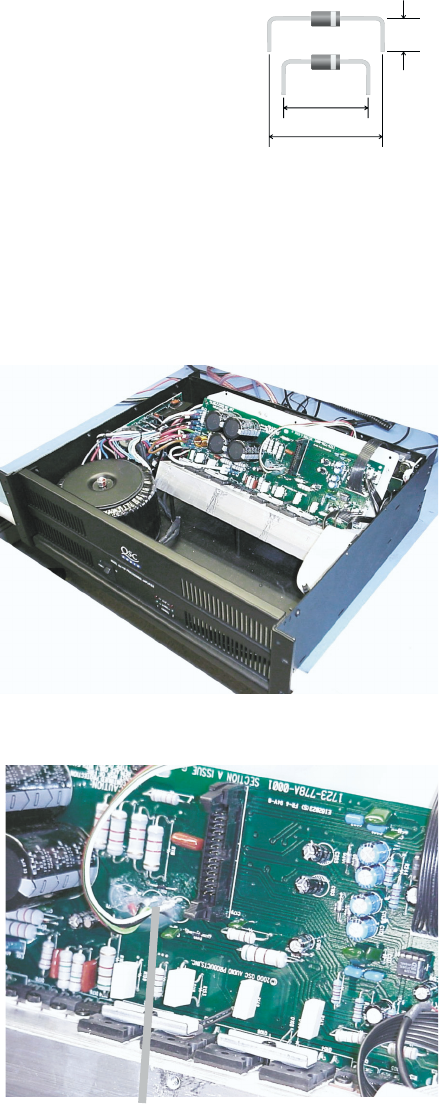
5. Lift up the front of the channel module assembly. Rotate it so
that channel 1’s module (the lower one) is on top; set the
assembly down in the chassis with the heat sink resting on
the standoffs (Figure 2).
6. Disconnect the ribbon cable from the channel 1 module.
7. Locate zener diode D107. It is near where three wires are
soldered to the circuit board and secured with hot glue. If the
hot glue covers the diode, use the tip of your hot soldering
iron and a small screwdriver to melt and clear the glue away
(Figure 3).
8. Notice the orientation of D107. Unsolder and remove it; be
careful not to damage the through-plating in the holes. Install
and solder a new zener diode oriented in the same direction.
Do the same with zener diode D110.
9. Reattach the ribbon cable and turn the channel module
assembly back over so that the channel 2 module is on top.
10. Locate zener diode D207 and notice its orientation. Carefully
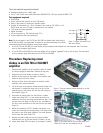
Tools and materials required (continued):
Figure 1. Prepare the leads of the
new zener diodes.
Figure 2. Prop the channel module assembly up on the
chassis standoffs.
Figure 3. You might need to clear hot glue away from
diode D107. Use your hot soldering iron tip.


