9
Tuning automatically
1 Select the band, then press (SEEK) –/+
to search for the station.
Scanning stops when the unit receives a
station. Repeat this procedure until the
desired station is received.
Tip
If you know the frequency of the station you want to
listen to, press and hold (SEEK) –/+ to locate the
approximate frequency, then press (SEEK) –/+
repeatedly to fine adjust to the desired frequency
(manual tuning).
USB devices
Playback USB devices
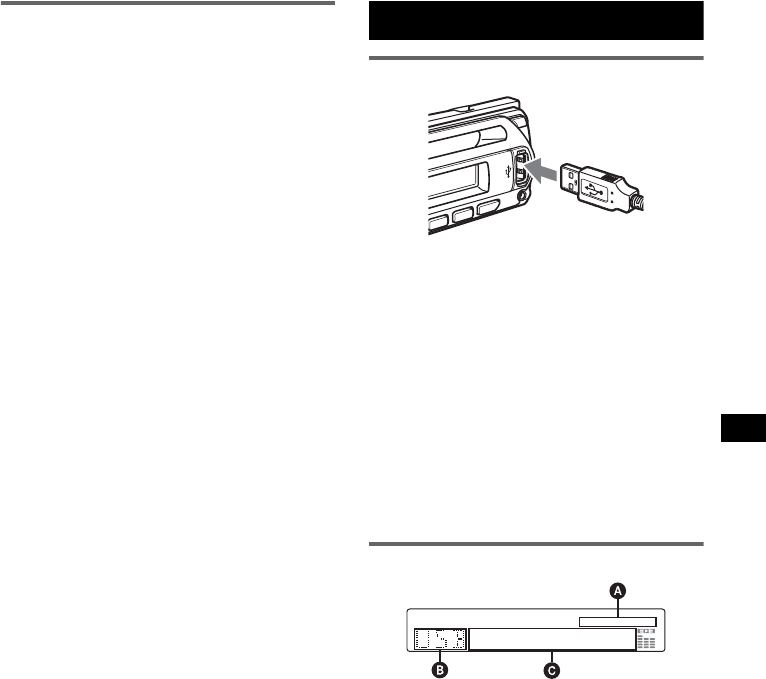
1 Connect the USB device to the USB
terminal.
Playback starts.
If a USB device is already connected, press
(SOURCE) repeatedly until “USB” appears, to
start playback.
Press (OFF) to stop playback.
Notes
• Before removing a USB device, be sure to stop
playback first. If you remove your USB device during
playback, data in the USB device may be damaged.
• Do not use USB devices so large or heavy that they
may fall down due to vibration, or cause a loose
connection.
Display items
A AAC/WMA/ATRAC/MP3 indication
B ATRAC Audio Device:
ALB, ART, PLY
Mass Storage Class: USB
C Track/Album/Artist/Playlist number, Track/
Album/Artist/Playlist name, Elapsed playing
time, Clock
To change display items C, press (DSPL);
scroll display items C, press (SCRL) or set
“A.SCRL-ON” (page 11).
Tip
Displayed items will differ, depending on the recorded
format and settings. For details on MP3/WMA/AAC,
see page 14; ATRAC CD, see page 15.
Note
The display differs depending on the Mass Storage
Class type USB device and ATRAC Audio Device.


