


12 3
182 mm
53 mm
Dashboard
埌㛣
A TOYOTA
to dashboard/centre console
兗埌㛣濊ᶑ⢒㌋↚䬕
Bracket
ㆼ㜚
Bracket
ㆼ㜚
B NISSAN
to dashboard/centre console
兗埌㛣濊ᶑ⢒㌋↚䬕
Bracket
ㆼ㜚
Bracket
ㆼ㜚
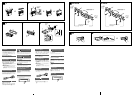
Existing parts supplied with your car
昌㯡帮斨彥䗨恌Ṛ
AB
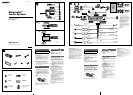
max. size
5 × 8 mm
㙤⢋⮞⭜
69!nn
max. size
5 × 8 mm
㙤⢋⮞⭜
69!nn
max. size
5 × 8 mm
㙤⢋⮞⭜
69!nn
max. size
5 × 8 mm
㙤⢋⮞⭜
69!nn
Face the hook
inwards.
㋿懈㚁塅曆Ɂ
Claws
懈䆎
Mounting the unit in a Japanese
car
You may not be able to install this unit in some makes of
Japanese cars. In such a case, consult your Sony dealer.
Note
To prevent malfunction, install only with the supplied screws .
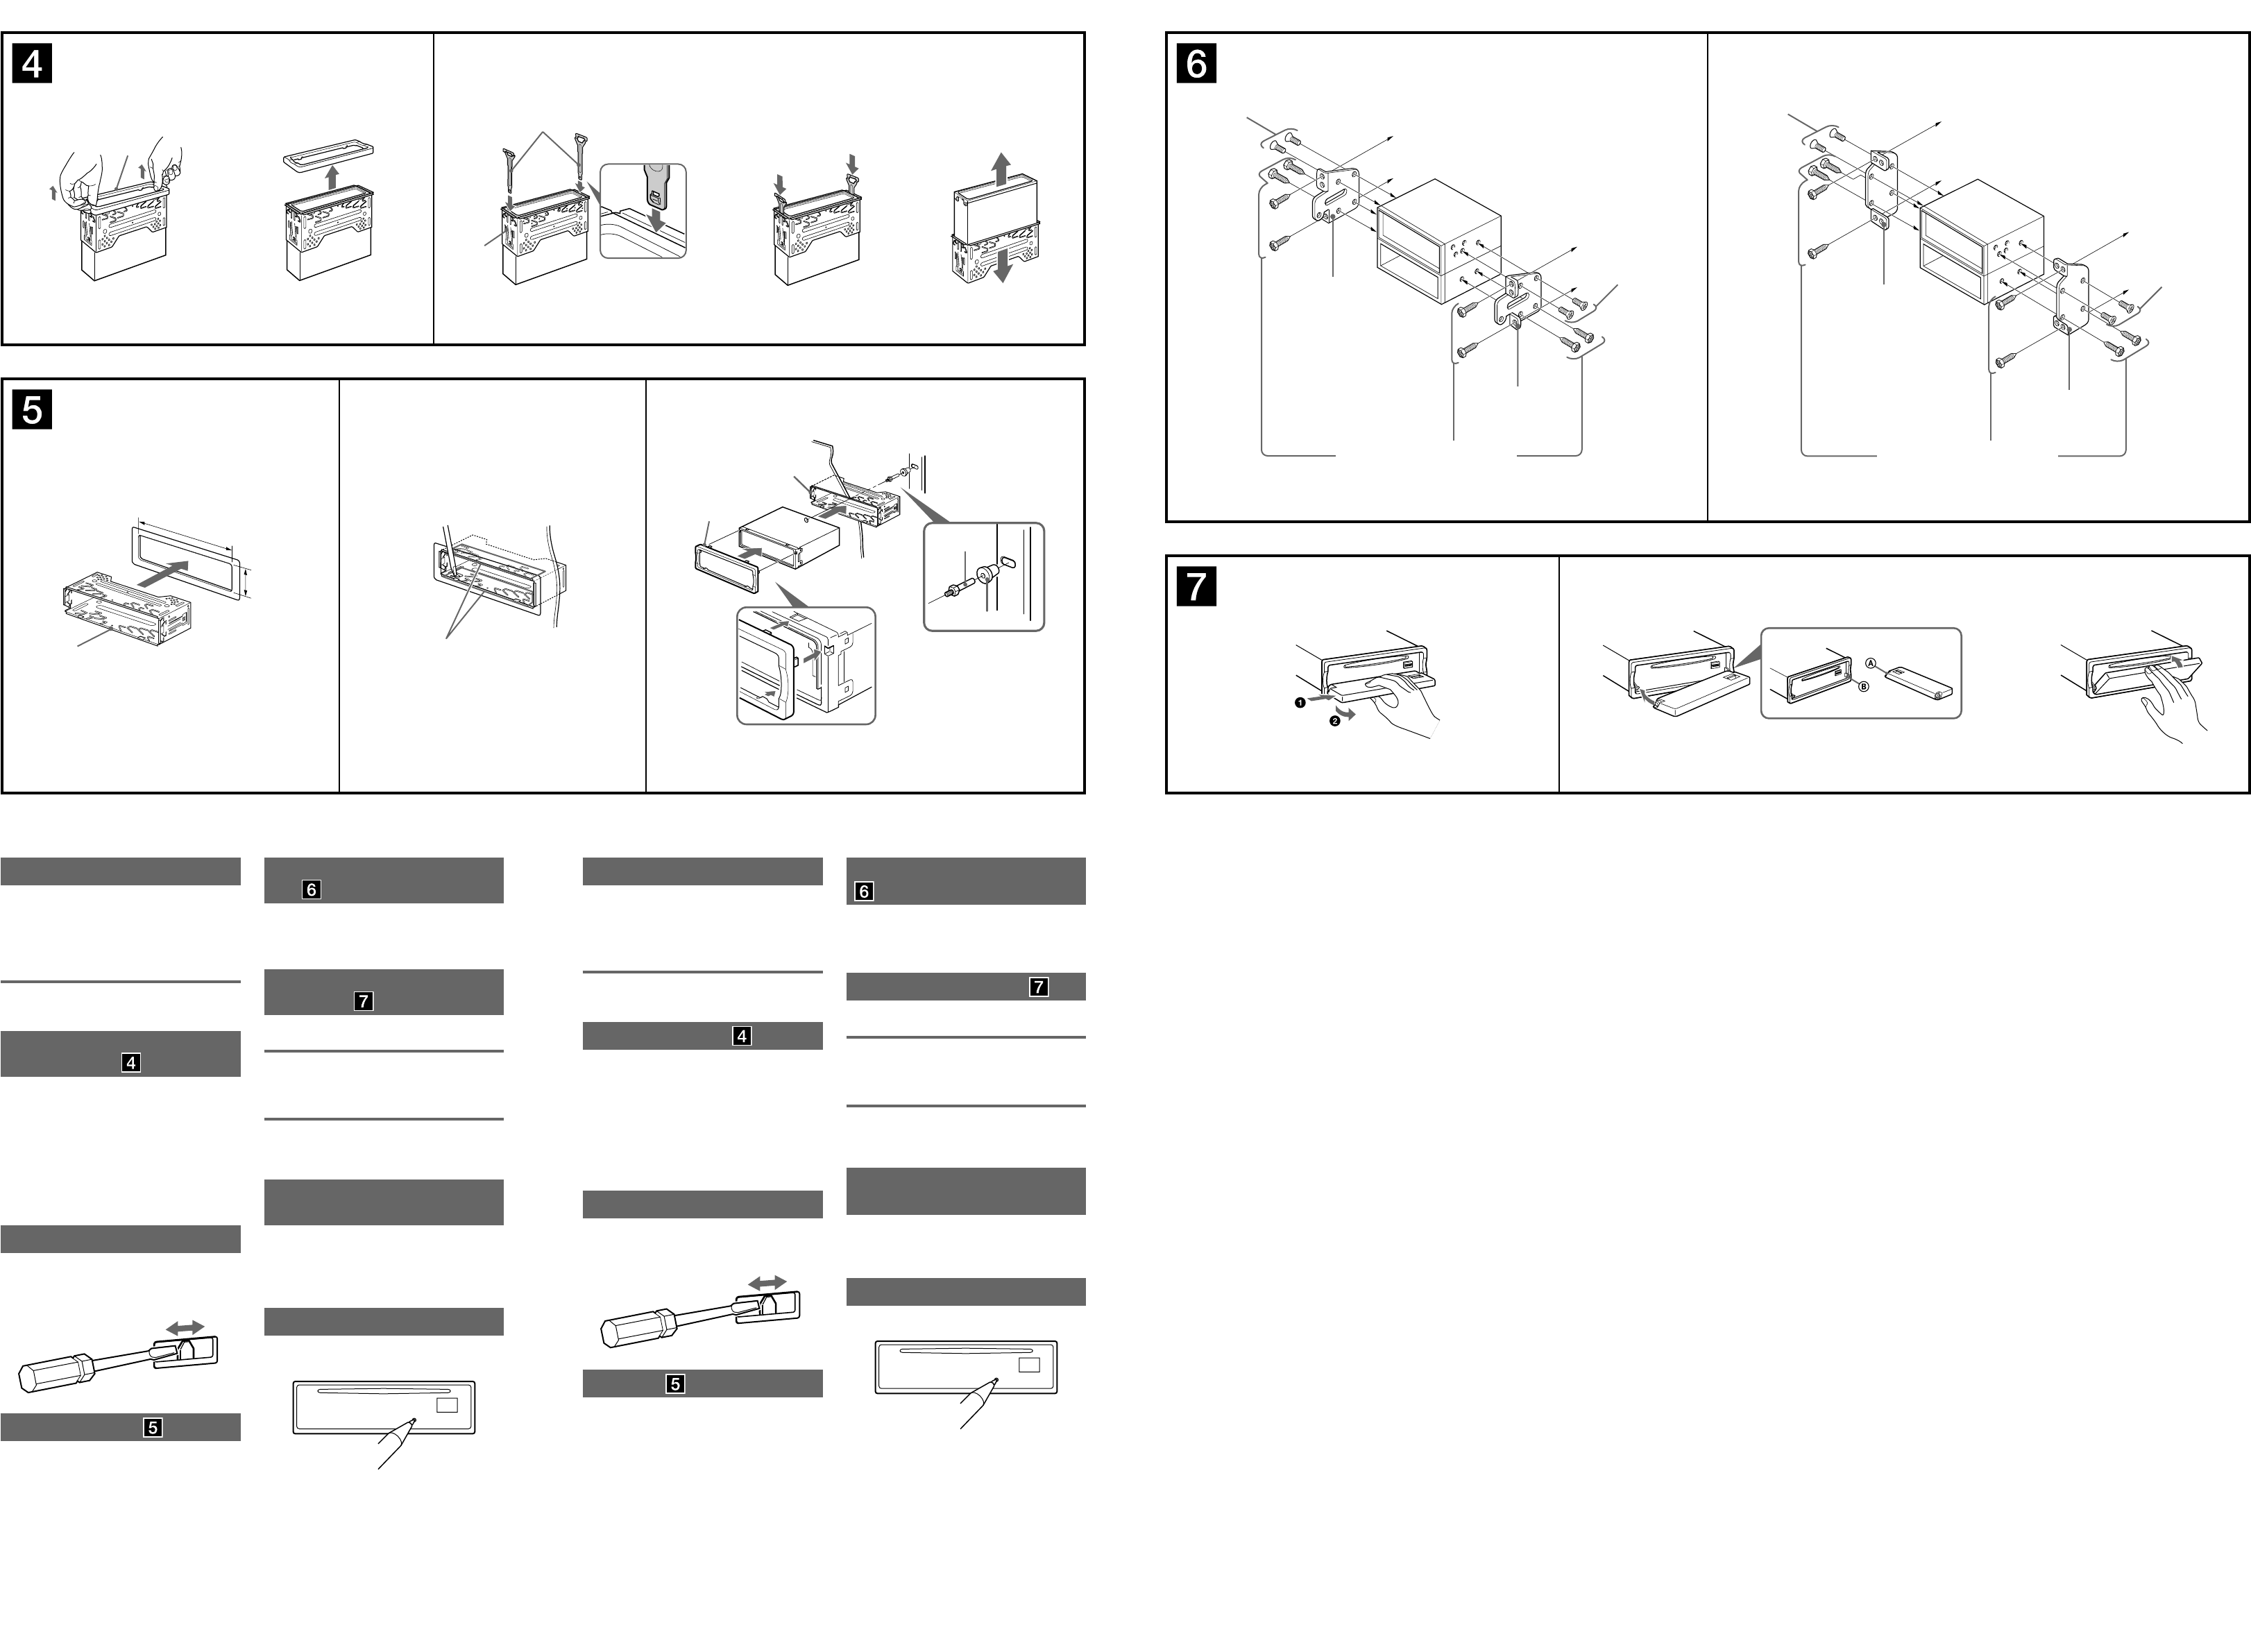
How to detach and attach the
front panel
Before installing the unit, detach the front panel.
-A To detach
Before detaching the front panel, be sure to press .
Press , then slide the front panel to the right, and
gently pull out the left end of the front panel.
-B To attach
Place the hole of the front panel onto the spindle
on the unit, then lightly push the left side in.
Warning if your car’s ignition
has no ACC position
After turning the ignition off, be sure to press
and hold on the unit until the display
disappears.
Otherwise, the display does not turn off and this causes
battery drain.
RESET button
When the installation and connections are completed, be
sure to press the RESET button with a ballpoint pen, etc.,
after detaching the front panel.
Precautions
• Choose the installation location carefully so that the
unit will not interfere with normal driving operations.
• Avoid installing the unit in areas subject to dust, dirt,
excessive vibration, or high temperatures, such as in
direct sunlight or near heater ducts.
• Use only the supplied mounting hardware for a safe
and secure installation.
Mounting angle adjustment
Adjust the mounting angle to less than 45°.
Removing the protection collar
and the bracket
Before installing the unit, remove the protection
collar and the bracket from the unit.
1 Remove the protection collar .
Pinch both edges of the protection collar , then
pull it out.
2 Remove the bracket .
Insert both release keys together between
the unit and the bracket until they click.
Pull down the bracket , then pull up the unit
to separate.
Frequency select switch
The AM (FM) tuning interval is factory-set to the 9 k
(50 k) position. If the frequency allocation system of
your country is based on 10 kHz (200 kHz) interval, set
the switch on the bottom of the unit to the 10 k (200 k)
position before making connections.
Mounting example
Installation in the dashboard
Notes
• Bend these claws outward for a tight fi t, if necessary (-
2
).
• Make sure that the 4 catches on the protection collar are
properly engaged in the slots of the unit (-
3
).
Existing parts supplied with your car
昌㯡帮斨彥䗨恌Ṛ
Fire wall
斖㿏⠥
ợ䒌↱㱌びᷯ杩
• Ḹ䲔応⌺⫭塁ằ仒濇ṉợ㚐塁仒ᵱⷖ㑢㫇䗨椹椿
㐱ỀɁ
• 忣₱⭫㚐㧃⫭塁⚌⌻㿔⟙濇㯅䇍⏰⺛䀬㊓∹⻕杣䗨
⊤❃濇ㅺ⫭塁⚌樼㸏喹濇⣦䙘⭱旡₭ᵯㅺ䄕㮇䬅德
斨張Ɂ
!䆖ᷪ⫭塁⫭⏰⍓曄濇娯ợ䒌斨彥䗨⫭塁㤯ṚɁ
⫭塁夶⸊ᶯ娣㓘
娯⚌!56ṉ娣㓘⫭塁夶⸊Ɂ
㈪ᵯὁ嫛䐔⏰ㆼ㜚!
⫭塁ᶯ↱濇娯€⼂㚐塁仒ᵮ㈪ᵯὁ嫛䐔!
!⏰ㆼ㜚!
Ɂ
1! ㈪ᵯὁ嫛䐔
Ɂ
㊳ẳὁ嫛䐔!
! 䗨忮濇䂚⻰⍵⡺㈭⅞ὁ嫛
䐔Ɂ
2! ㈪ᵯㆼ㜚
Ɂ
!⭫擯拺揔≽!
!ᵤ峛㌶塁仒⏰ㆼ㜚!
!
ᶯ擷濇䙘兗信↔ⓤ┶俖Ɂ
!⍵ᵯ㈭ㆼ㜚!
濇䂚⻰⍵ᵮ㈭塁仒濇ợᶯ䙜
᷶傏晆Ɂ
枟䋫応㐫擯敀
BN濃GN濄娣婋擷旸⚌⅞⹄↱堏妑⫾⚌!:!l濃61!l濄ằ仒
ᵮɁ剉尘♯䗨枟䋫Ⅺ悱䱟䳕㖓❞㔠!21!lI{濃311!lI{濄
擷旸濇徇㌉↱濇娯⭫㚐㧃ⷹ恌ᵮ䗨擯敀妑⫾⚌21l
濃311!l濄ằ仒ᵮɁ
⫭塁䢞ữ!
⫭塁⚌埌㛣塅
妟!
•!剉㙭⼩壥濇↫⍓⍵⡺⺲㙖彽᷿⋅懈䆎濃.3濄Ɂ
•!⼩杬⭫ὁ嫛䐔!!ᵮ䗨!5!Ὧ懈䆎㫇䠞◽⍬⚌塁仒䗨⋅㥡ᶑ
濃.4濄Ɂ
⭫㚐㧃⫭塁㔠㕉㚐䒆㯡帮ᵮ!
㙭᷿㕉㚐䒆㯡帮ᵱ偡⫭塁㚐㧃濇⚌彽䦒〩⻆ᵯ濇娯⍵!
Tpoz!䳷戛⒪婒姆Ɂ
妟
䆖斖㫆䗠䒃㒩昀濇⫭塁㖦⍎偡ợ䒌斨彥䗨圞䳖!Ɂ
⣦ẹ㈪⋜⏰塁悱↱曆㛣!
⫭塁㚐㧃ᶯ↱濇娯€㈪⋜↱曆㛣Ɂ
.B!㈪⋜!
㈪⋜↱曆㛣ᶯ↱濇杬€㉭ᵯ!!拙Ɂ㉭!濇
䂚⻰⭫↱曆㛣㸵⍵⍗Ῐ濇䂚⻰幹幹㈭⅞↱曆㛣䗨ⵊ
ῘɁ
.C!塁悱
⭫↱曆㛣䗨⪸!
!⭱㷺㚐㧃ᵮ䗨幜!
濇䂚⻰幹幹⚔
㌌ⵊῘɁ
⣦㜀「䗨㯡帮㐲㯶㙭!BDD!
ằ仒㖦䗨嫊⎮
敀擭㐲⻰濇⼩杬㉭ẳ㚐㧃ᵮ䗨! ! ᵱ㒢濇䙘兗染
䢞㳬⢕Ɂ
⎊↫濇染䢞⭫ᵤ䙘擯去⼂佰㳬佻晟㯄Ɂ
SFTFU!㉭慹
䓚⫭塁⏰徇㌉⫰ㅴ㖦濇娯∽⼩€㈪⋜↱曆㛣濇䒌⌃
⪴䪪䪭㉭⠷!SFTFU!㉭慹Ɂ
12