4
.
www.velodyne.com
SubContractor User’s Manual
(
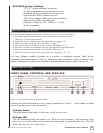
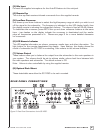
3) Mic Input
Connect the supplied microphone for the Auto-EQ feature to this mini-jack.
(4) Remote Eye
This is the eye that receives infrared commands from the supplied remote.
(5) Low-Pass Crossover
Use these up and down buttons to select the high-frequency range at which you wish to cut
off the signal to the subwoofer. The frequency is indicated on the LED display briefly, then
the display reverts to showing the subwoofer’s volume. The slope is fixed at 24 dB/octave.
To deactivate the crossover, press BOTH the up and down crossover buttons at the same
time – two dashes on the display indicate the crossover is deactivated and the woofer
plays all frequencies presented to it. Please see page 9 for a more detailed discussion
on crossovers.
(6) LED Numeric Indicator
This LED supplies information on volume, crossover, woofer type, and other information. The
light button on the remote deactivates this display. Upon startup, the display shows the
model of subwoofer the SC-1250 is controlling, then reverts to the volume indicator.
(7) Volume Control
These buttons allow you to balance the output from the subwoofer to the main speakers in
your system. The volume should be set to achieve similar volume level fr
om between both
the main speakers and subwoofer. The default volume is 30.
Note: Volume is also controllable by using the supplied remote.
(8) Optional Rack Mount
These detachable ears allow the SC-1250 to be rack mounted.
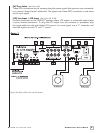
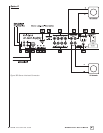
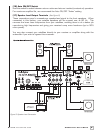
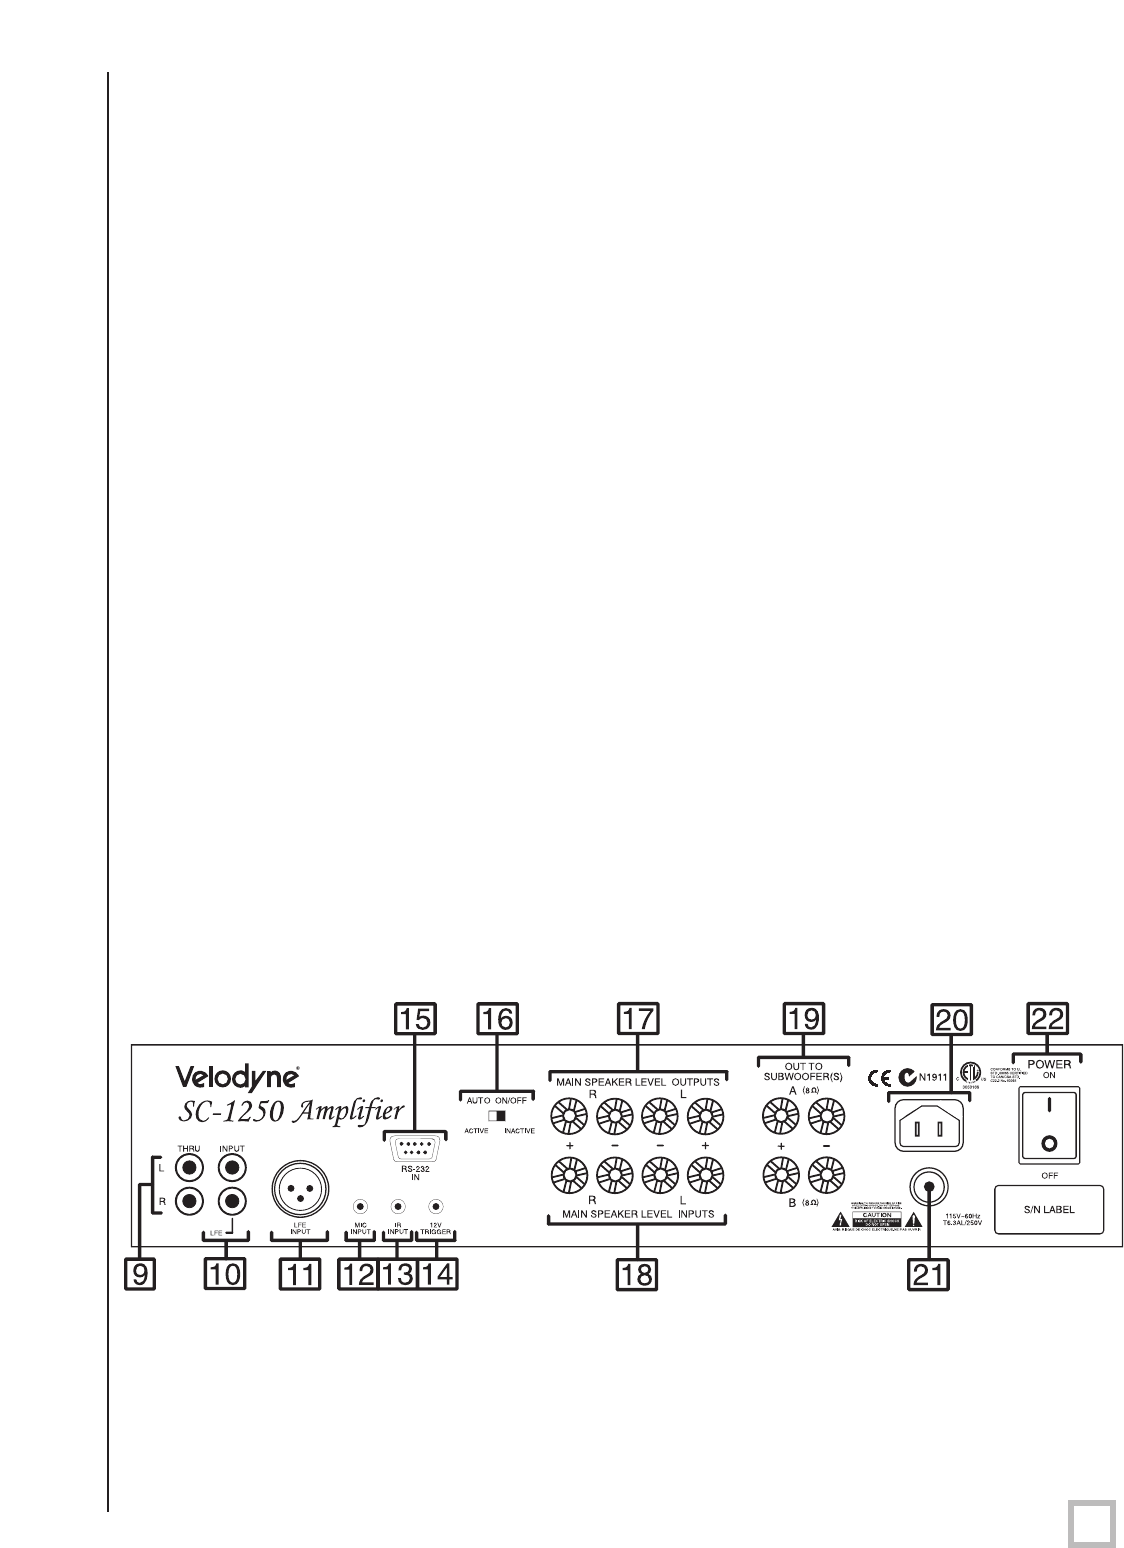
REAR PANEL CONNECTIONS
Figure 2: Rear Panel Connections of the SC-1250.


