8
Connecting External Devices
USING THE AUXILIARY INPUT JACK (A-1250 ONLY)
Each A-1250 monitor has a 3.5mm auxiliary input jack labeled AUX located
on the bottom left of the screen. To connect an external source (video
game system, camcorder, etc.) to the monitor, use the available 3.5mm to
RCA auxiliary input adapter cable (to connect an iPod
®
use the available
Vizualogic Video Input cable). Using either the remote or the monitor-con-
trol buttons, press the SOURCE button until AUX has been selected. The
auxiliary device can now be viewed.
NOTE: Any source connected via the screen-mounted AUX jack can only
be viewed on the screen that the auxiliary source is physically connected
to.
USING THE WIRED HEADPHONE JACK (A-1250 ONLY)
Each A-1250 monitor has a 3.5mm wired headphone jack labeled .
To use, simply connect a pair of wired headphones (not included) to the
wired headphone jack and use the ‘’ or ‘’ monitor control buttons to
adjust the headphone volume output.
NOTE: Using the monitor control buttons to change the wired headphone
volume output will not affect the volume output of the wireless IR
headphones.
USING THE A/V CONTROL MODULE AUXILIARY INPUT
The A-1250 and A-1150 system features auxiliary component RCA input
jacks on the A/V Control Module. Devices connected to this input can be
viewed on either screen (independently or simultaneously), as well as out-
put through the vehicle stereo via the integrated FM Transmitter. To view
this input press the SOURCE button until EXT. AUX is displayed.
NOTE: Consult your installer to determine how to access this input.
9
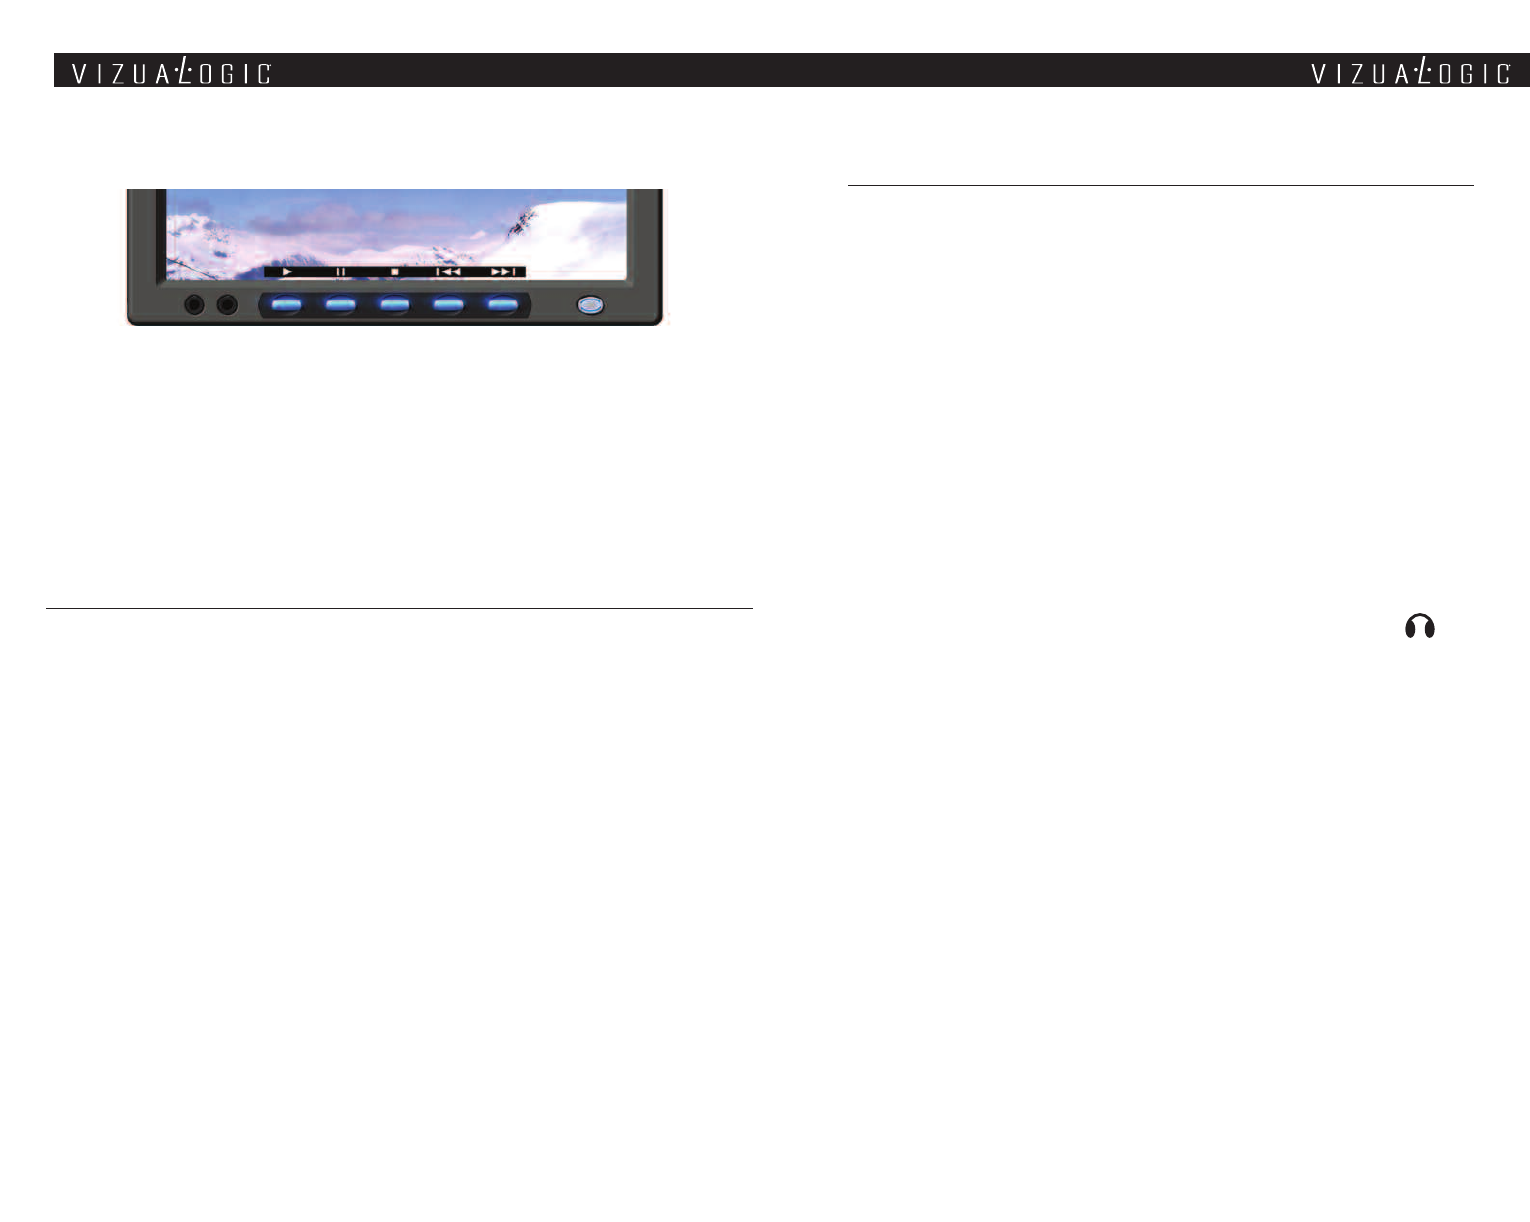
(Play) – Plays a disc that is loaded into the integrated DVD player.
(Stop) – Stops playing a disc that is loaded into the integrated DVD player.
(Pause) – Pauses a disc that is loaded into the integrated DVD player.
(Previous) – Accesses the previous chapter or track.
(Next) – Accesses the next chapter or track.
Adjusting the Picture Settings
The A-1250 and A-1150 features multiple picture adjustment settings that allow the
user to tailor the picture to their preferences. To access the picture adjustment set-
tings, press the MENU button. Each press of the MENU button will advance through
the settings shown below. Once the desired selection has been made, use the
or
buttons to change the setting level.
CONTRAST - Adjust to increase or decrease picture contrast.
BRIGHTNESS - Adjust to brighten or darken the picture.
COLOR - Adjust to increase or decrease the color intensity.
TINT - Adjust to increase or decrease the color hue.
SHARPNESS - Adjust to sharpen or soften the picture.
DIMMER - Adjust to brighten or darken the monitor backlight. Select from:
DIMMER HI (100% backlight), DIMMER MED (85% backlight) and
DIMMER LOW (65% backlight)
RESET DEFAULT - Resets the above picture settings to the default values.
DVD CONTROLS


