L
O
N
O
N
L
O
Q
4
Assembly
Assembling the Workbench
Note: For correct assembly, the legs, [A] and [B],
must have hinges on the outside.
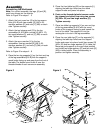
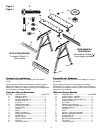
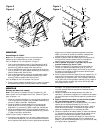
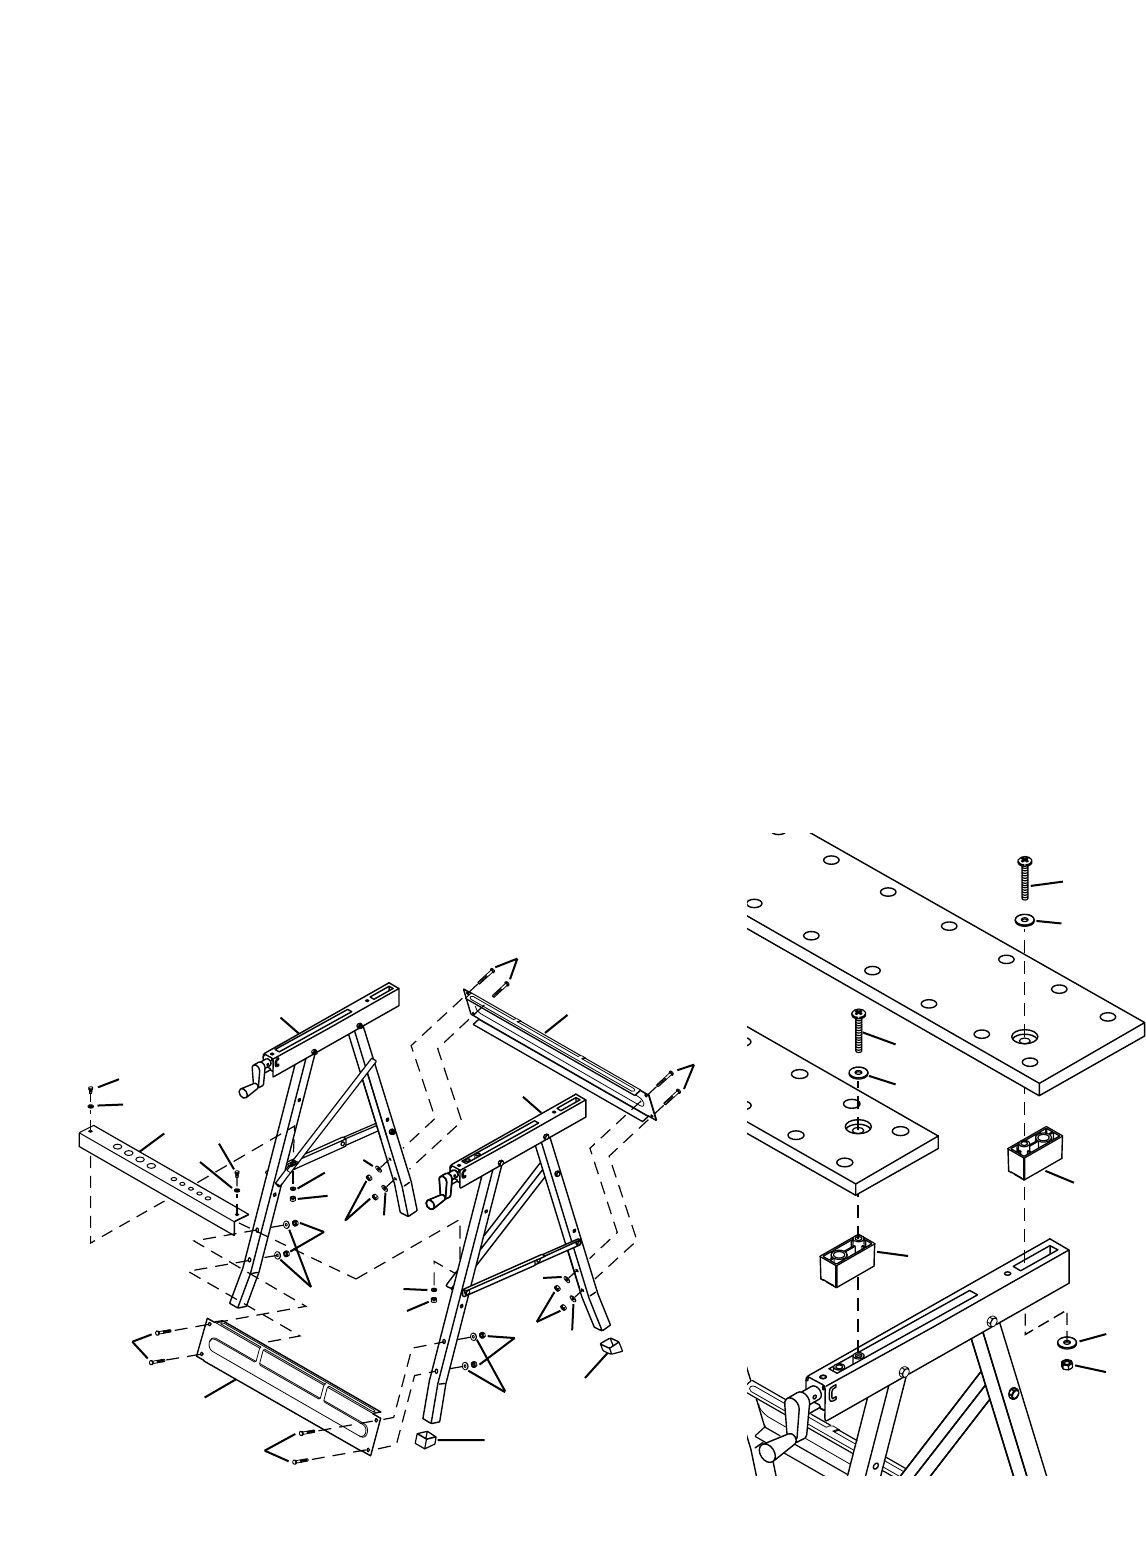
Refer to Figure 2 for steps 1 - 3
1. Attach the front cross bar [J] to the leg assem-
blies [A & B] with two screws, [D] (M6 x 45),
medium washers [E] and nuts [F] (M6) on each
side. Tighten securely.
2. Attach the tool storage rack [G] to the leg
assemblies [A & B] with a screw [H] (M6 x 12),
two small washers [I], and nut [F] (M6) on each
side. Tighten securely.
3. Attach the rear cross bar [J] to the leg
assemblies. Use two screws [D] (M6 x 45),
medium washers [E], and nuts [F] (M6) on each
side. Tighten securely.
Refer to Figure 3 for steps 4 - 8
4. Place the two top supports [L] on the front and top
of the leg assemblies [A & B] with the support’s
round knobs facing up and away from the front of
the table. The bottom round holes fit over the
threaded knobs of each screw arm assembly.
5. Place the front table top [M] on the supports [L],
aligning the table top holes over the round
support knobs and press into place.
6. Push on the threaded plastic traverse under
the channel and attach top using two screws
[N] (M8 x 55) and two large washers [O].
Tighten securely.
7. Place two table top supports [L] on rear and top
of the leg assemblies [A & B] with the round
knobs of the supports facing up and toward the
front of the table. The supports fit into the
rectangular cut-outs in the leg assemblies.
8. Place the rear table top [P] on the supports [L],
aligning the table top holes over the support
knobs and press into place. Install two screws [N]
(M8 x 55) and two large washers [O] in table top.
Move top and supports to the rear-most position
and install two large washers [O] and two nuts [Q]
(M8) in table bottom. Place the assembly in
position and tighten securely.
WOLF112-2
E
E
E
D
E
D
I
I
I
I
F
F
G
H
I
I
F
H
F
A
B
D
D
J
K
K
J
Figure 3Figure 2


