15
Lynx L-510
Quick Guide
1. Proceed with this section ONLY if your computer/notebook is connected to the Ethernet Port of
your ADSL Router.
2. The following illustrated screen shots serve only as examples. For any dissimilarity, please follow
closel
the instructions
rom
ted on
ou
Com
uter.
Configuring Your Ethernet Network Card/ Installing
your USB Device
! If your computer/notebook is connected to the Ethernet Port of the Lynx L-510,
proceed with section 2.1.
! If your computer/notebook is connected to the USB Port of the Lynx L-510, proceed
with section 2.2.
! If your computer/notebooks are connected to both the Ethernet Port and USB Port of
your Lynx L-510, please proceed with both sections 2.1 and 2.2.
Step 2.1: Configuring Your Ethernet Network Card
2.1.1 For Windows
®
98 Second Edition / Windows
®
Me
i From your Windows desktop, right-click on the Network Neighborhood icon.
Select Properties.
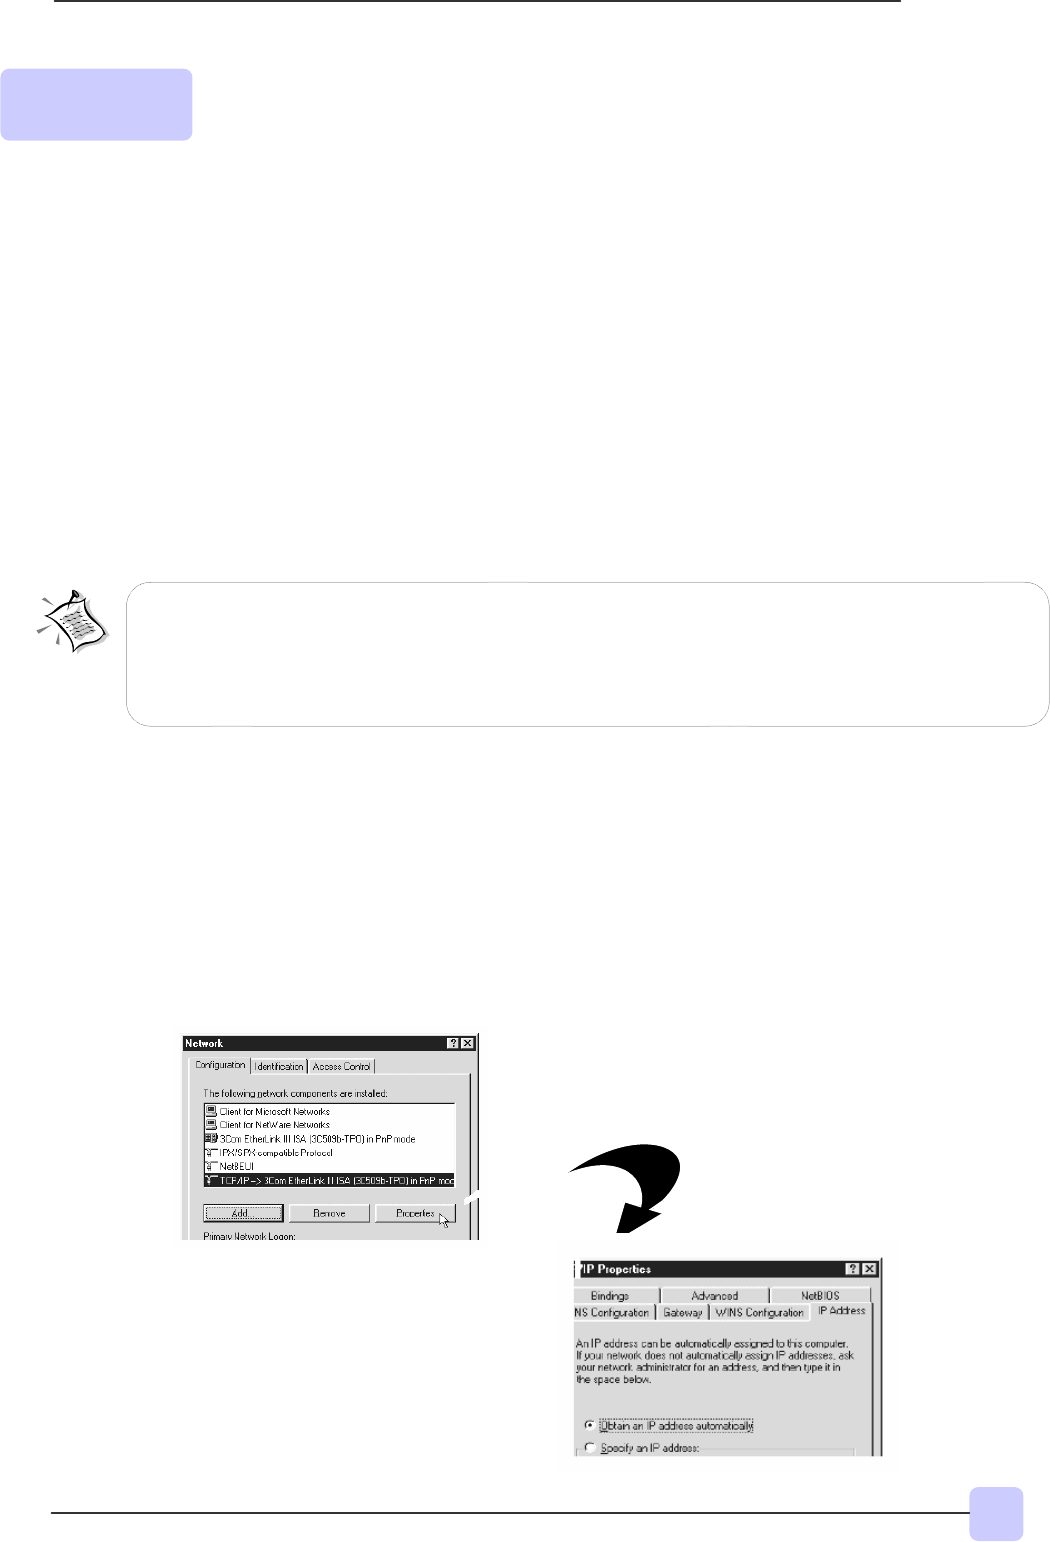
iiii From the Configuration tab, select TCP/IP-> xxx where xxx refers to the model
of your Ethernet Card that is connected to your Lynx L-510.
Click Properties.
(This screen shot uses 3Com
EtherLink Ethernet card model as an
example).
iii Click the IP Address tab.
Click the option Obtain an IP
address automatically and click
O
to save the settin
s.
Step 2:


