108871
15
15
For more information, visit www.desatech.com
For more information, visit www.desatech.com
SERVICE PROCEDURES
Continued
IGNITION CONTROL ASSEMBLY
WARNING: High voltage!
SERVICE PROCEDURES
TECHNICAL SERVICE
REPLACEMENT PARTS
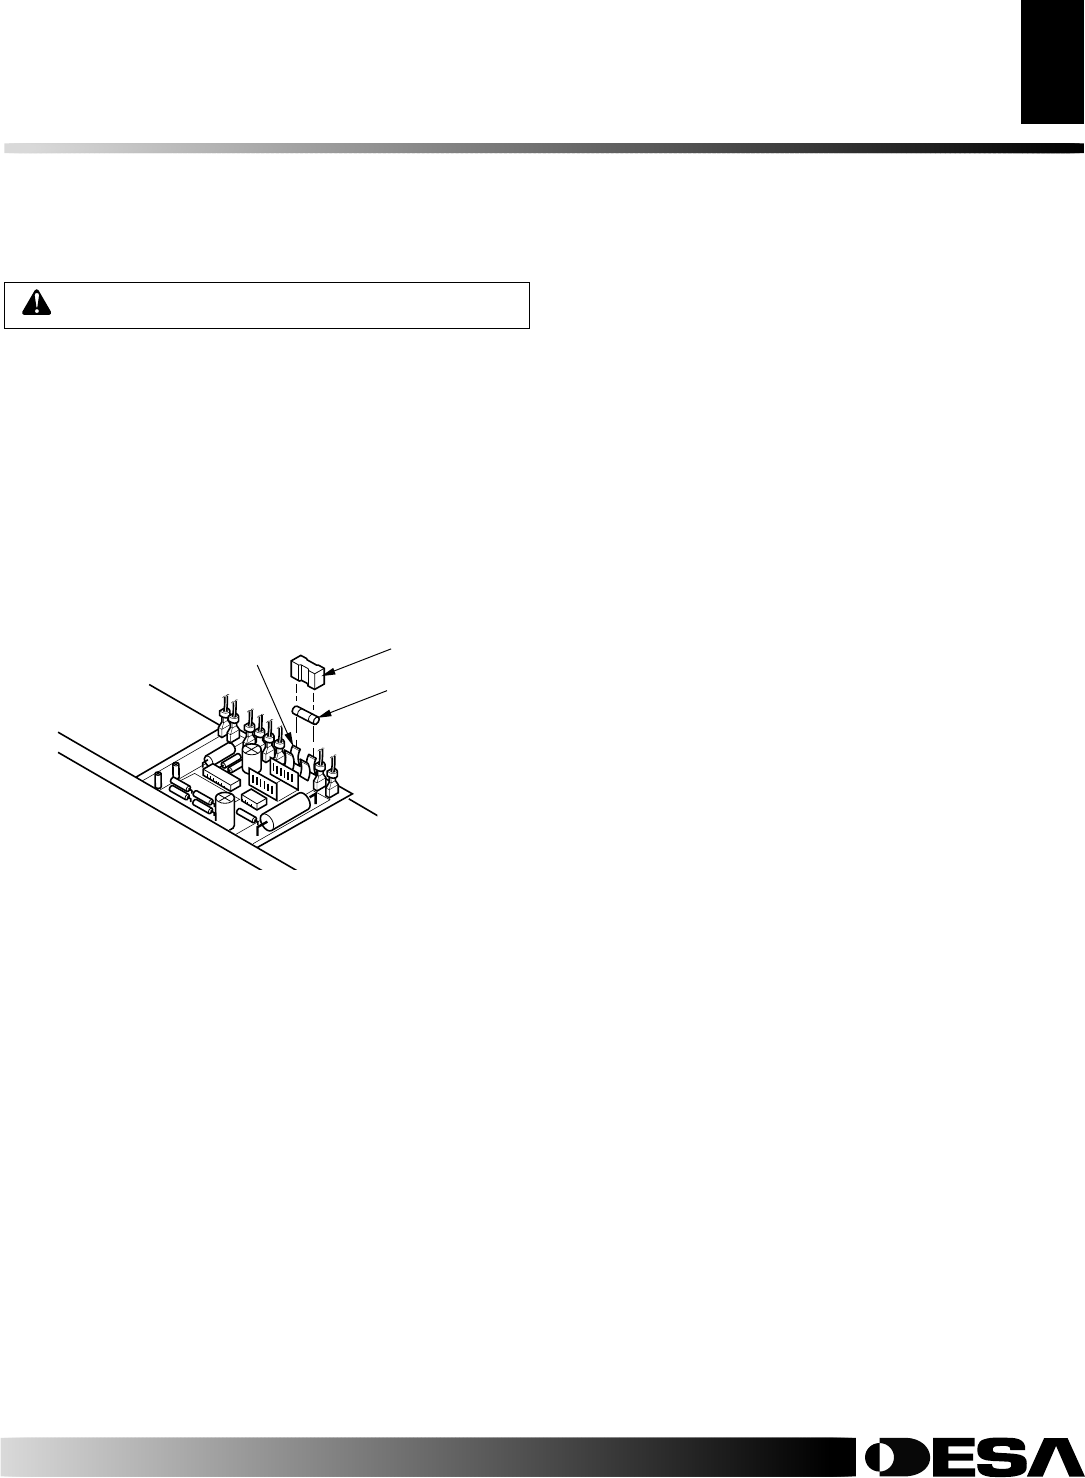
Figure 34 - Replacing Fuse
Fuse
Fuse
Cover
Fuse Clips
1. Unplug heater.
2. Remove side cover screws (4) using 5/16" nut-driver to ex-
pose ignition control assembly.
3. Remove fuse cover (see Figure 33).
4. Remove fuse from fuse clips (see Figure 33).
5. Replace fuse with fuse of the same type and rating (GMA-10).
Do not substitute a fuse with a higher current rating.
6. Replace fuse cover (see Figure 33).
7. Replace side cover (see Figures 15 or 16, page 9 or Figure 17,
page 10).
TECHNICAL SERVICE
You may have further questions about installation, operation, or
troubleshooting.
If so, contact DESA International’s Technical Service Department
at 1-866-672-6040.
You can also visit DESA International’s technical services web site
at www.desatech.com.
REPLACEMENT PARTS
Note:
Use only original replacement parts. This will protect your
warranty coverage for parts replaced under warranty.
PARTS UNDER WARRANTY
Contact authorized dealers of this product. If they can’t supply
original replacement part(s), call DESA International’s Technical
Service Dept. at 1-866-672-6040.
When calling DESA International, have ready:
• your name
• your address
• model and serial numbers of your heater
• how heater was malfunctioning
• purchase date
Usually, we will ask you to return the part to the factory.
PARTS NOT UNDER WARRANTY
Contact authorized dealers of this product. If they can’t supply original
replacement part(s), call DESA International at 1-866-672-6040 for
referral information. Parts dealers are listed in the Authorized Service
Center booklet supplied with heater.
When calling DESA International, have ready:
• model and serial numbers of your heater
• the replacement part number


