6
Turning On the Projector
This section describes the procedure from turning on the power to projecting images.
Procedure
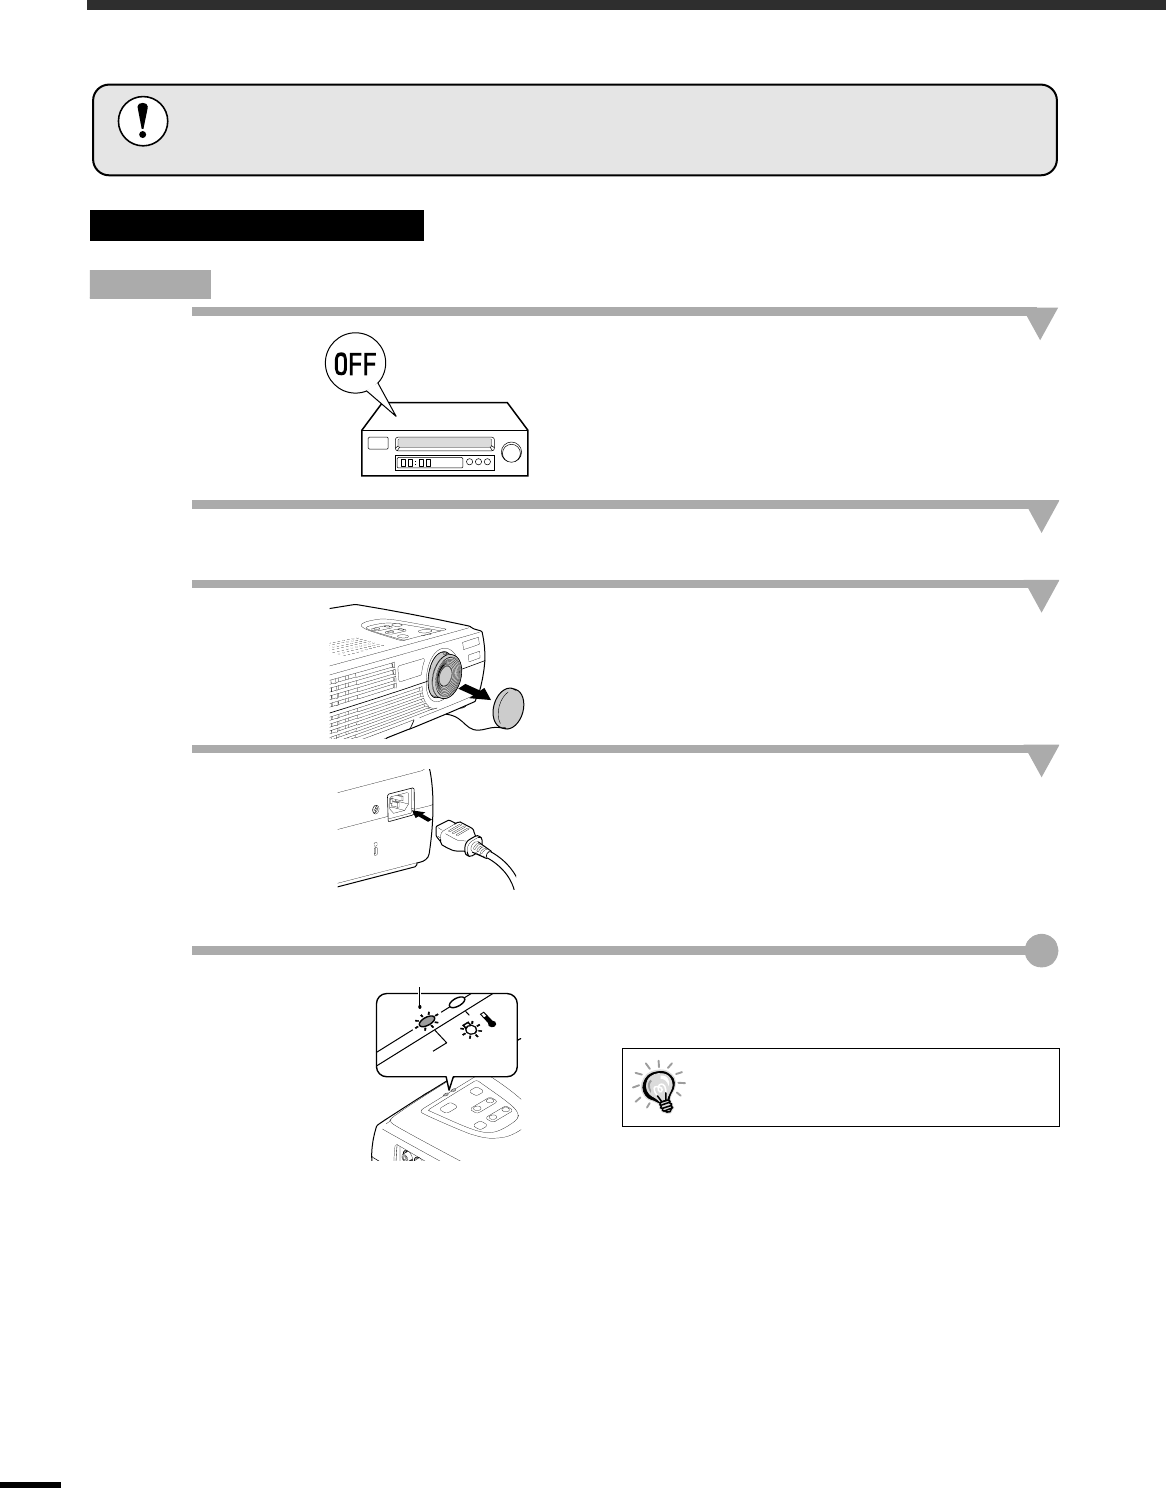
1
Check that the power is turned off for
the projector and all components
connected to the projector.
2
Connect the video source or computer
to the projector. (
Setup Guide
)
3
Remove the lens cover.
4
Connect the accessory power cable to
the projector.
Check that the power cable connector is facing
the same way as the power inlet on the projector,
and then insert the power cable connector
securely into the projector.
5
Connect the other end of the power
cable to an earthed electrical outlet.
Wait until the Power indicator lights orange.
Connecting the Power Cable
The projector's control panel and remote
control buttons cannot be operated while
the Power indicator is flashing orange.
Be sure to read the separate
Safety Instructions/World-Wide Warranty Terms
before
projecting images.
Power
Lit orange


