• upload content to Livescribe Online for sharing
• install Pulse smartpen applications and software updates
• archive notebooks, journals, and other paper products
This documentation will help you learn how to use these features and more.
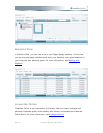
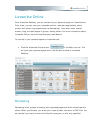
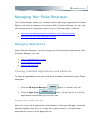
Getting Started with Livescribe Desktop
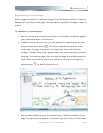
To begin using Livescribe Desktop, follow these steps:
1. Install Livescribe Desktop.
2. Run Livescribe Desktop
.
3. Register your Pulse smartpen
.
4. Learn about transferring content from your Pulse smartpen
.
5. Learn about the Livescribe Mobile Computing Platform
.
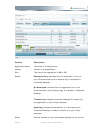
6. Learn about Livescribe Desktop user interface and features
.
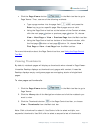
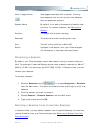
Installing Livescribe Desktop
If you have not already done so, install Livescribe Desktop on your computer.
Livescribe Desktop requires a Windows PC running either Windows XP SP2 or
Windows Vista (currently, 32-bit only). Your computer will also need:
• a 600 MHz CPU or higher
• 512 MB RAM
• an available USB port
• an Internet connection
• 100 MB of free disk space
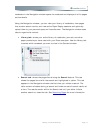
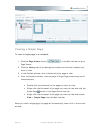
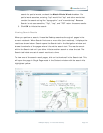
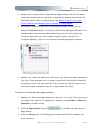
To install Livescribe Desktop:
1. Verify that your computer meets the software and hardware requirements for
Livescribe Desktop.
2. Download the Livescribe Desktop installer from
http://www.livescribe.com/install
. During installation, the Livescribe Desktop
installer will associate your Pulse smartpen with one computer only. Be sure
Page 2 Livescribe Desktop User Manual