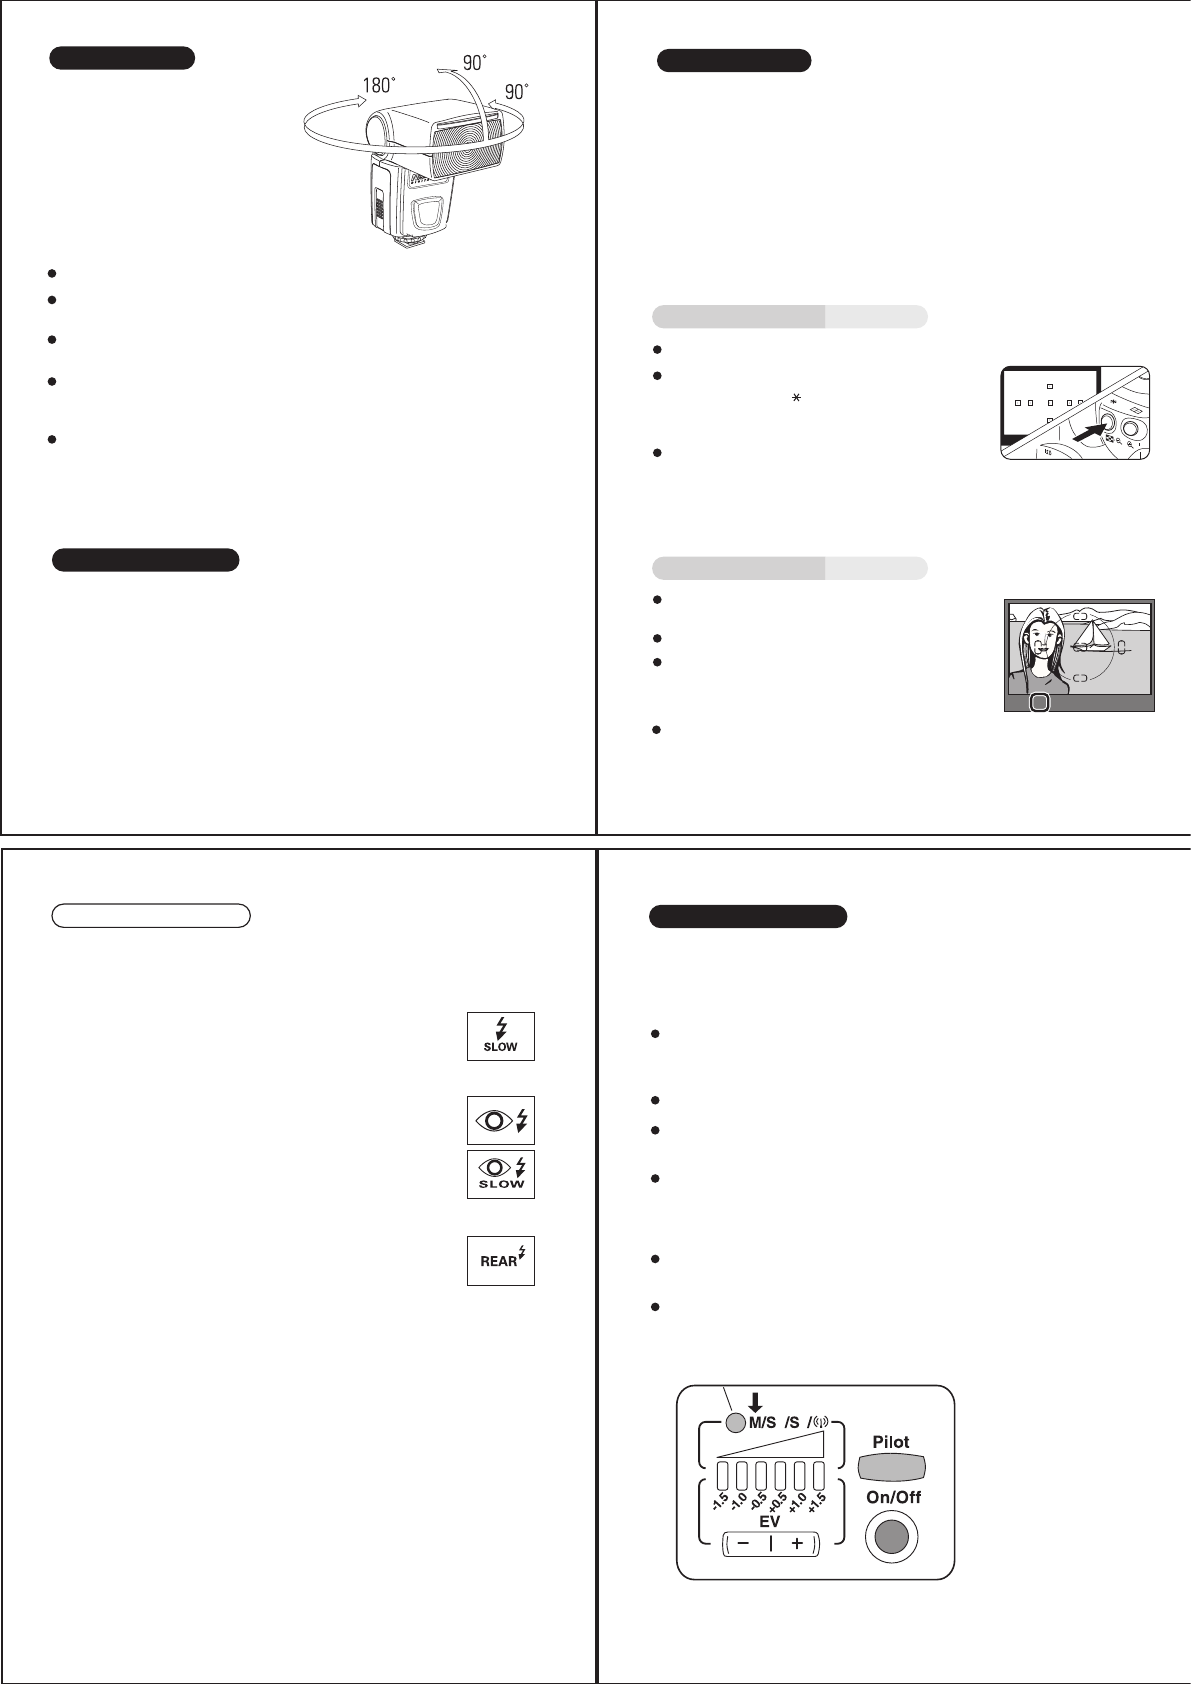
Bounce lighting
When lighting a subject in front of the
wall, an unnecessary sharp shadow
on the wall results the picture
disappointed. Bounce the light off the
ceiling or wall to soften the light on
the subject, and the shadow fade out.
Turn the flash head up. It turns upward to 45° >60° >75° >90°.
Or tilt the flash head sideway to left 30° >60° >90° or to right 30°
>60° >90° >120° >150° >180°.
Or mixing it upward/ sidway, you can set it at multiple directions
as shown.
When the flash head stays at turning or tilting position, the zoom
setting position of Di622 Mark II is automatically set at the position for
50mm focal length lens.
The wall or ceiling in this case should be flat surface and white color
is preferable. Colored ceiling or wall may reflect its color on the
subject.
AF assist light emitter
Under the low light condition, in the dark place, AF assist light will
automatically emit the beam and illuminate the subject, so that the
camera can easily focus the subject in darkness. The beam is however
not shown in the picture.
Focus the subject.
Pre-flash is fired to pre-set the correct light
amount for the main subject.
Remarks: FEL only work on P, TV, AV, M &
A-Dep mode.
Set the picture frame as you desire and release the
When the back ground of the main subject is too bright, the camera’s
exposure reading system adjusts the flash light intensity for such back
ground condition and it result the main subject underexposed. Or in case
the main subject is not placed in the center of the viewfinder, flash picture
may result the aimed subject under or over exposure.
You can lock the correct flash exposure for the aimed subject in such a
condition. This flash exposure pre-set remains locked in, even if you
change the aperture or zoom the lens in and out. This mode can only be
set on the camera.
Flash Power Lock
With Canon cameras:
FE lock
Aim the viewfinder center over the main
subject and press [ ] button on the camera
(or [ FEL ] button on some cameras).
Focus the subject.
Set the Fv lock mode at the menu on your
camera.
With Nikon cameras:
Fv lock
Aim the viewfinder center over the main
subject and press [ AE-L ] button on the
camera (or [ AF-L ] button on some cameras).
Following functions are available on Nikon cameras.
Refer to camera owner's manual for details.
The flash is controlled at a slow shutter speed to the
correct exposure for both the main subject and back
ground in low light conditions or at night.
For Nikon Version only
Slow shutter synchronization
To prevent the subject's eyes from appearing read,
Di622 Mark II fires three controlled flash just before
the picture is taken. Red-eye reduction can be
combined with slow sync.
Red-eye reduction
In rear-curtain sync., the flash fires just before the rear
curtain close. By using this function at slow shutter
speeds, a moving subject will appear with such
moving marks behind.
Rear curtain synchronization
When the flash unit is turned on, it is automatically set for TTL (E-TTL
II / E-TTL for Canon, or i-TTL for Nikon) automatic flash mode. In
this mode, the mode select indicator does not light.
You can select the power by pressing the
-- / + button, from the left to right, 1/32
– 1/16 – 1/8 – 1/4 – 1/2 – 1/1(Full)
power.
Select your desired F--stop and / or shutter speed.
Point the subject and press the shutter.
Set the camera shooting mode to either [ AV ](Canon),
[ A ](Nikon), or [ M ].
The color of mode select indicator turns to
Red as shown in the picture.
Press the mode select button.
In some occasion, or for special expression, you may need your own
flash exposure instead of automatic controlled exposure. You can set
Di622 Mark II for non-automatic flash mode, and select the desired
flash power from 6 different levels
Manual Exposure Flash
Red
D
F
Ch1 Group A


