Note
• If you press the ` OK button during the setup
operation, the recorder will save the items that
were set to that point.
1 While the recorder is during stop
mode, press the MENU button.
• The menu will appear on the display
(☞ P.63).
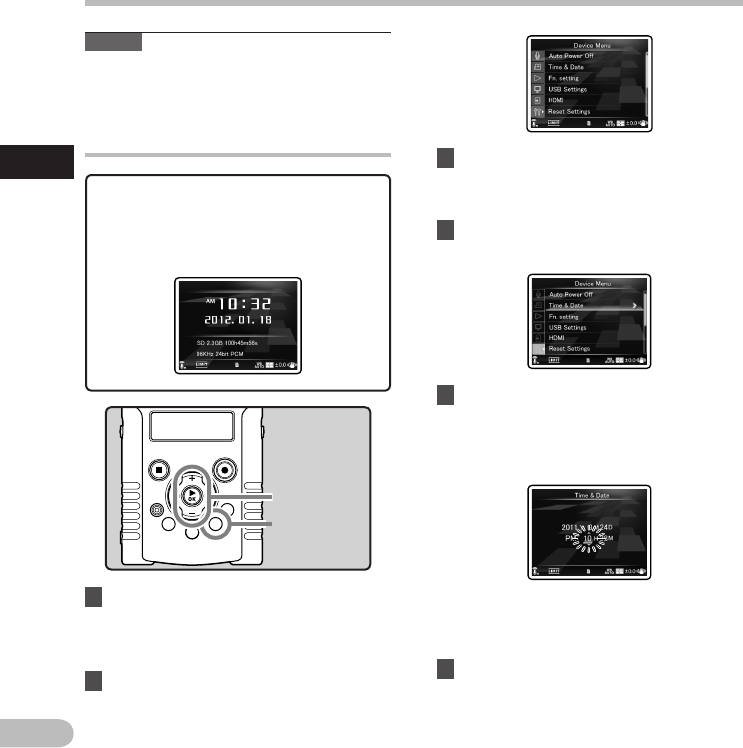
Changing the time and date
While the recorder is during stop mode, press
and hold the STOP (4) button to display the
Time and Date, Remaining Memory and File
Format. If the current time and date is not
correct, set it using the procedure below.
+ − button
`OK button
MENU button
2 Press the + or − button to select
[Device Menu] tab.
• You can change the menu display by moving
the settings tab cursor.
3 Press the `OK button to move the
cursor to the item to set.
• [Device Menu] will appear on the display.
4 Press the + or − button to select [Time
& Date].
5 Press the `OK button.
• [Time & Date] will appear on the display.
• The “
Hour” will flash on the display,
indicating the start of the Time and Date
setup process.
The following steps are the same as Step 1
through Step 3 of “Setting time and date
[Time & Date]
” (☞ P.25).
6 Press the MENU button to close the
menu screen.
Setting time and date [Time & Date]
Setting time and date


