EN 57
Using OLYMPUS Master
Windows
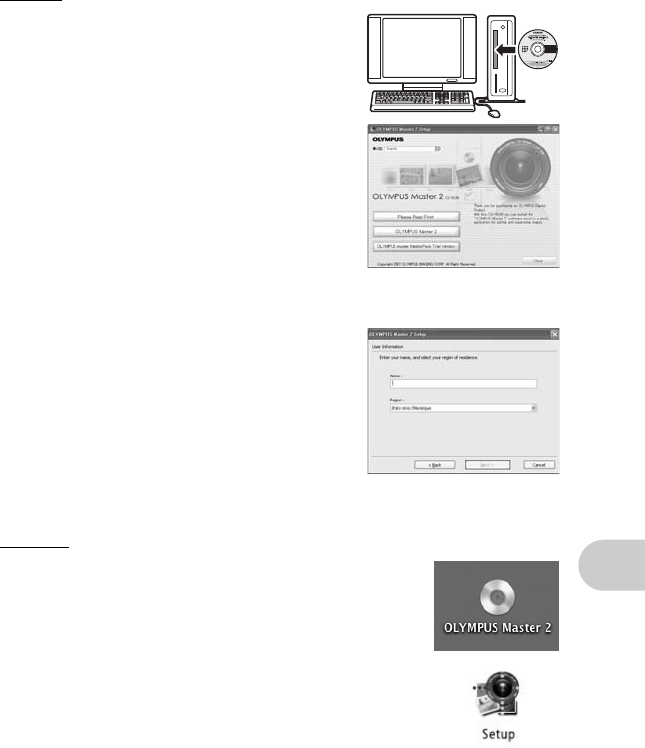
1 Insert the CD-ROM into the CD-ROM
drive.
• The OLYMPUS Master setup screen is displayed.
• If the screen is not displayed, double-click the “My
Computer” icon and click the CD-ROM icon.
2 Select the display language and click
the “OLYMPUS Master 2” button.
• When the component installation screen is displayed,
click “OK”.
3 Click “Next” and follow the on-screen
instructions.
• When the OLYMPUS Master licensing agreement is
displayed, read the agreement and click “Yes” to
proceed with the installation.
4 When the user information screen is
displayed, enter your “Name”, select
your “Region” and click “Next”.
5 When the setup type selection screen is
displayed, click “Install”.
• To select the components to install, select “Custom”.
• The installation begins. The screen confirming that
setup is completed is displayed. Click “Close”.
• Next, the screen confirming whether to install OLYMPUS muvee theaterPack Trial Version
is displayed. To install this software, click “Install”.
Macintosh
1 Insert the CD-ROM into the CD-ROM drive.
• The CD-ROM window is displayed.
• If the CD-ROM window is not displayed, double-click the CD-ROM
icon on the desktop.
2 Double-click the “Setup” icon on the desktop.
• The OLYMPUS Master installation screen is displayed.
• Follow the on-screen instructions.
• When the OLYMPUS Master licensing agreement is displayed,
read the agreement and click “Continue” and then “Continue” to
proceed with the installation.
• The screen confirming that installation is completed is displayed.
• You must restart your computer before using OLYMPUS Master.
d4355_e_unified_forU-Print_00_bookfile.book Page 57 Thursday, July 12, 2007 11:01 AM


