212
GB
Table of
contents
Sample photo Menu Index
1 Connect the camera to your Mac computer first. Double-click the newly
recognized icon on the desktop t the folder where the images you want
to import are stored.
2 Drag and drop the image files to the hard disk icon.
The image files are copied to the hard disk.
3 Double-click the hard disk icon t the desired image file in the folder
containing the copied files.
The image is displayed.
Complete steps 1 and 2 below before performing the following operations:
• Disconnecting the USB cable.
• Removing the memory card.
• Turning off the camera.
• Drag and drop the icon of the memory card or the drive icon to the “Trash” icon beforehand when you use
a Mac computer, and the camera is disconnected from the computer.
• With Windows 7, the disconnect icon may not be displayed. In such cases, you can disconnect without
following the above procedure.
• Do not disconnect the USB cable when the access lamp is lit. The data may be damaged.
Importing images to the computer (Mac)
Disconnecting the camera from the computer
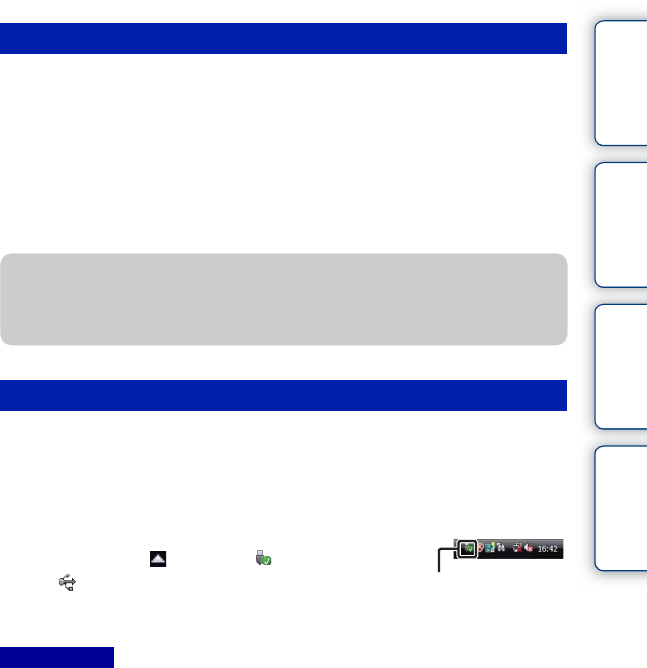
1 Double-click the disconnect icon on the task
bar.
• For Windows 7, click , and then click .
2 Click (Safely remove USB Mass Storage
Device).
Disconnect icon
Notes
z The software for Mac computers
For details on other software for Mac computers, access the following URL:
http://www.sony.co.jp/imsoft/Mac/
Windows Vista


