VAIO
®
Notebook User Guide
32
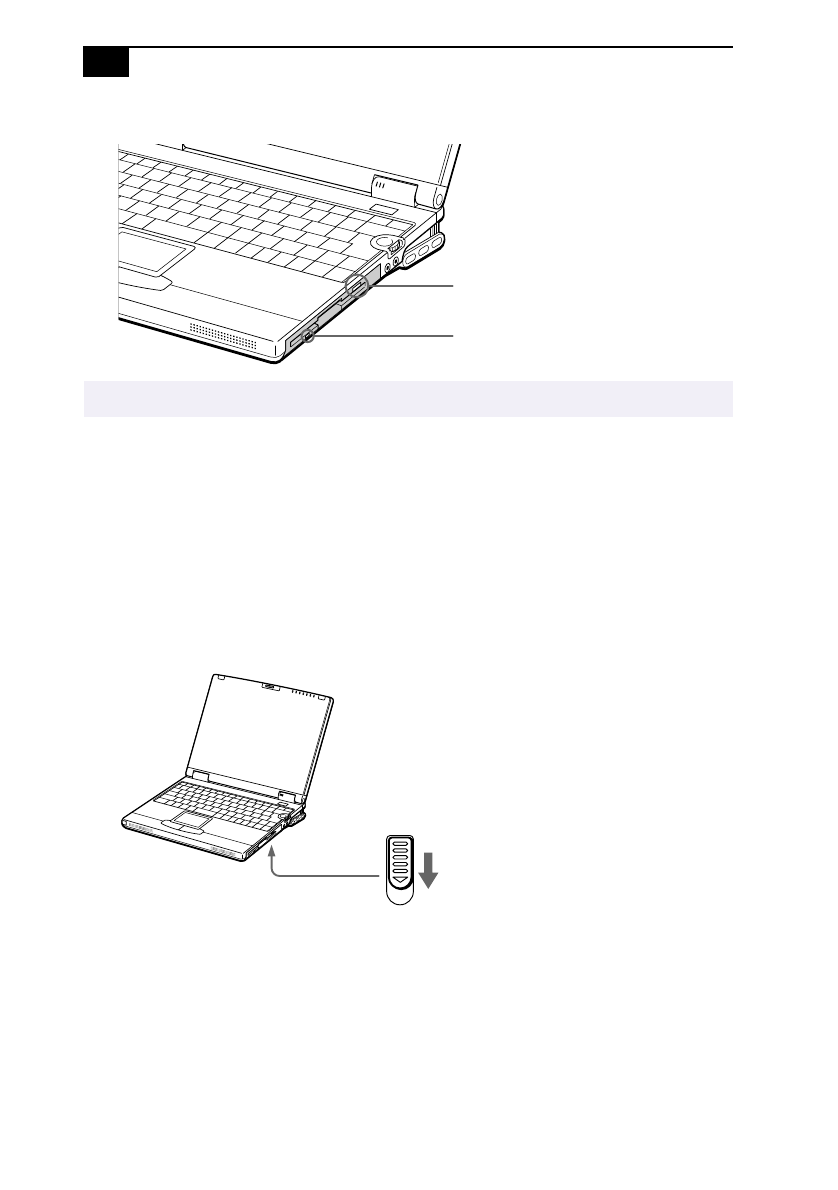
To remove the floppy disk drive
When the computer is off, skip steps 1 and 3.
1
Right-click the PowerPanel icon in the task tray and choose “Remove
multipurpose bay device” when using an internal drive. When using
an external drive, choose, “Remove external FDD” instead.
2
Slide the RELEASE lever on the bottom of the computer in the
direction of the arrow and slide the drive out of the multipurpose bay.
3
Click OK on the message screen.
When the multipurpose bay is empty, attach the weight saver to it. See
step 3 of “Using a Second Battery Pack” on page 44 for details on
attaching the weight saver.
✍
Do not press the Eject button when the LED indicator is turned on, as data may be lost.
Eject button
LED indicator
Drive RELEASE lever on bottom


