©TitanToolInc.Allrightsreserved. 3
Cleanup
Maintainingacleangunisimportanttoensuretrouble-freeoperation.Flush
thegunaftereachuseandstoreinadrylocation.Donotleavethegunorany
of its parts in water or solvents.
Special cleanup instructions for use with flammable solvents:
• Alwaysushspraygunpreferablyoutsideandatleastonehose
length from spray pump.
• Ifcollectingushedsolventsinaonegallonmetalcontainer,
place it into an empty ve gallon container, then ush solvents.
• Areamustbefreeofammablevapors.
• Followallcleanupinstructions.
IMPORTANT: The sprayer, hose, and gun should be cleaned thoroughly
after daily use. Failure to do so permits material to cake, seriously
affecting the performance of the unit.
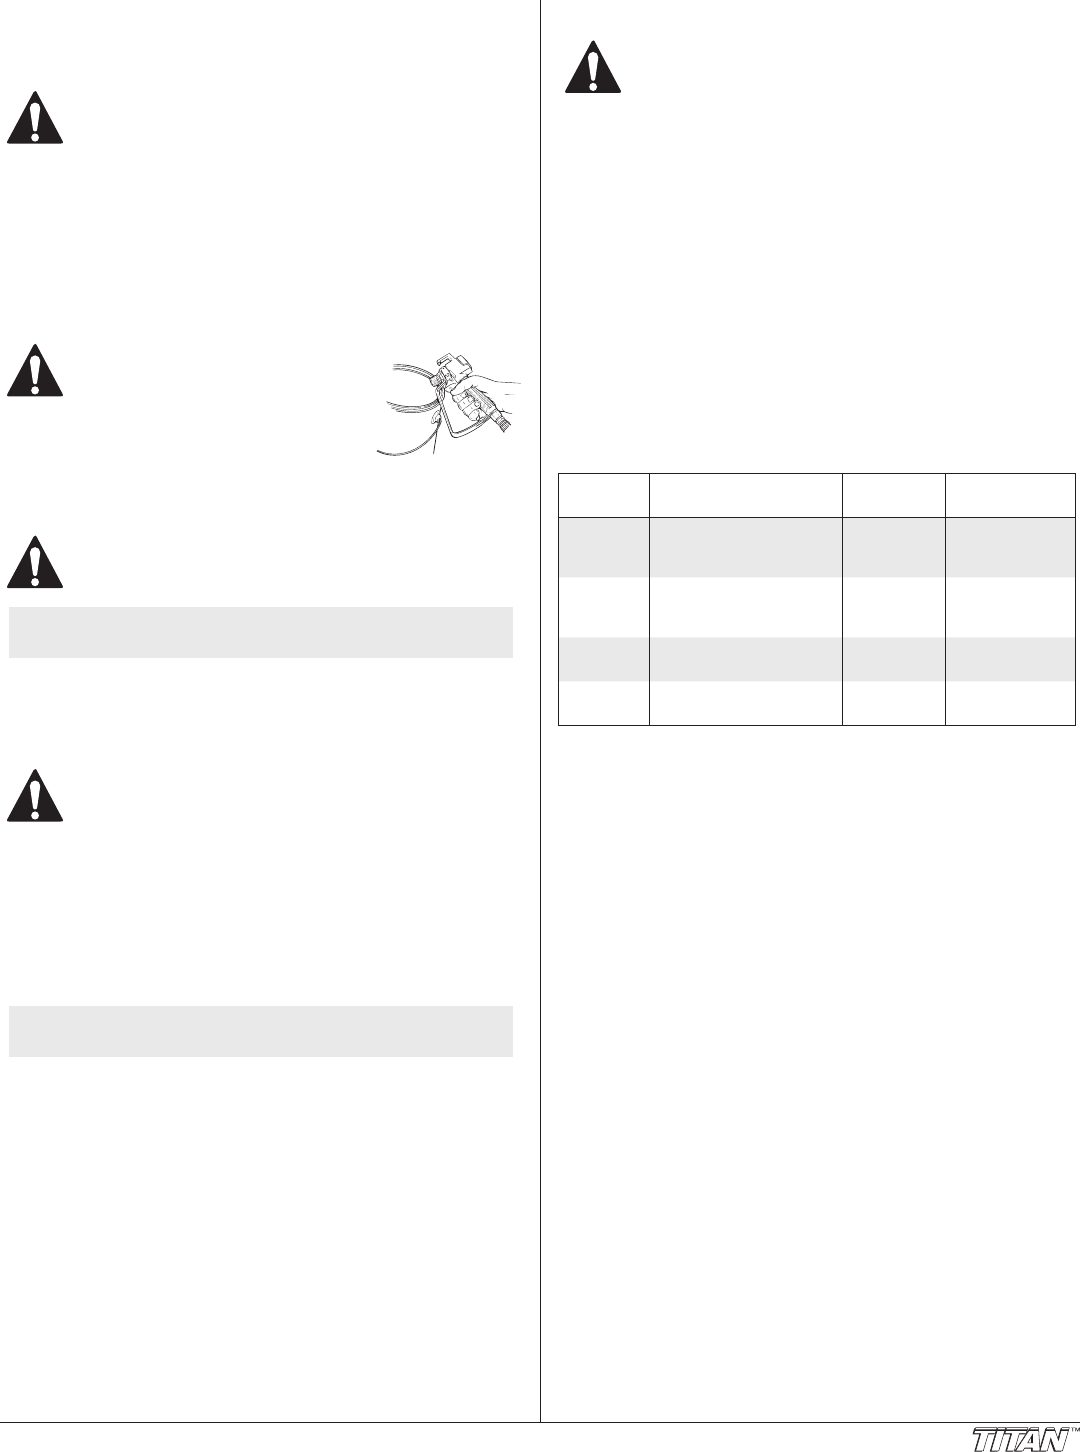
Always spray at minimum pressure with
the tip and tip guard removed when
using mineral spirits or any other solvent
to clean the sprayer, hose, or gun. Static
electricity buildup may result in a fire or
explosion in the presence of flammable
vapors. Hold the gun firmly against a
metal container while flushing.
Maintenance
Follow all safety precautions as described in the Safety
Precautions section of this manual before proceeding.
NOTE: Refer to the Parts List section in this manual for part
identication.
Replacing/Servicing the Seal Assembly
Ifyourspraygunleaksorspitsatthetipwhenyoureleasethetrigger,the
needleorseatisworn,damaged,ordirtyandmustbereplacedorcleaned.
Never attempt to perform maintenance on the spray gun
without first performing the “Pressure Relief Procedure.”
1. Performthe“PressureReliefProcedure”anddisconnecttheuidhose
from the gun.
2. Removetheendcapandthepackingspringfromtherearofthegun
head.
3. Usinga3/8”socket,removethepackingsealassemblyfromtherear
of the gun head.
4. Soaktheremovedpartsintheappropriatesolventandwipeclean.
5. Inspectthepartsforwearordamageandusenewpartsduring
reassemblyofthegun,whennecessary.
NOTE: Lubricate all packings and moving parts before reassembly
with a lithium-based grease.
6. Makesurethetworetractorpinsinsidethegunheadarestillinthe
correct position.
7. Insertthepackingsealassemblyintotherearofthegunheadand
threaditbyhanduntilitstops.
8. Usinga3/8”socket,tightenthepackingsealassembly.Torqueto5
Nm(3.7ft./lbs.).
9. Greasebothendsofthepackingspringandplaceitoverthepacking
sealassemblyinthegunhead.
10. Placetheendcapoverthepackingspringsothatthepilotinsidethe
end cap seats inside the packing spring.
11. Push the end cap toward the gun head while threading it into the
gunhead.Usingawrench,tightentheendcapsecurely.
12. Performthe“AdjustingthePackingSealAssembly”procedure
describedbelow.
Adjusting the Packing Seal Assembly
Proper adjustment of the seal assembly is essential to ensure
positive shut-off when the trigger is released.
1. Insertan1/8”hexwrenchthroughtheholeinthecenteroftheend
cap until it seats inside the packing seal adjustment screw.
2. Turnthepackingsealadjustmentscrewclockwiseuntiltheballonthe
packingsealassemblycanbefeltseatingintoposition.Then,turnthe
screw1/4turnmoreforpropertension.
Replacing/Removing the Filter
1. Pullthebottomofthetriggerguardforwardsothatitcomesloose
fromthehandleassembly.
2. Loosenandremovethehandleassemblyfromthegunhead.
3. Pulltheoldlteroutofthegunhead.
4. Slidethenewlter,taperedendrst,intothegunhead.
5. Makesureallthepartsarecleanandthehandlesealisinposition
inside the gun head.
6. Threadthehandleassemblyintothegunheaduntilsecure.
7. Snapthetriggerguardbackontothehandleassembly.
Gun Filter Chart
Part
Number
Application Filter Type Color of Filter
Body
0089960 Syntheticresin,enamels,
cleanvarnishes,stains,
azures
Extrane red
0089959 Basecoatenamels,primer
enamels,llers,marking
paints,texturedenamels
Fine yellow
0089958 Emulsions,latexpaints,
acrylic paints
Medium white
0089957 Fillerpaints,largearea
surfaces
Coarse green


