12 © Titan Tool Inc. All rights reserved.
Basic Engine Maintenance (gas engine)
• For detailed engine maintenance and technical
specications refer to the separate gasoline engine
manual.
• All service to the engine should be performed by a dealer
authorized by the engine manufacturer. To locate a dealer
in your area, look in the Yellow Pages of your telephone
directory under Gasoline Engines, Garden & Lawn
Equipment & Supplies, Lawn Mowers, etc.
• The gas engine is warranted exclusively by the engine
manufacturer.
• Use a premium quality motor oil certied to meet or
exceed U.S. Automotive requirement SG.or SF. SAE
10W30 is recommended for general all temperature use.
Other viscosities may be required in other climates.
• Use only a (NGK) BP6ES or BPR6E spark plug. Gap the
plug to 0.028 to 0.031 In. (0.7 to 0.8 mm) Always use a
spark plug wrench.
Daily
1. Check engine oil level, and ll as necessary.
2. Check gasoline level, and ll as necessary.
Always follow the fueling procedure outlined earlier
in this manual.
First 20 Hours
1. Change engine oil.
Every 100 Hours
1. Change engine oil.
2. Clean the sediment cup.
3. Clean and re-gap the spark plug.
4. Clean the spark arrestor.
Weekly
1. Remove the air lter cover and clean the element. In
very dusty environments, check the lter daily. Replace
the element as needed. Replacement elements can be
purchased from your local engine dealer.
Engine Operation and Service
1. Clean and oil air lter pad on gasoline engine every 25
hours or once weekly. Do not permit the air intake screen
around the y wheel of the gas engine to load up with
paint or trash. Clean it regularly. The service life and
efciency of the gas engine model depends upon keeping
the gasoline engine running properly. Change the oil
in the engine every 100 hours. Failure to observe this
may result in engine overheating. Consult the engine
manufacturer’s service manual provided.
2. To conserve fuel, service life, and efciency of the sprayer,
always operate the gasoline engine at the lowest RPM
at which it runs smoothly without laboring and delivers
the amount required for the particular painting operation.
Higher RPM does not produce higher working pressure.
The gasoline engine is connected to the hydraulic pump
by a pulley combination designed to produce full paint
delivery at maximum RPM.
3. The warranty on gasoline engines or electric motors is
limited to the original manufacturer.
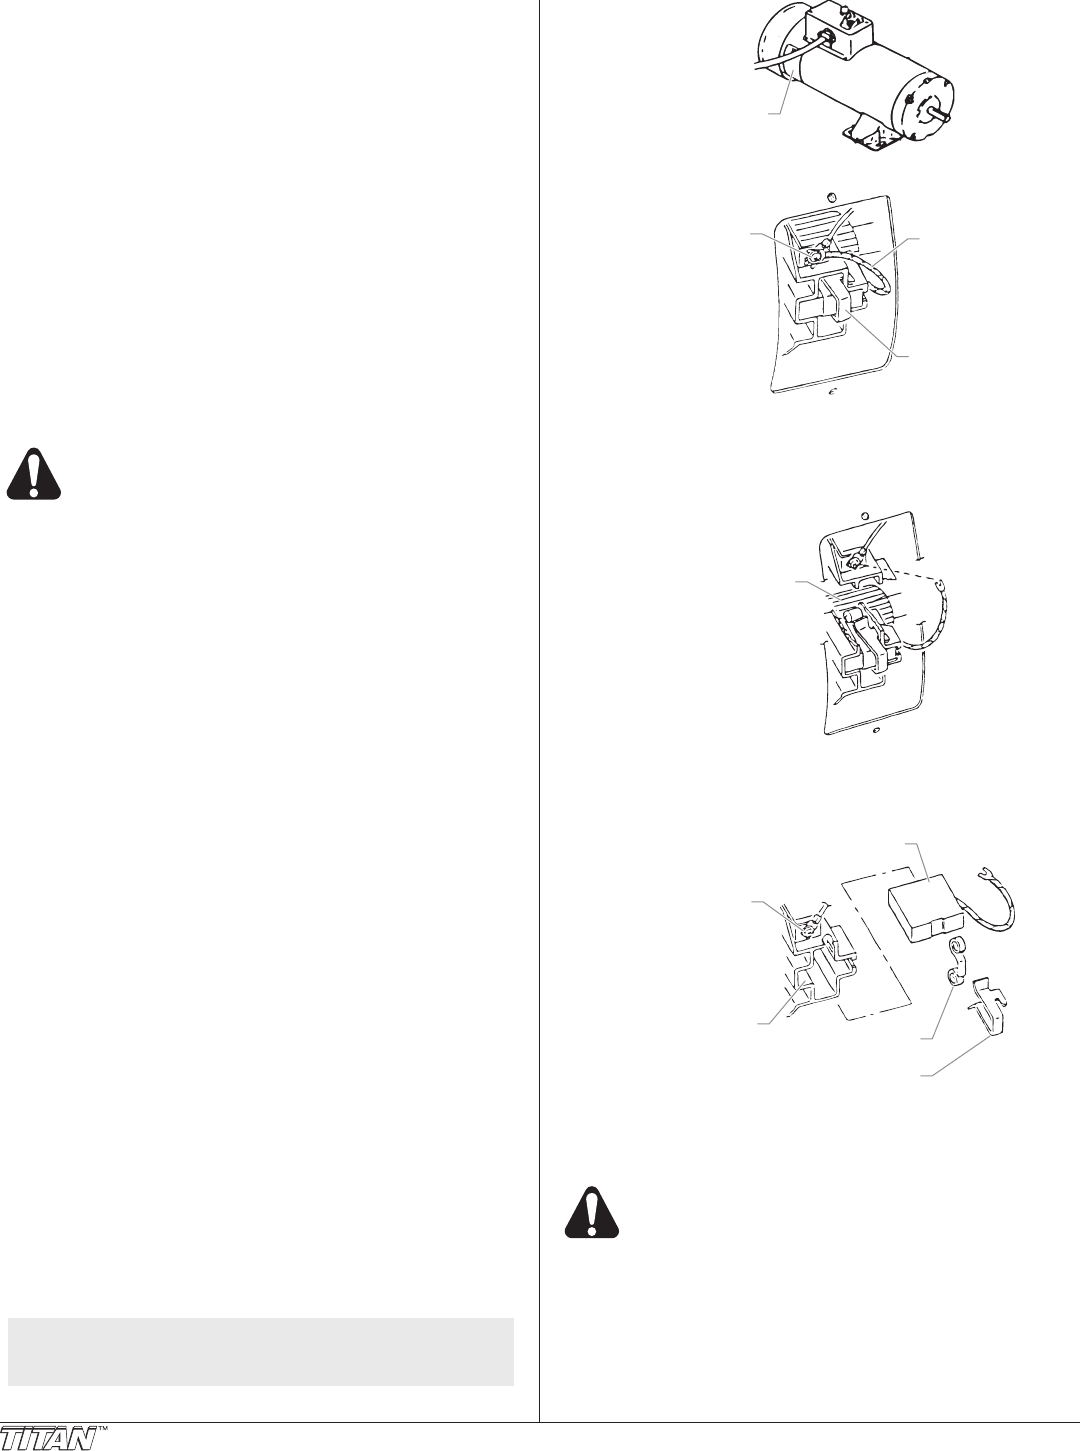
Replacing the Motor Brushes (electric motor)
Perform this procedure using Motor Brush Kit P/N 978-050. The
kit consists of two brushes, two springs, and two clips.
NOTE: Brushes should be replaced when they are worn
to less than 1/2 inch. Check and replace both
brushes at the same time.
1. Remove both inspection covers on the motor.
2. Push in the spring clip to unhook it, then pull it out..
Terminal Screw
Spring Clip
Brush Lead
3. Loosen the terminal screw. Pull the brush lead away, but
leave the motor lead in place. Remove the brush and
spring.
4. Inspect the commutator for burning, excessive pitting or
gouging. A black color on the commutator is normal.
5. Install the new brush so its lead slides in the long slot of
the brush holder. Push the terminal under the terminal
screw washer. Ensure the motor lead is still connected at
the screw. Tighten the screw.
Brush
Brush Holder
Terminal Screw
Spring
Spring Clip
6. Place the spring on the brush as shown above. Push in
and hook the spring clip. Repeat this procedure for the
other side.
7. Reinstall both inspection covers.
If electric motor overloads and stops running,
IMMEDIATELY turn the motor off and follow the
Pressure Relief Procedure in the Cleanup section
of this manual. Wait until the motor cools
(approximately 30 minutes). Then push in the
bubble top, manual reset button, turn the motor on
and pressurize the system.
For CSA approved sprayers only: The ON/OFF switch is
also the RESET!


