Installing Printer Software in Windows
5
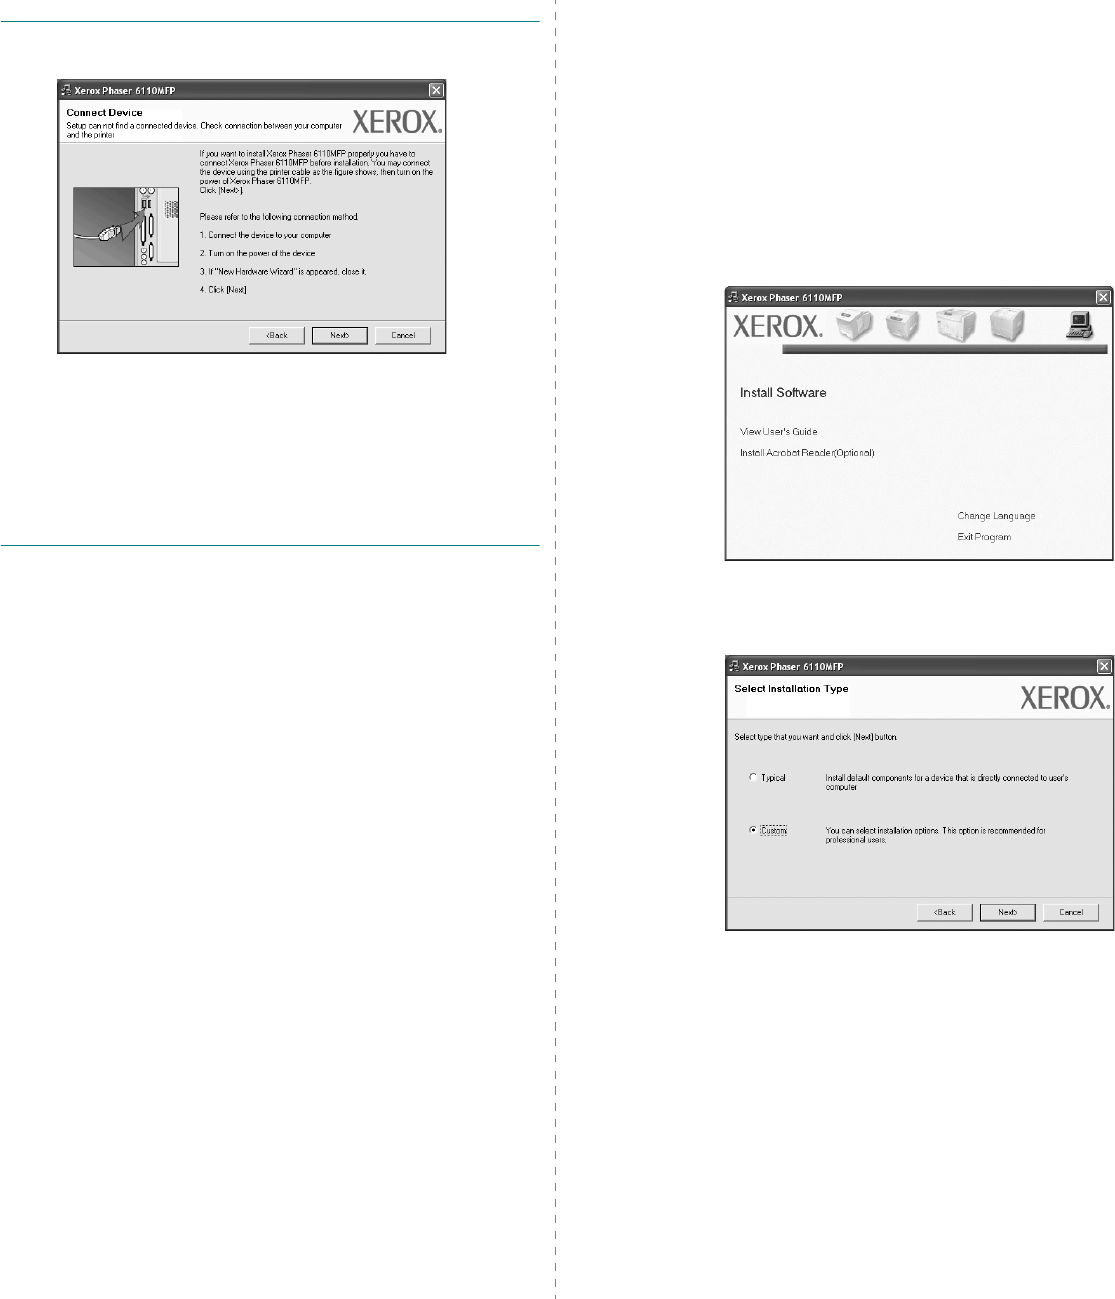
NOTE
: If your printer is not already connected to the
computer, the following window will appear.
• After connecting the printer, click
Next
.
• If you don’t want to connect the printer at this time, click
Next
, and
No
on the following screen. Then the installation
will start and a test page will not be printed at the end of the
installation.
• The installation window that appears in this User’s
Guide may differ depending on the printer and
interface in use.
5
After the installation is finished, a window asking you to
print a test page appears. If you choose to print a test
page, select the checkbox and click
Next
.
Otherwise, just click
Next
and skip to step 7.
6
If the test page prints out correctly, click
Yes
.
If not, click
No
to reprint it.
7
Click
Finish
.
Custom Installation
You can choose individual components to install.
1
Make sure that the printer is connected to your computer
and powered on.
2
Insert the supplied CD-ROM into your CD-ROM drive.
The CD-ROM should automatically run, and an installation
window appears.
If the installation window does not appear, click
Start
and
then
Run
. Type
X:\Setup.exe
, replacing “
X
” with the
letter which represents your drive and click
OK
.
3
Click
Install Software
.
4
Select
Custom
. Click
Next
.


