


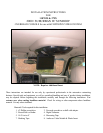
3
PREPARATION OF VEHICLE INTERIOR
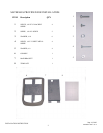
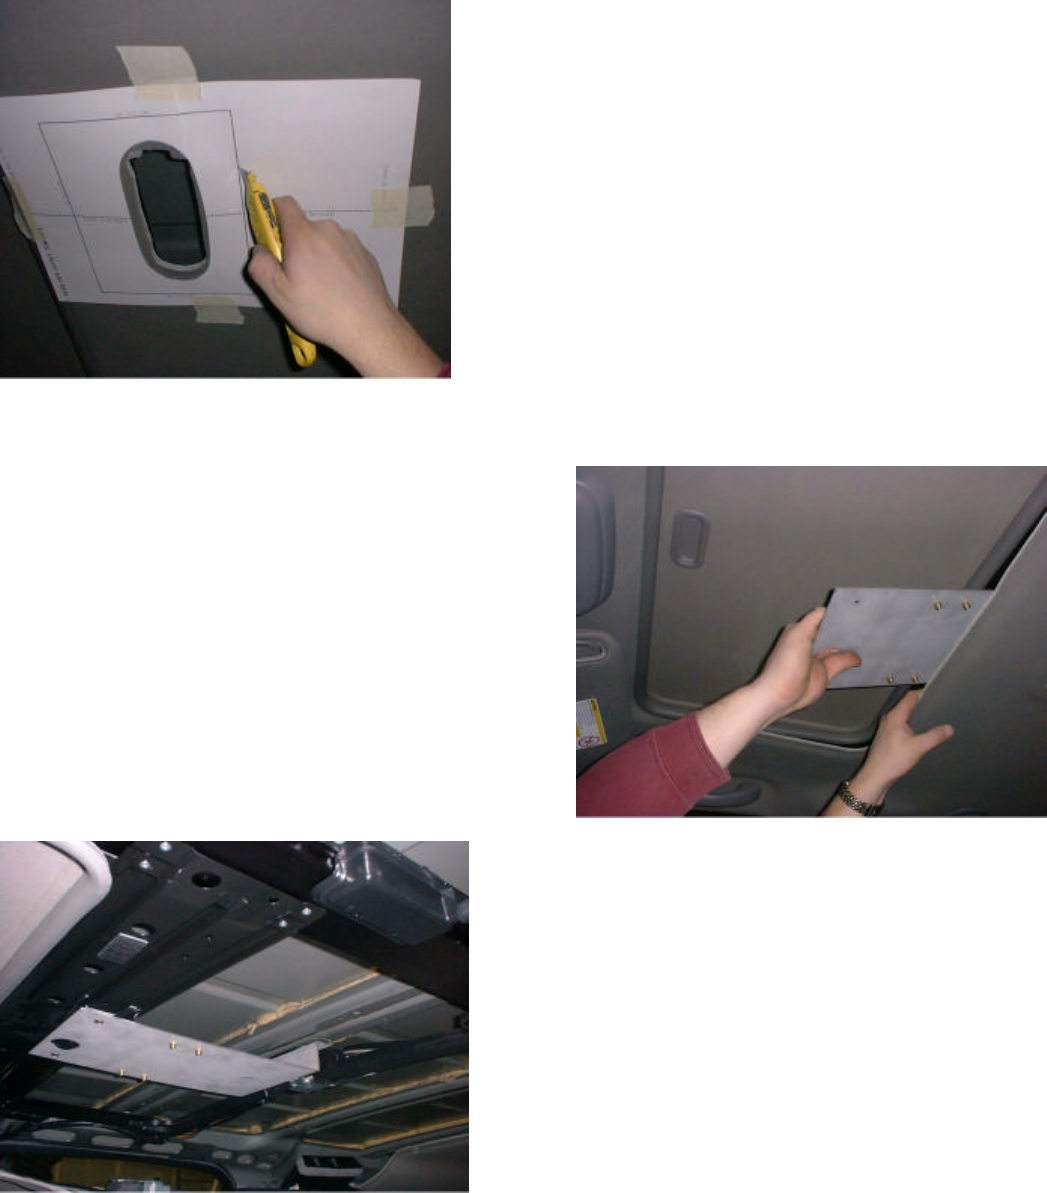
1. Cut out the oval dome light cutout on the
template (item 8 pg 2) with a scissors or knife.
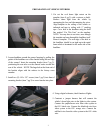
Remove dome light from the vehicle by
unsnapping the lens and disconnecting the wires.
Align template to the ceiling of the vehicle as
indicated and tape to ceiling with ½” masking
tape. Cut a hole in the headliner using the bold
line marked “Cut This Line” on the template.
NOTE: You may have to cut twice, once through
the template and once through the headliner itself.
Remove template. The rear edge of the hole in
the headliner should be cut right up to the metal
beam which is laminated to the under side of the
headliner.
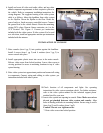
2. Loosen headliner around the sunroof opening by pulling the
gasket of the headliner out of the channel along the rear edge
of the sunroof. Insert the mounting bracket (item 7 pg 2),
positioning the rear tabs over the sunroof motor toward the
rear of the vehicle. NOTE: The large hole at the front end of
the bracket aligns with the emboss in the factory cross
member.
3. Install two (2) #10 x 3/8” screws (item 2 pg 2) into front of
mounting bracket (item 7 pg 2) to secure bracket into place.
4. Using a digital voltmeter, check function of lights.
5. Construct a jumper harness that will connect the
vehicle’s dome light wires to the lights in video system.
Connect the purple/brown wire from video system to
the O.E. black wire. Connect the black/red wire from
video system to the O.E. orange wire. Connect the
red/black wire from the video system to the O.E. white
wire.