


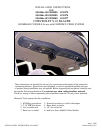


3
I. PREPARATION OF VEHICLE INTERIOR
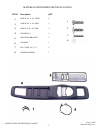
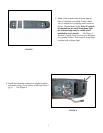
1. Remove the O.E.M. console mounted to inner
roof of vehicle. Remove and discard dome light
cover to gain access to (2) two #8 x 3/4"
screws. Retain screws. Remove and retain (1)
one #8 x 1 1/2" screw located in front of
console near rear view mirror. See Figure 1.
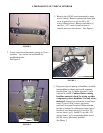
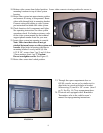
2. Lower console and disconnect wiring at (2) two
locations. Lay console on workbench for
modification later.
See Figure 2.
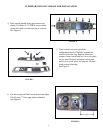
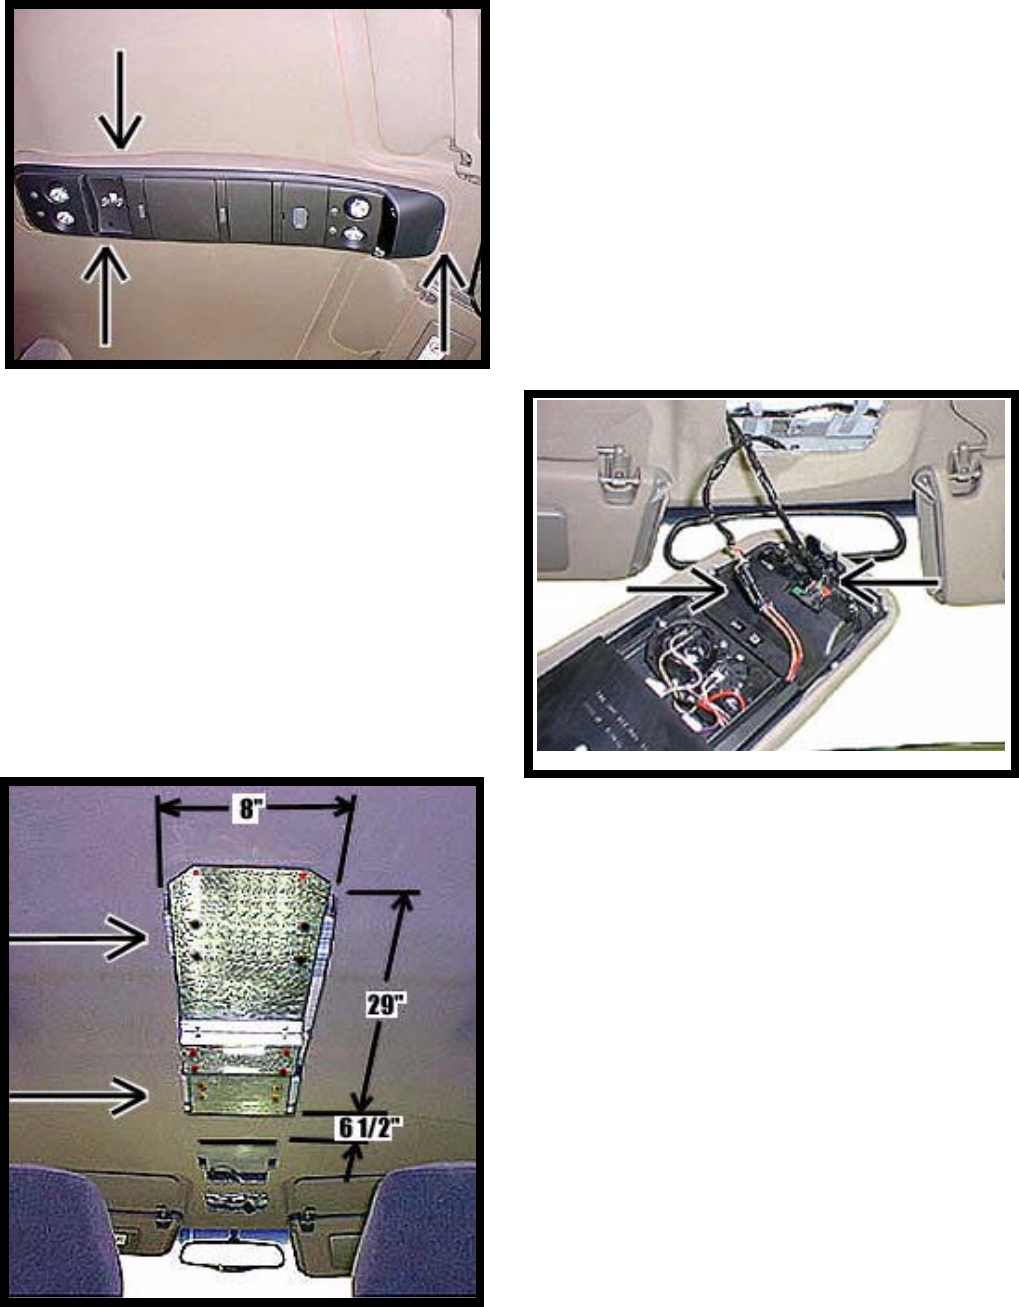
3. Using rear edge of opening in headliner, carefully
trim headliner as shown and install mounting
bracket (item 5 pg 2). Make sure the 8” cut is
centered in vehicle. Caution: Before cutting
headliner material, check for wiring or other
componentry above headliner. Cut only where
indicated. Secure front of bracket to roof brace
using (2) two O.E.M. screws, previously
removed, in original locations. Make sure that
bracket is centered in vehicle and secure rear of
bracket to roof brace using (4) four #8 x 3/4"
screws (item 1 pg 2). Install (2) two #8 x 3/4"
screws (item 1 pg 2) in remaining holes next to
O.E.M. screws previously installed.
See Figure 3.
FIGURE 1
FIGURE 2
FIGURE 3