


6
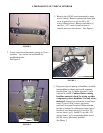
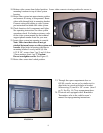
9. Carefully insert modified console into vinyl
covered console as shown. Insert the video
system in th
e opening in center of console.
See Figure 9. Note: Leave
compartment door open to the 90 degree
position until console is installed in
vehicle. This will allow access for
installing screws. If the door is closed
prior to installation in vehicle, it will not
open enough to properly install screws.
CAUTION: The edges of O.E.M. console
may be sharp and could cut the vinyl
console during installation. It may be
necessary to deburr the edge of console
before installation.
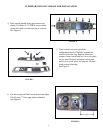
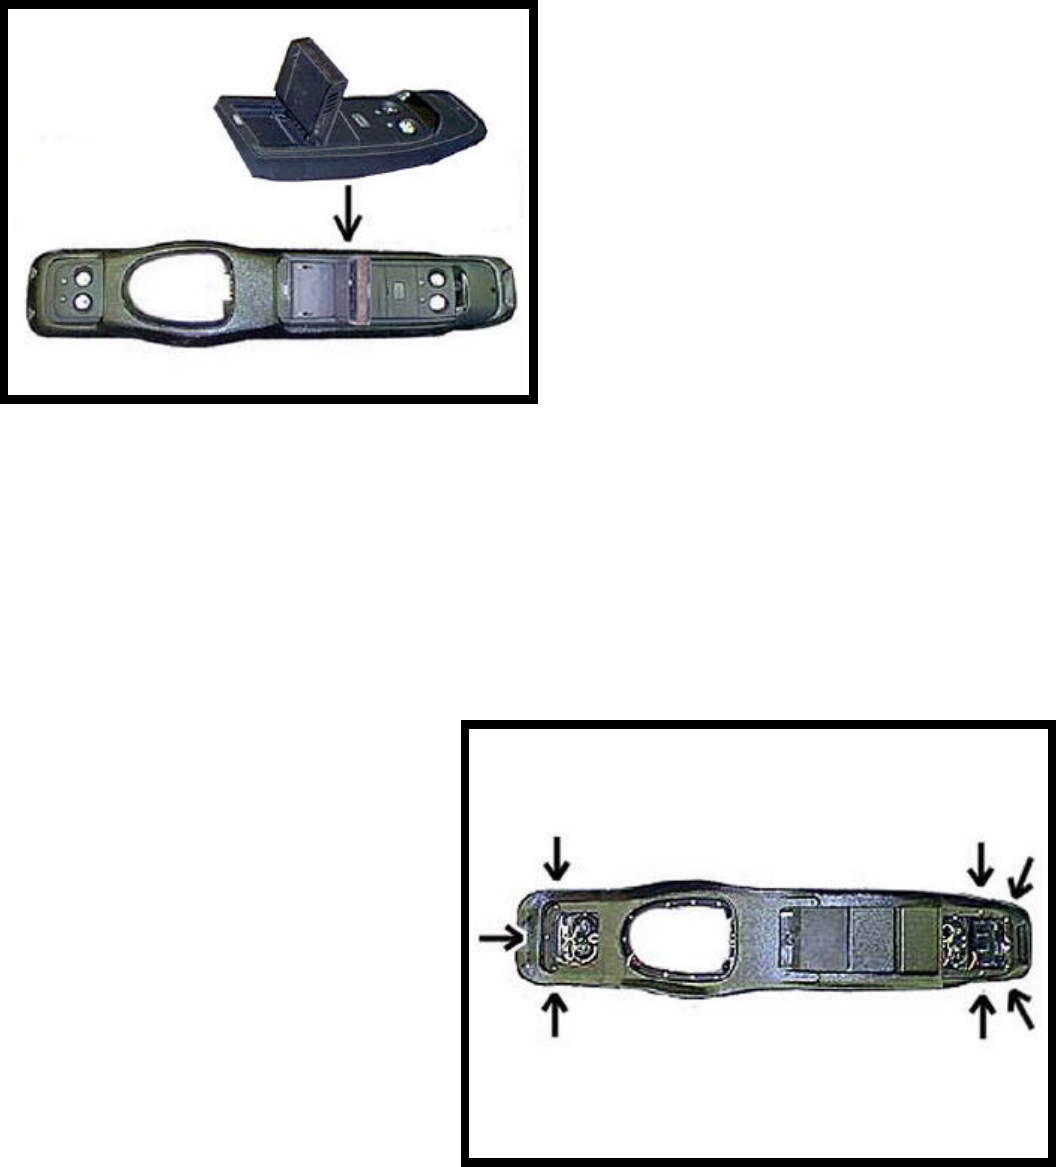
10. Carefully turn console over and secure
O.E.M. console using original screws. Start
all screws before tightening. Caution: Do
not overtighten screws. See Figure 10.
11. Install jumper wire harness (item 8 pg 2) to
extend the red, violet, orange, and black
wires previously cut on O.E.M. harness.
Connect the white wires from video system
light to orange O.E.M. wire. Connect the
black wires from video system light to
black O.E.M. wire. Firmly crimp wires then
slide shrink sleeve over butt connector and
apply heat.
FIGURE
9
FIGURE 10