


8
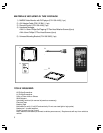
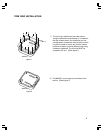
7. AUX A/V, Output
An auxiliary A/V output is provided to drive an external monitor. This signal mirrors what's being
shown on this player. The volume function does not affect the Auxiliary A/V Output.
8. Polarity Switch
Slide to "-" position if your vehicle's door polarity is negative; slide to "+" position if your vehicle's
door polarity is positive.
Note:
Make sure the switch is fully seated in the desired position.
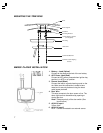
* Fuse power leads at the vehicle power source.
To install the player:
1. Disconnect the negative terminal of the battery.
2. Disconnect the original dome light.
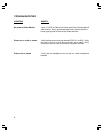
3. Attach the metal mounting plate to the roof bow using the 6 ST 4.2 16mm screws and washers.
Use care to avoid damaging the vehicle roof.
4. Pull out the original dome light Power wire and Signal/Power Cable through the original dome
light opening.
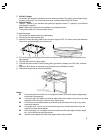
5. Connect the input and output cables.
6. Connect the wire harness in the following order: ground wire, battery wire, ACC wire, and door
wire.
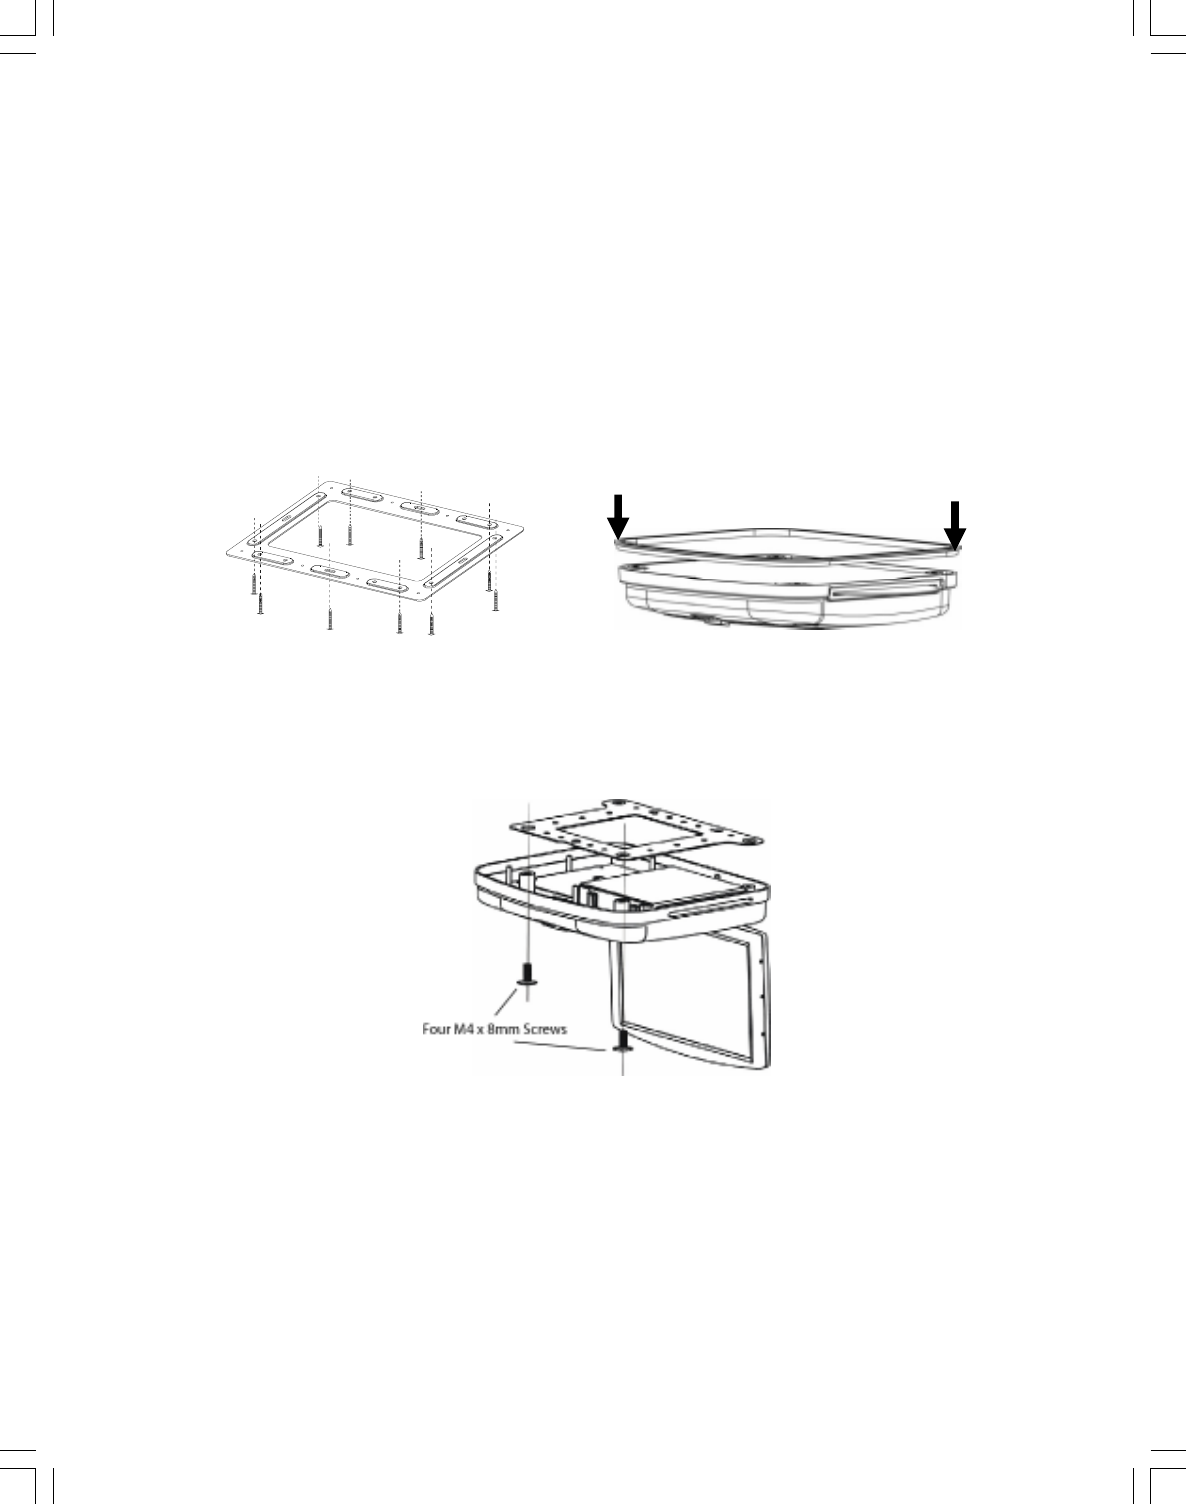
7. Attach the DVD player to the metal mounting plate using 4 M4x8mm screws.
8. Reconnect the ground terminal of the battery.
Notes:
Connect the red wire to the ACC of the ignition switch, or else the battery charge might
be drained off prematurely.
If a fuse is open, first make sure that the cables have not caused a short circuit, and then
replace the old fuse with a new one of the same rating.
Do not have unconnected cables or terminals touch the metal on the car or any other
conducting material.
To prevent short circuits, do not remove the caps from unused terminals or from the
ends of the unconnected cables.
After the display unit is installed, check and make sure the brake lights, blinkers, wiper,
etc., on the vehicle are working properly.
Insulate unconnected wires with vinyl tape or other similar material.