Page 34
'&
The new setup will be saved for preset 1. You can save digital off for preset 1 and
digital on for preset A1 if you wish. This would allow you to have two different sources
into the CD inputs, one digital and one analog.
These star operations do not change the digital settings in the
SETUP
menu. They are
temporary changes to the mode of the input selected. When the AVP is powered off
and then on, the input will default back to the
SETUP
menu status (Unless a preset was
selected to turn on the AVP).
NOTE:
The star funcitons (
U
10,
U
11
U
,12,
U
13) will not work if the digital input is set to
DTS in the
SETUP
menu.
Other star (
7
) operation
Star 98 will reset the preamplifier back to the factory presets. This is a master reset for
the preamplifier and will erase everything that was programmed into the system
memory.
Factory reset
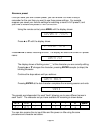
Reset the AVP before you start. Plug in the power and turn the AVP on. When the
display shows:
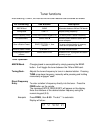
Press the
U
(star) then
9
then
8
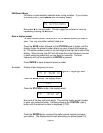
and the display will show:
The AVP will turn off and back on. Then it will cycle through the three title messages
and then off again. The AVP is now reset to factory defaults. You can perform this
procedure anytime you need to reset the preamplifier to the factory defaults.
All your
presets will be erased.
Do not interrupt the cycle, do not press any buttons
on the remote or preamplifier face plate.
If you accidentally press a button, you will
have to repeat the reset procedure.
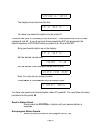
Turn the preamplifier
ON
and the display will show:
You can now program the preamplifier to your desired setup.
This is the same procedure as shown on page 15.


