


12
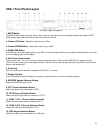
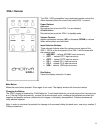
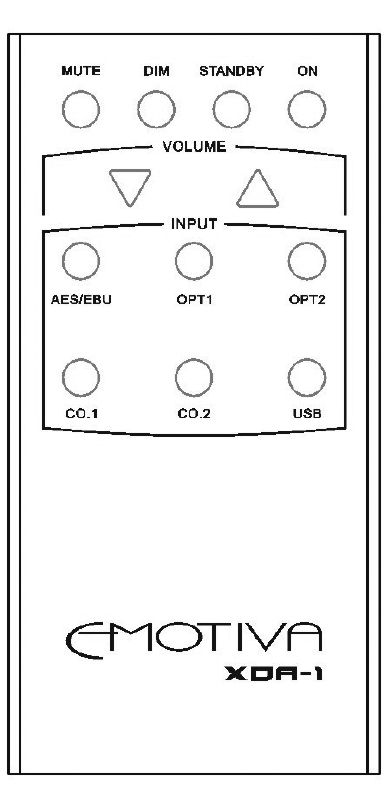
XDA-1 Remote
The XDA-1 DAC preamplifier has a dedicated remote control that
offers discrete buttons for most of the critical XDA-1 controls.
Power Buttons
ON Button
Discrete button to turn the XDA-1 on as indicated
STANDBY Button
Discrete button to put the XDA-1 in standby mode
Volume Controls
Applies continuous increase (UP) or decrease (DOWN) in volume
levels while buttons are held down.
Input Selection Buttons
These discrete buttons select the various source inputs of the
XDA-1. LED’s on the front panel of the XDA-1 will illuminate with
the selected input
• AES/EBU - selects AES/EBU input as source
• OPT1 - selects OPT1 input as source
• OPT2 - selects OPT2 input as source
• CO.1 - selects CO.1 input as source
• CO.2 - selects CO.2 input as source
• USB - selects USB input as source
Dim Button
Varies the display intensity in 5 steps.
Mute Button
Mutes the sound when pressed. Press again to un-mute. The display window will show mute status
Changing the Battery
The XDA-1 remote is powered by 2 AAA batteries. To add fresh batteries, you must remove the 6 screws (use
a no. 2 flat tip Phillips screwdriver), remove the aluminum back cover, exchange the batteries and orient the
negative and positive ends as indicated by the images in the battery compartment. Emotiva recommends
using alkaline batteries.
Note: In order to minimize the potential for damage to the screws holding the back cover, use only a number 2
Phillips screwdriver!