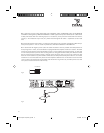
- Insert the new fuses in the fuse holder. Make sure that the new fuse rating corresponds to the product
specifications.
- Put the bottom cover back on and secure it with the screws then screw.
- Turn the amplifier back into position with its bottom facing the attachment surface.
- Screw in the fixing screws of the amplifier.
- Connect the positive terminal of the battery powering the amplifier.
3.8 - Tin the end of the power supply cable before you connect it to the battery’s positive (+) terminal. Weld
the end of the cable to the terminal lug that is going to be used for the battery’s positive (+) terminal. Connect
the terminal lug to the battery’s positive terminal.
3.9 - Insert the fuse into the fuse-holder(s), and screw in tightly.
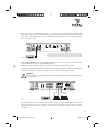
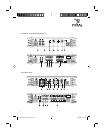
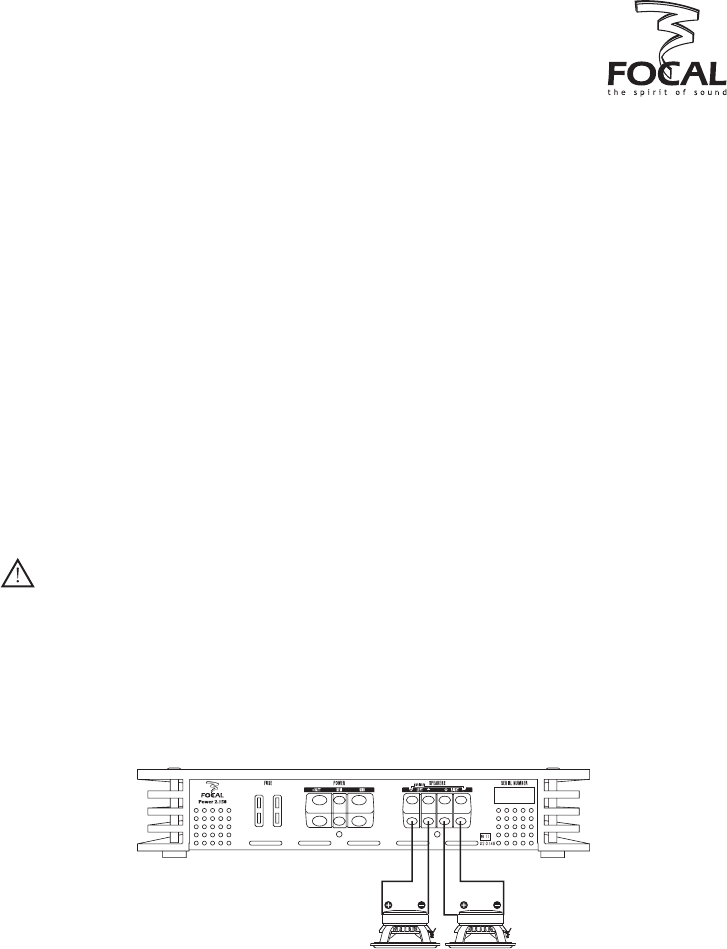
3.10 - Connect the loudspeaker cables to the right and left channel crossover networks, making sure that
the polarities are the same (note: + = cable with a red border if you are using a Focal kit) as those used for
standard cabling set-ups. Focal amplifiers can operate in bridged mode (see product specifications page 19)
for amplifying subwoofers. To do so, simply connect the positive (+) loudspeaker cable to the left channel’s
(“LEFT”) positive (+) binding post terminal and connect the negative (-) loudspeaker cable to the right channel’s
(“RIGHT”) negative (-) binding post terminal.
WARNING
If you are connecting several subwoofers to a single output, check that the amplifier’s impedance rating is
compatible (p 19).
3.11 - The connection phase has now been completed. Now all you need to do is to check that you have the
right power supply and verify that the overall set-up – car radio + amplifier + loudspeakers – works properly.
Set all gains (both source gains and amplifier gains) to their minimum levels. Switch on the various parts of the
system. Once you have switched on all of the parts, test the system at low sound level.
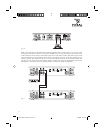
fig. 9
11
installation
notice amplis focal power gb.ind11 11notice amplis focal power gb.ind11 11 28/09/06 16:11:5828/09/06 16:11:58


