POWER Amplifiers
4
Power Wiring
Charging System
In some cases, the installation of just one (1) amplifier could be enough to
overload your factory electrical system (i.e., alternator). Depending on the
state of your electrical system and overall condition of your vehicle, you may
need to upgrade your alternator and battery. After the vehicle is started, the
alternator provides the power to your electrical system, not the battery. When
the engine is running, the alternator is your main source of power. Upgrading
the alternator should be your first consideration if you should experience a
voltage drop in the system when operating your audio system. Adding
capacitors and/or batteries without upgrading the alternator will only make the
problem worse because these devices put an extra load on the alternator. After
upgrading the alternator, capacitors and/or batteries can be installed if desired.
Use the following recommended wire gauge as a guide when installing your
amplifier(s):
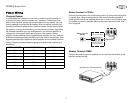
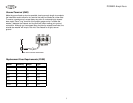
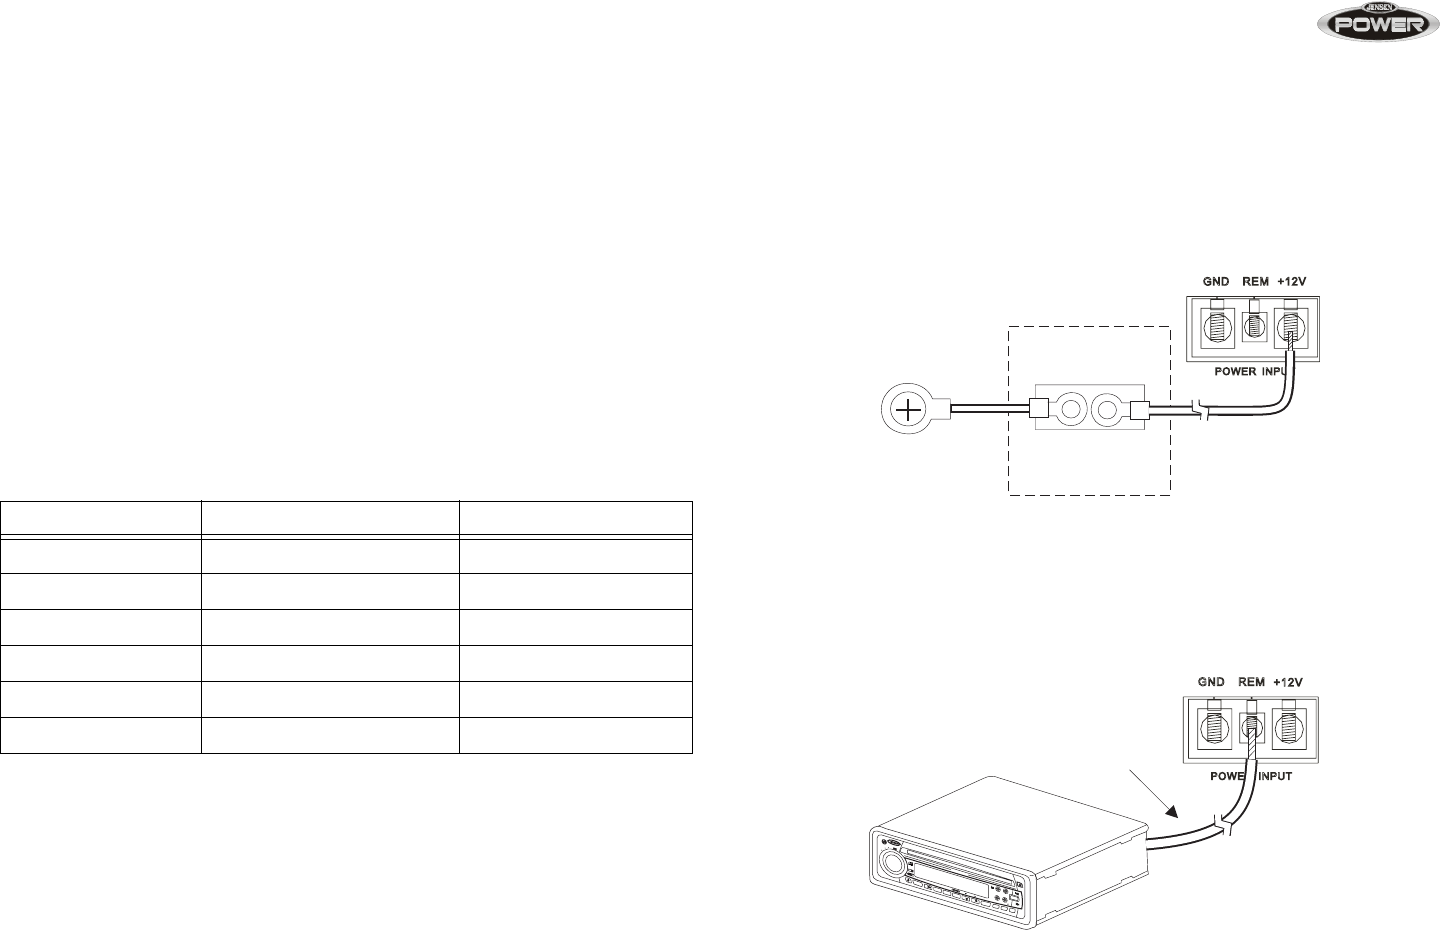
Power Terminal (+12V/B+)
Connect the main power wire to the battery, within 18 inches from the positive
(+) battery post, using an adequate size fuse or circuit breaker capable of
handling the current of the selected power wire. A fuse or circuit breaker must
be installed to prevent a possible electrical fire should the main power wire
short to ground.
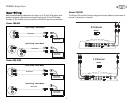
Remote Terminal (REM)
Connect the power antenna or amplifier turn-on lead from the receiver to the
amplifier remote terminal.
MODEL NUMBER MAX CURRENT DRAW MIN WIRE GAUGE
400 25A #8
760 40A #8
880 60A #6
900 60A #6
920 60A #6
1050 100A #4
Fuse or Circuit Breaker
Install as close to the
battery as possible.
Battery Terminal
Adaptor
Remote Turn-On (Power Antenna)
B
B
L
E
T
A
A
A
D
F
R
S
UB-W
SUB-W
MONO
MONO
AS/PS
AS/PS
DISP
DISP
LOC/DX
1
2
3
INT
4
5
6
BAND
SCAN
EQ
MUTE
MODE
MODE
RPT
SHF
CD2620
DN
UP
i
i
X
-BASS
CHANGER
40 WA
TTSx4
JPTH
CD-R/R
W
AUXIN
EQ
i
4
AUX
AUX
CD RECEIVER
E
L
R
E
S
S
B
VOL


