


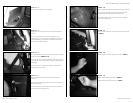

STEALTHBOX WALL
VEHICLE SHEET METAL
THREADED INSERT
LOCK WASHER
FLAT WASHER
SOCKET CUP SET SCREW
HEX NUT
FENDER WASHER
Continued on Next Page
SB-N-PTHFNDR2/10W3v3_INSTR_SKU#011234
SB-N-PTHFNDR2/10W3v3_INSTR_SKU#011234
STEP 22
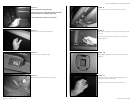
Secure the three hold down cleats, that was removed in
STEP 6.
STEP 21
Secure the third row seat belt, that was removed in STEP 7.
STEP 20
Secure the second row seat belt, that was removed in
STEP 8.
Page 4 • JL Audio, Inc 2007
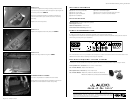
STEP 24
Run speaker wire from the amplifier location to the
Stealthbox® location and check for proper operation of
the woofer.
STEP 25
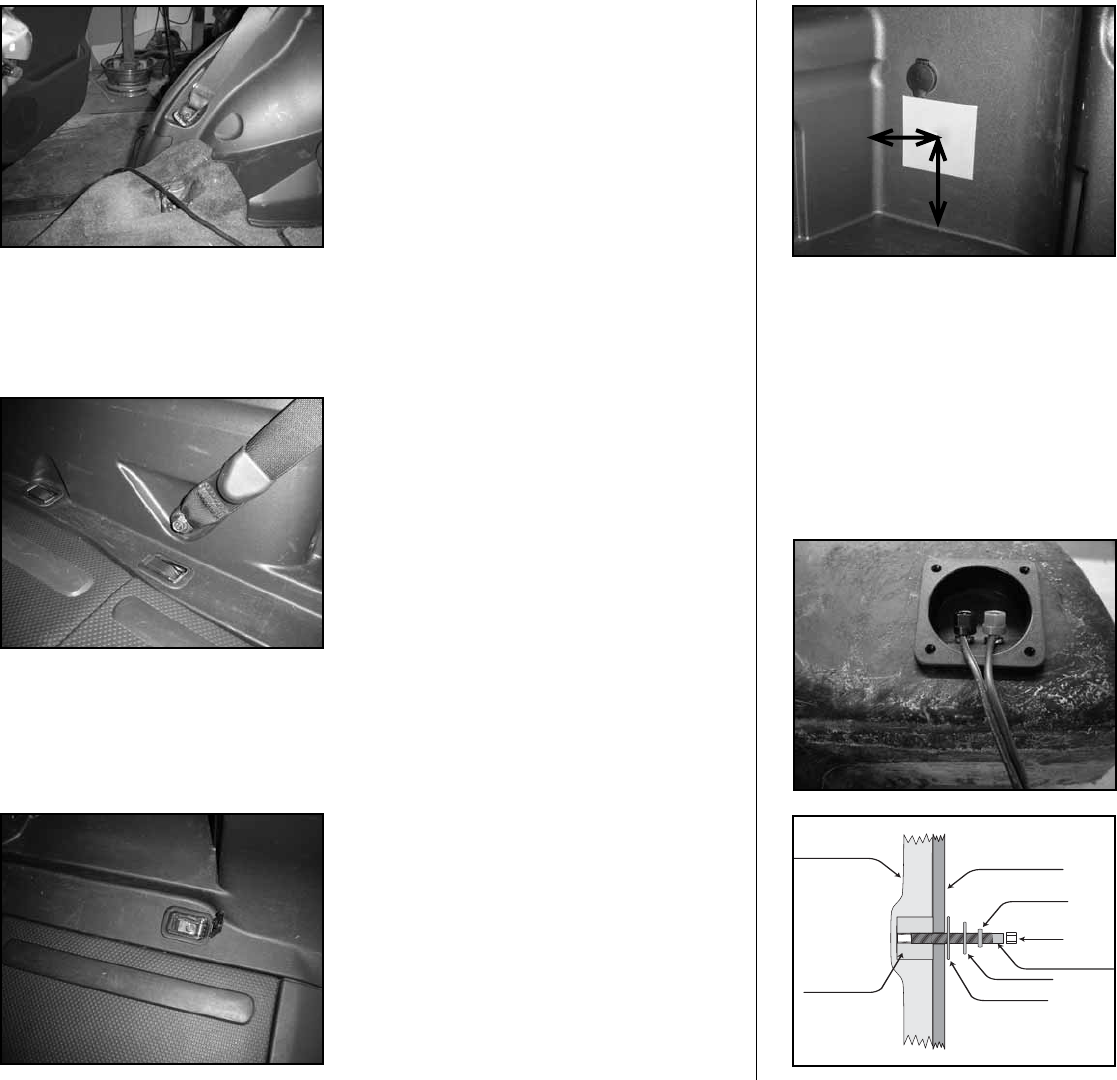
Back out the socket cup set screws installed in STEP 23, to
leave 1 1/4-inch of thread exposed.
Place the Stealthbox® into position by guiding the socket cup
set screw through the hole drilled in STEP 23.
STEP 23
Place the supplied wax square into place.
Thread in the socket cup set screw into the Stealthbox®,
leaving 1/2-inch exposed.
Place the Stealthbox® in the mounting location, press on it
firmly, against the side panel.
Remove the Stealthbox® carefully, leaving the wax square in
place. The socket cup set screw will leave an impression in
the wax.
Note: Before drilling, always wear eye protection when
drilling!
With a drill and a 1/2-inch drill bit, drill through the
impression made in the wax square and into the vehicle’s
side panel.
The drilled hole in the side panel, should line up with
the hole that is in the mounting bar that was mounted in
STEP 14-16.
Remove the wax square.
3.25-inches
4-inches