


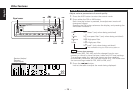
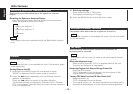
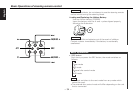

This function allows you to turn off the lower part of the
display if there is too much information in the display.
Turning the Black Mask On/Off:
Hold down the MENU button for one second or more.
"MENU" is displayed and the menu mode is turned on.
Press the ¢ button repeatedly until the Black Mask function
appears in the display.
Pressing the 4 button results in the functions being switched
in the reverse order.
The function setting is indicated by "BLK MASK ON" or "BLK
MASK OFF" in the display, indicating that the Black mask is on
or off, respectively.
"BLK MASK ON" (The display will turn on by using only the part
for letter display.)
"BLK MASK OFF" (The display will turn on by using the whole
part of the display.)
Switching settings
Press either the AM or FM button.
The display and setting will change.
Press the MENU button to end the menu mode.
4
3
2
1
Black Mask
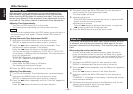
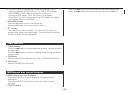
Switching settings
Press either the AM or FM button.
Press the FM button to change the setting number of times
higher, and press the AM button to change it lower. Settings
may be made from 1 to 3.
Press the MENU button to end the menu mode.
The "#" display in the Manual Open Switch Setting mode will
differ depending on the setting. The initial setting value is "1".
NOTE
4
3
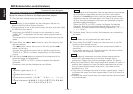
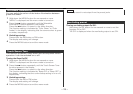
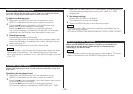
By sliding the Manual Open Switch during forced closing, you
can open the control panel. Follow the directions below to
preset the number of times that this switch needs to be slid in
order to open the panel.
To preset the number of times to slide the Manual Open Switch:
Press the MENU button for at least one second.
"MENU" is displayed and the menu mode is turned on.
Press the ¢ button repeatedly until the Manual Open Switch
Setting function appears in the display. Press the 4 button to
search in the other direction.
The function setting is indicated by "Open SW #" in the display,
indicating that the Manual Open Switch Setting mode is on.
2
1
Manual Open Switch Setting
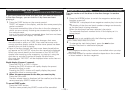
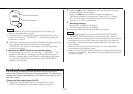
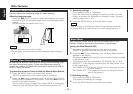
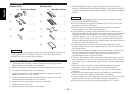
You can adjust the faceplate angle for easy viewing.
Adjusting faceplate angle:
Press the ¡ (EJECT) button to make the faceplate slide open,
and then adjust the faceplate angle using the angle adjustment
switch.
Adjustment may be made from 0 to 2.
•Firmly slide the switch until it clicks.
•Do not apply excessive force to the faceplate under settings 1
or 2.
NOTE
0 1 2
0 1 2
0
2
1
Faceplate Angle Adjustment
Other features
— 32 —
English