


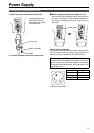


17
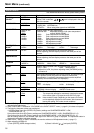
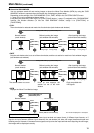
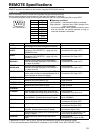
g WB adjustment mode
You can adjust “WHITE BALANCE VAR1” – “WHITE BALANCE VAR3” (WB) by selecting “VAR1” – “VAR3” in
“COLOR TEMP.” in the “VIDEO CONFIG” menu.
The underlined values are factory preset setting values.
*1 When adjusting, the item display moves to the lower part of the screen.
The underlined values are factory preset setting values.
*2 This function is disabled while in 2 screen display mode.
*3 These functions are disabled when the control settings are in GPI mode.
*4 If these settings are changed, the menu settings will also change.
*5 When “RGB-COMP.” is not selected in “YP
BPR/RGB” in the “INPUT SELECT” menu, “NOT RGB-COMP.CH-” is
displayed, and this does not operate.
*6 This function will not work when “RGB-COMP.” is selected in “YP
BPR/RGB” in the “INPUT SELECT” menu.
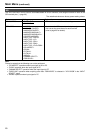
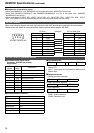
Sub menu Settings Explanation
COLOR TEMP.
<USER0–63>
<D93>
<D65>
<D56>
Used to select the color temperature that will become the
basis for adjustments.
<USER0
–
63>
Adjustable settings 0–63 (color
temperature around 3000K–9300K)
<D93> Color temperature around 9300K
<D65> Color temperature around 6500K
<D56> Color temperature around 5600K
WB-HIGH RED
<0–60>
(Factory preset settings: 30)
Used to adjust the WB in the HIGH level R component.
*1
WB-HIGH GREEN
Used to adjust the WB in the HIGH level G component.
*1
WB-HIGH BLUE
Used to adjust the WB in the HIGH level B component.
*1
WB-LOW RED
Used to adjust the WB in the LOW level R component.
*1
WB-LOW GREEN
Used to adjust the WB in the LOW level G component.
*1
WB-LOW BLUE
Used to adjust the WB in the LOW level B component.
*1
RESET
This returns the “WB-HIGH RED” – ”WB-LOW BLUE”
settings to the factory presets.
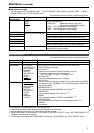
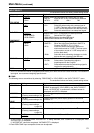
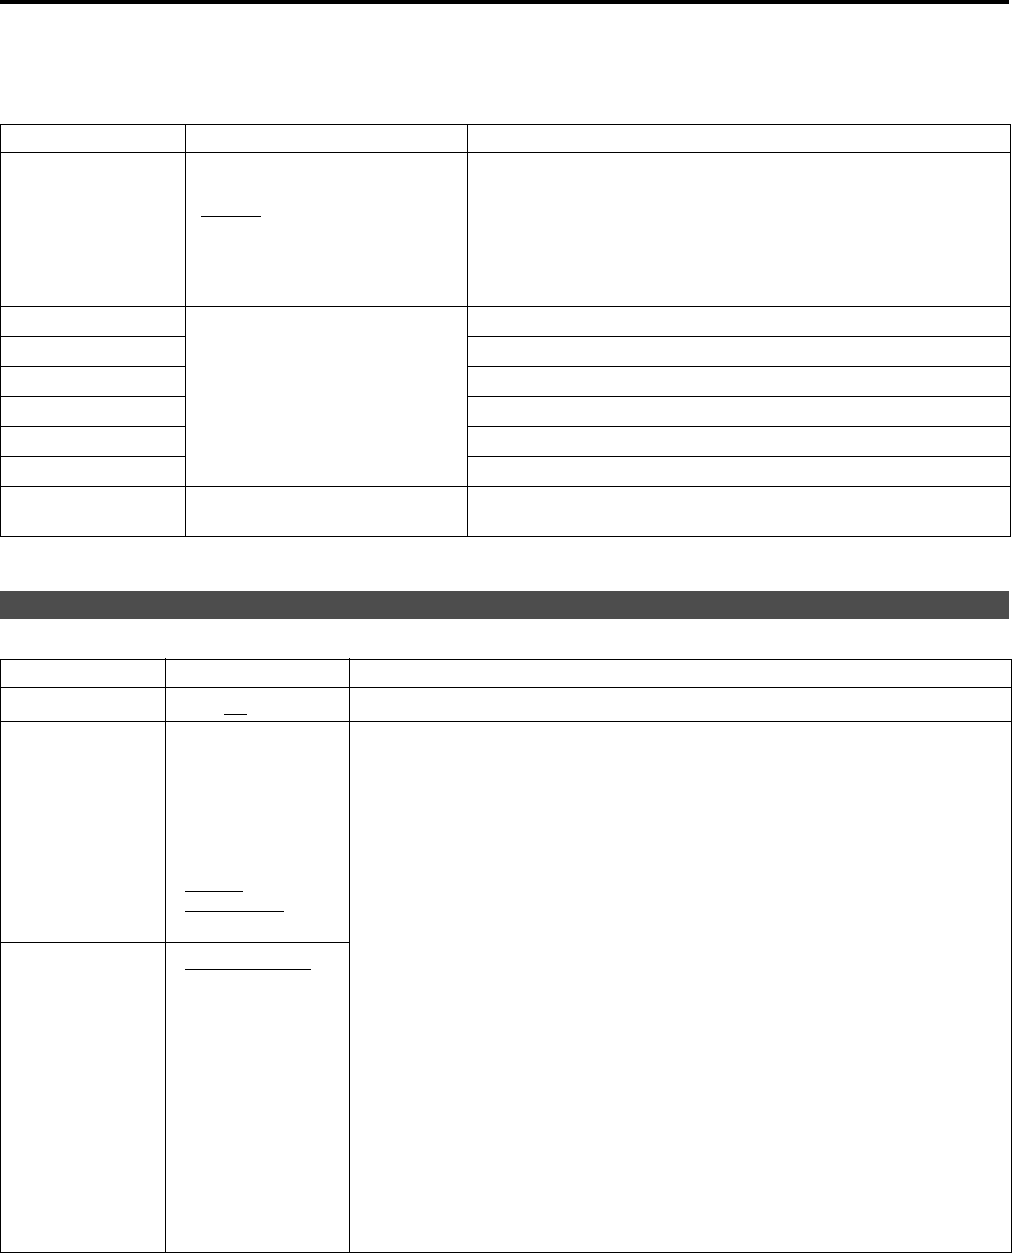
SYSTEM CONFIG
Sub menu Settings Explanation
BACKLIGHT
< 0–60
> Used to adjust the brightness of the liquid crystal backlight.
FUNCTION1
<HV DELAY>
<AUTOSETUP>
<BLUE ONLY>
<GAMMA
SELECT>
<SD ASPECT>
<SCAN>
<SUB
WINDOW>
<UNDEF>
Used to select the functions assigned to [FUNCTION1] and
[FUNCTION2] (front buttons).
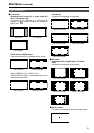
<HV DELAY>
*2
Displays the synchronizing signal (horizontal, vertical).
The display is switched in the following order.
OFF J H-Delay J V-Delay J HV-Delay J OFF
<AUTOSETUP>
*5
Used to automatically adjust the PC display.
<BLUE ONLY>
Used to cut the red and green signals. You can check the hue (PHASE)
and depth of color (CHROMA). This is switched between ON/OFF by
pushing the button.
<GAMMA SELECT>
You can switch between “NORMAL” and “FILM”.
*3*4
<SD ASPECT>
Used to switch between “16:9” and “4:3”.
*3*4
<SCAN>
You can switch between “UNDER” and “NORMAL”.
*3*4
<SUB WINDOW>
You can perform the settings for 2 screen display mode.
*3*4*6
<UNDEF>
No settings
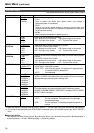
FUNCTION2
<HV DELAY>
<AUTOSETUP>
<BLUE ONLY>
<GAMMA
SELECT>
<SD ASPECT>
<SCAN>
<SUB
WINDOW>
<UNDEF>
Main Menu (continued)