


CQ-C5405U/C5305U
12
CQ-C5405U/C5305U
13
English
General, Sound Control
SQ Selection Based on Genre
SQ (Sound Quality)
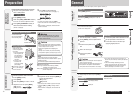
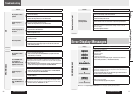
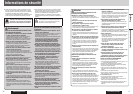
Source Selection
(SOURCE)
The source changes as follows every time [SOURCE]
is pressed.
AUX1 (AUX1 in) (3.5 mm stereo)
From line output of external sound/audio device (ex.
Silicon-audio player, HDD player, etc.)
General
Volume Off (down)
Press [MUTE].
Cancel
Press [MUTE] again.
Note: You can select mute or attenuation. ( page 23)
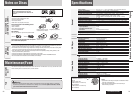
Up
Down
Setting Range: 0 to 40
Default: 18
Note: The volume level can be set independently for
each source. (For radio, one volume setting for AM, one
volume setting for all FMs)
Volume
Adjustment
(VOLUME)
Temporary Volume Off
(Down)
MUTE (ATT: Attenuation)
Sound Control
You have 6 preset modes (FLAT, ROCK, POP, VOCAL,
JAZZ, CLUB). You can customize your settings for these
and save them for instant recall.
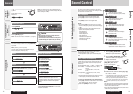
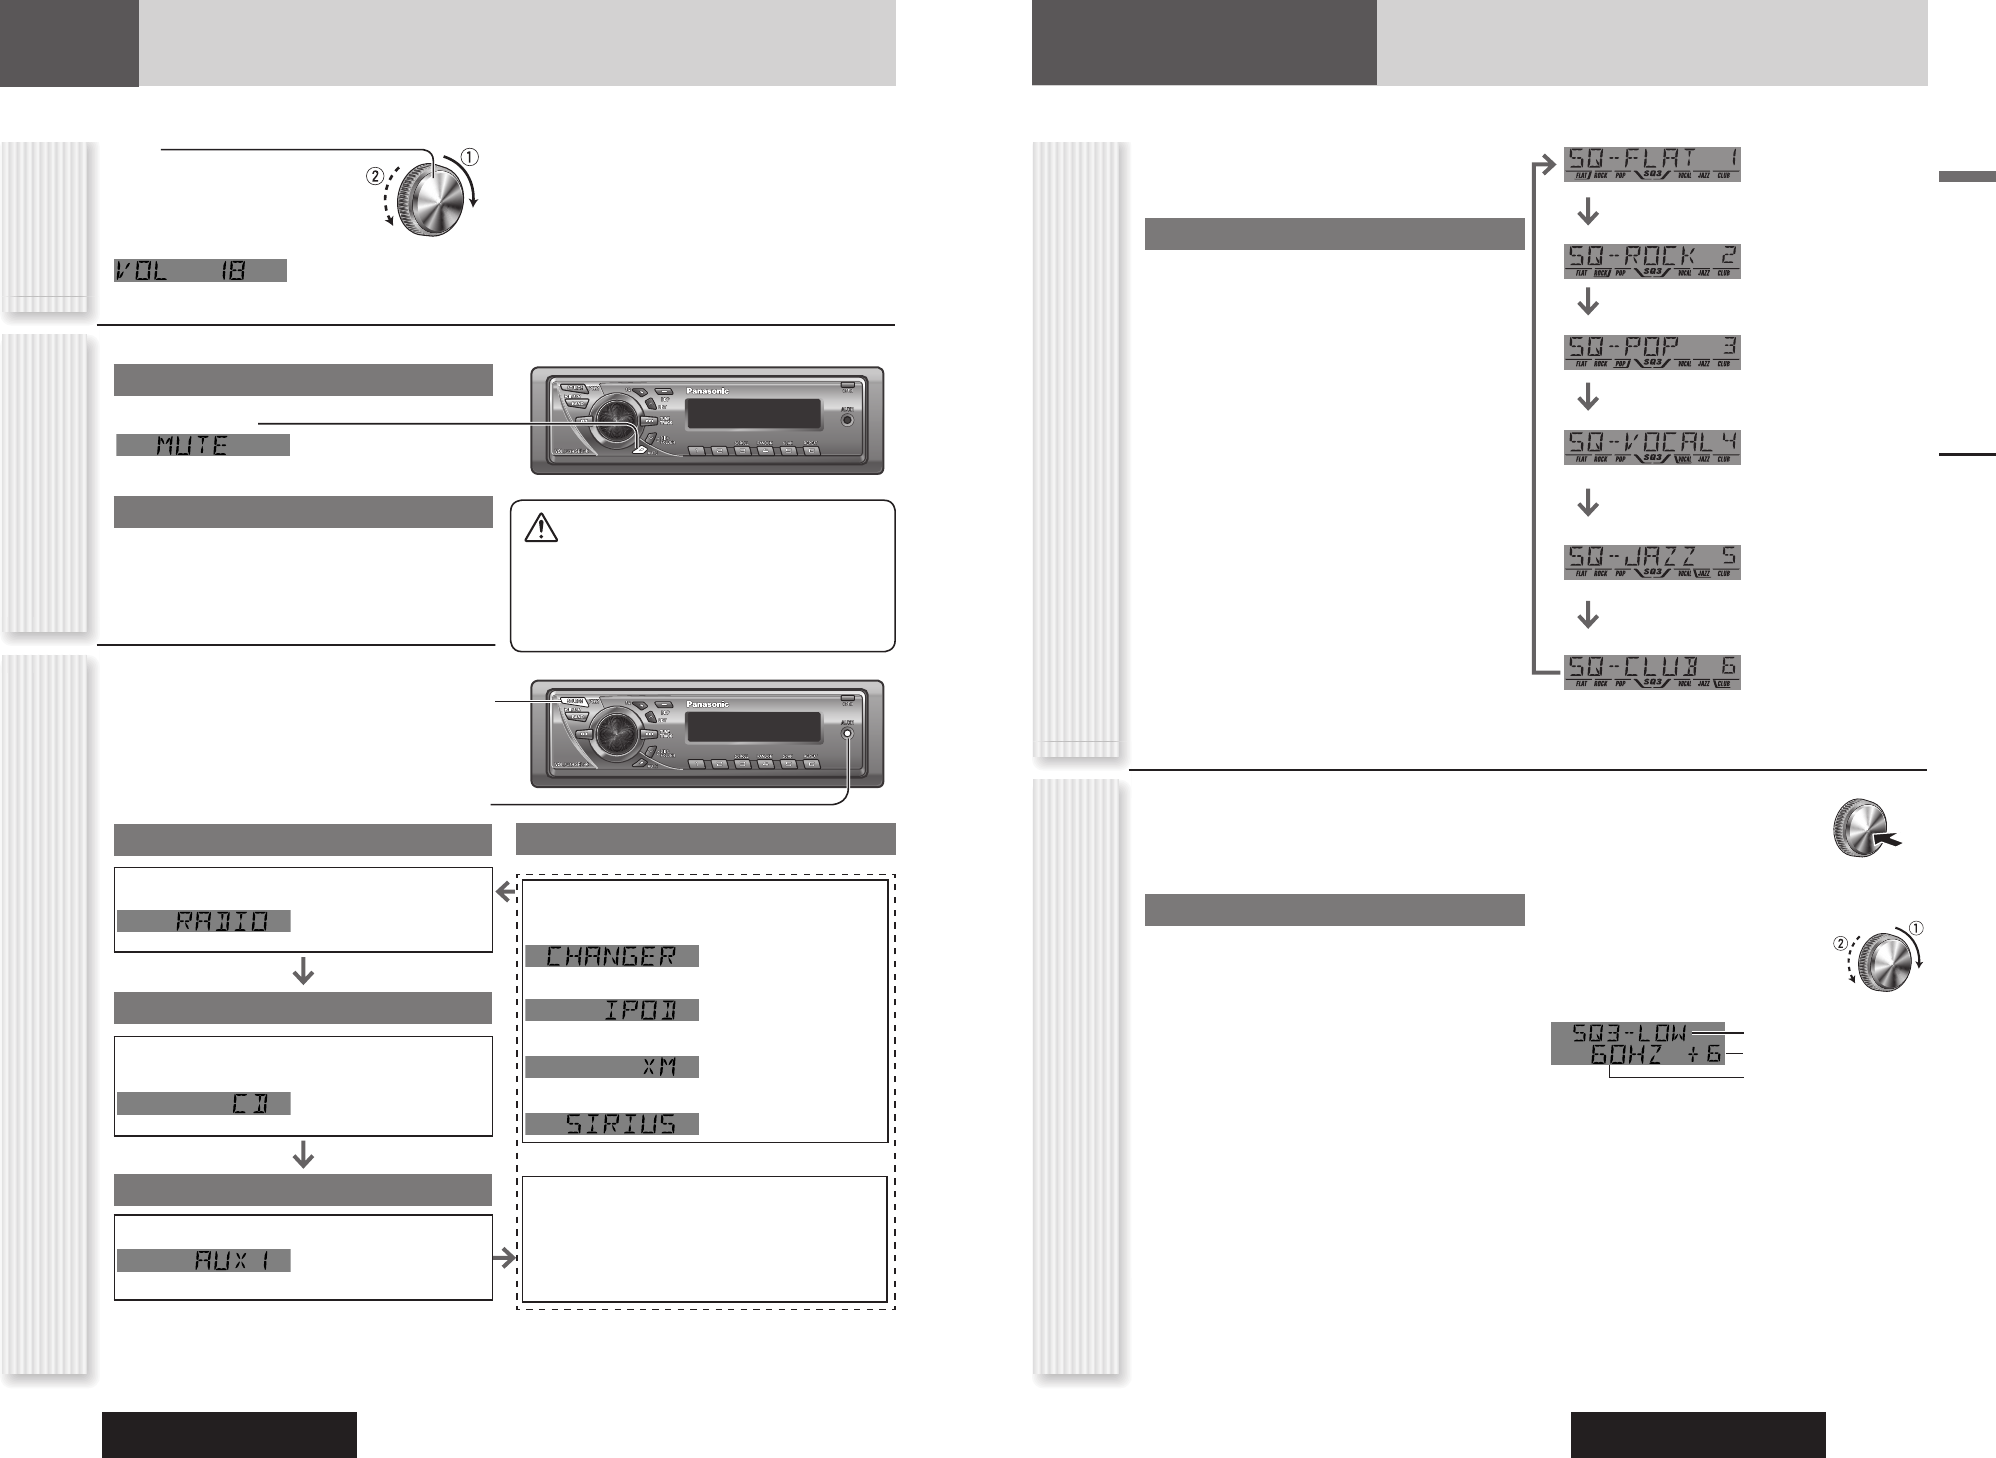
SQ Changeover
Press [SQ] to activate the SQ selection mode.
Press [SQ] to select the sound type as follows.
Press [DISP] to return to the regular mode.
Notes:
• After pressing [SQ] on the main unit, you can also
select a sound type by pressing the preset buttons [1]
to [6].
• Please refer to page 22 for the adjustment to each
speaker and an optional subwoofer.
· Bass adjustment
· Treble adjustment
· Balance adjustment
· Fader adjustment
· Subwoofer level adjustment
· Subwoofer low pass fi lter
· Re-master setting
SQ Adjustment
You can adjust the characteristics of the currently
selected sound type (SQ). (
above)
It is also possible to preset up to 5 different adjusted
SQs.
SQ3 (3-Band Sound Quality)
Center frequency and level are adjustable in each of
3 bands. This lets you fi ne-tune sound quality for each
genre to suit car-interior acoustics and your personal
preferences.
Tone/SQ adjustable range: 12 dB to 12 dB (by 2 dB)
SQ Low/Bass: ±12 dB (at 60 Hz, 80 Hz, 100 Hz,
200 Hz)
SQ Mid: ±12 dB (at 500 Hz, 1 kHz, 2 kHz,
3 kHz)
SQ High/Treble: ±12 dB (at 8 kHz, 10 kHz, 12 kHz,
15 kHz)
• The bass/treble control level of each frequency is fi xed
to the frequency that has been selected for SQ.
To return an adjusted SQ to the default setting
Press [SQ], and select the SQ which is to be returned
to the default setting. (Only for main unit)
Hold down [BAND] for 2 sec. or more.
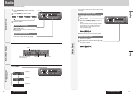
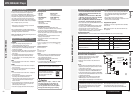
1 Press [VOL] (PUSH SEL:
Select) to open the menu.
2 Press [VOL] (PUSH SEL: Select) to
select a mode to be adjusted.
3 Adjust each band.
/: center frequency up/down
[] []: Band selection
[] []: Level up/down
Band
Level
Frequency
4 Hold down the numeric button [2] to [6]
for 2 sec. or more.
•
The adjusted SQ is preset in the number of the selected
button, and return to the regular mode resumes.
•
When you suspend the SQ preset adjustment, each level
remains your recent adjustment until a new SQ presetting
operation is performed or you call up the SQ preset.
Notes:
• You cannot save any SQ presetting value in [1] button.
• Any SQ adjustments will not change the call up screen
names such as ROCK and JAZZ.
• Do not activate SQ and Bass/Treble at the same time to
avoid causing sound distortion.
(FLAT) fl at frequency response:
does not emphasize any part. (Default)
(ROCK) speedy and heavy sound:
exaggerates bass and treble.
(POP) wide-ranged and deep sound:
slightly emphasizes bass and treble.
(VOCAL) clear sound:
emphasizes middle tone and slightly
emphasizes treble.
(JAZZ) jazz-specifi c deep sound:
sound with emphasis on sharpness of high-
hat and echo saxophone.
(CLUB) club and disco-specifi c sound:
reproduction of realism being in a club.
Caution
• Set the volume level to low enough before the
AUX connection is completed.
Failure to observe this, the loud noise may come
out and damage your speakers and your hearing.
Radio
FM1, FM2, FM3, AM ( page 14)
Player
When loading CD ( page 16)
When loading MP3/WMA/AAC disc (
page 18)
AUX1
Device connected to the AUX1 terminal of this unit
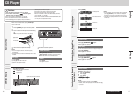
When an optional device is connected:
Shift to connected device
When connecting CD changer
When connecting iPod
When connecting XM Receiver
When connecting Sirius Receiver
OR
When an expansion module is connected:
The devices connected to the ports 1 to 4 are
activated in sequence after shifting to AUX2 (device
connected to the AUX terminal of the expansion
module).
Note: For information about connectable devices, refer
to the System Upgrade Guidebook or the instruction
manual for each device.
System-up Connector