


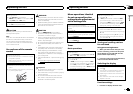

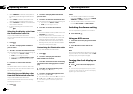
Part Operation
h a/b
Press torecall preset stations.
Press toselect the next/pre-
vious folder.
i AUDIO
Press toselect an audiofunc-
tion.
j DISP/SCRL
Press toselect different dis-
plays.
Press andhold to turndimmer
on or off.
k e
Press topause or resumeplay-
back.
l
FUNC-
TION
Press toselect functions.
m
LIST/
ENTER
Press todisplay the disctitle,
track title, folder,or file list de-
pending onthe source.
Press todisplay the listde-
pending onthe source.
While inthe operating menu,
press tocontrol functions.
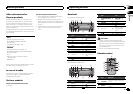
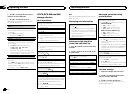
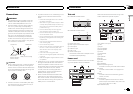
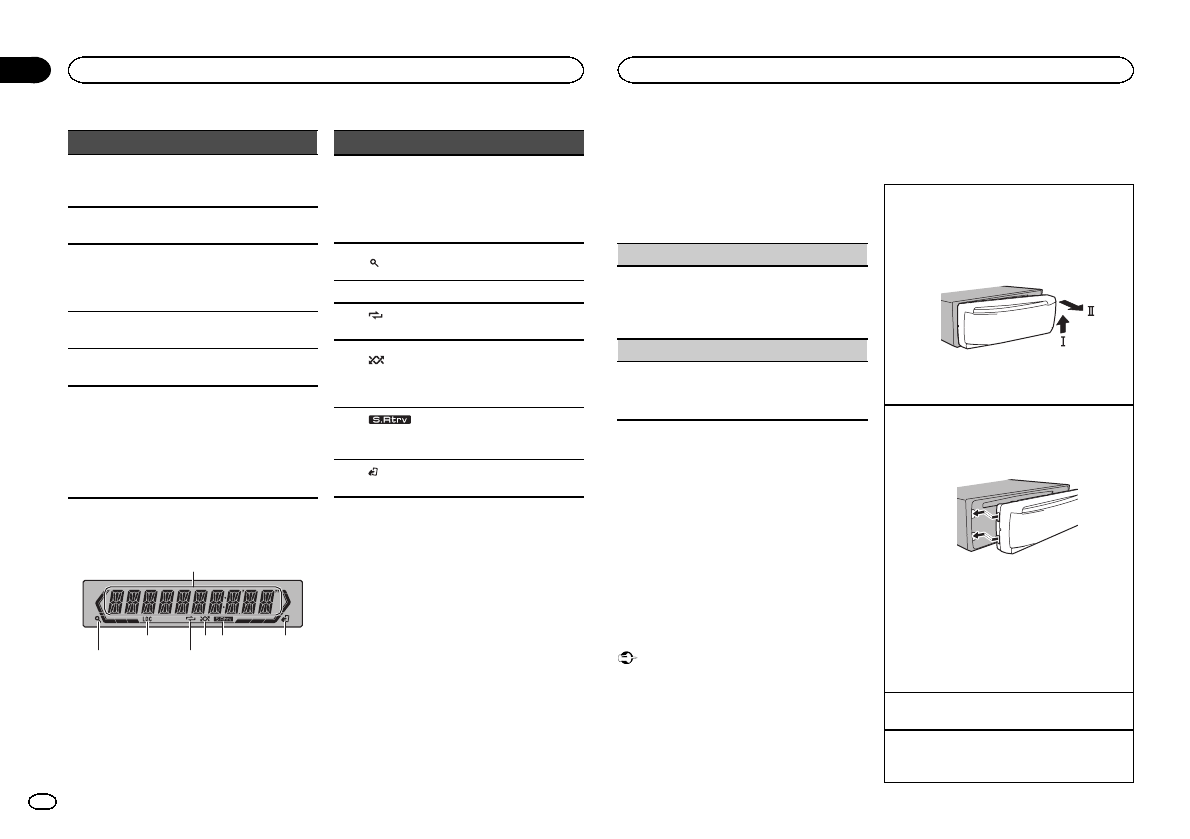
Display indication
1
65 73
2 4
Indicator State
1
Main dis-
play sec-
tion
! Tuner: bandand frequency
! Built-in CD,USB storage
device and iPod: elapsed
playback time andtext in-
formation
2
(list)
The list functionis being oper-
ated.
3 LOC Localseek tuning ison.
4
(re-
peat)
Track or folderrepeat is on.
5
(ran-
dom/shuf-
fle)
Random playis on.
The iPod source isselected
and theshuffle or shuffle all
function is on.
6
(sound re-
triever)
The sound retriever functionis
on.
7
(iPod
control)
This unit’s iPod functionis op-
erated fromyour iPod.
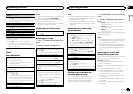
Set up menu
When you turn the ignition switchto ON after in-
stallation, set up menu appears on the display.
You can set up the menu options below.
1 After installation of this unit, turn the
ignition switch to ON.
SET UP appears.
2 Turn M.C. to switch to YES. Press M.C. to
select.
# If you donot operate for 30seconds,the setup
menu willnot be displayed.
# If you prefernot to setup at this time,turn M.C.
to switchto NO. Press to select.
If you selectNO, youcannot set up inthe set up
menu.
3 Perform the following proceduresto set
the menu.
To proceed to the next menuoption, you need to
confirm your selection.
CLOCK SET(setting the clock)
1 TurnM.C. to adjust hour.
2 Press M.C. toselect minute.
3 TurnM.C. to adjust minute.
4 Press M.C. toconfirm the selection.
DEMO (demo displaysetting)
1 TurnM.C. to set thedemo display toon or off.
2 Press M.C. toconfirm the selection.
QUITappears.
4 To finish your settings,turn M.C. to select
YES. Press to select.
# If you preferto change your settingagain, turn
M.C. to switchto NO.Press toselect.
Notes
! You can set up the menu options in the initial
settings. For details aboutthe settings, refer
to Initial settings on page 9.
! You can cancel set up menu by pressing
SRC/OFF.
Basic operations
Important
! Handle gently when removing or attaching
the front panel.
! Avoid subjecting the front panel to excessive
shock.
! Keep the front panel out of direct sunlight
and high temperatures.
! To avoid damaging the device or vehicle inte-
rior, remove any cables anddevices attached
to the front panel before detaching it.
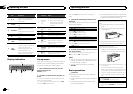
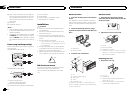
Removing thefront panel toprotect your unit from
theft
1 Press the detachbutton to releasethe front
panel.
2 Push the frontpanel upward (M)and then pull
it toward(N) you.
3 Always keep the detachedfront panel ina pro-
tection devicesuch as a protectioncase.
Re-attaching thefront panel
1 Slide the front panelto the left.
Make sureto insert the tabson the left sideof
the headunit into the slotson the front panel.
2 Press the rightside of the frontpanel until itis
firmly seated.
If you cannotattach the frontpanel to the
head unitsuccessfully, makesure that you are
placing thefront panel onto thehead unit cor-
rectly.Forcing thefront panel into placemay
result indamage to the frontpanel or head
unit.
Turning theunit on
1 Press SRC/OFF toturn the uniton.
Turning theunit off
1 Press and holdSRC/OFF untilthe unit turns
off.
Operating this unit
4
Section
Operating this unit
En
02