


Initial Settings
Adjusting initial settings
Using the initial settings, you can customize
various system settings to achieve optimal per-
formance from this unit.
1
1
1
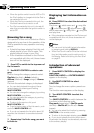
1 Function display
Shows the function status.
1 Press SOURCE and hold until the unit
turns off.
2 Press MULTI-CONTROL and hold until
Language select appears in the display.
# You can also perform this operation by press-
ing and holding FUNCTION on the remote con-
trol.
3 Turn MULTI-CONTROL to select one of
the initial settings.
Turn MULTI-CONTROL to switch between the
functions in the following order:
Language select (language selection)— Clock
(clock)—FM step (FM tuning step)—AM step
(AM tuning step)—Warning tone (warning
tone)—AUX1 (auxiliary input 1)—AUX2 (aux-
iliary input 2)—Dimmer (dimmer)—
Brightness (brightness)—S/W control (rear
output and subwoofer controller)—Mute
(sound muting/attenuation)—Demonstration
(feature demo)—Reverse mode (reverse
mode)—Ever-scroll (ever scroll)—BT AUDIO
(Bluetooth audio)—Pin code input (pin code
input)
Use the following instructions to operate each
particular setting.
# You can also select the function by pressing
FUNCTION on the remote control.
# BTAUDIO and Pin code input can be se-
lected only when Bluetooth adapter (e.g., CD-
BTB100) is connected to this unit.
# To cancel initial settings, press BAND.
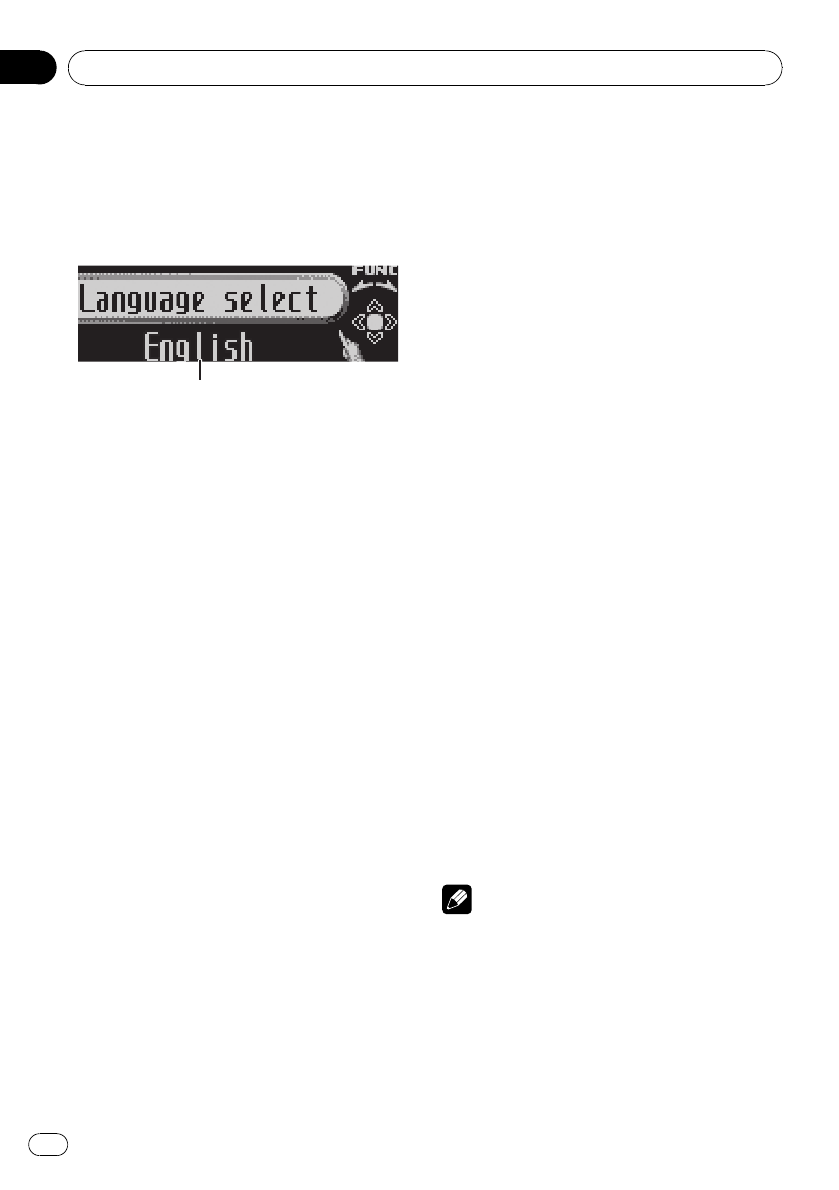
Selecting the display language
For your convenience, this unit equips multi-
ple language display. You can select the lan-
guage best suited to your first language.
1 Use MULTI-CONTROL to select
Language select.
2 Press MULTI-CONTROL to select the lan-
guage.
Each press of MULTI-CONTROL selects lan-
guages in the following order:
English—Español—Português
Setting the clock
Use these instructions to set the clock.
1 Use MULTI-CONTROL to select Clock.
2 Push MULTI-CONTROL left or right to
select the segment of the clock display you
wish to set.
Pushing MULTI-CONTROL left or right will se-
lect one segment of the clock display:
Hour—Minute
As you select segments of the clock display
the segment selected will blink.
3 Push MULTI-CONTROL up or down to
put a clock right.
Note
You can match the clock to a time signal by
pressing MULTI-CONTROL.
! If the minute is 00 to 29, the minutes are
rounded down. (e.g., 10:18 becomes 10:00.)
! If the minute is 30 to 59, the minutes are
rounded up. (e.g., 10:36 becomes 11:00.)
Operating this unit
En
24
Section
02