


13
3
3
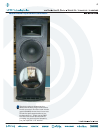
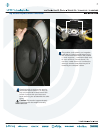
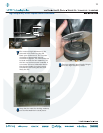
The horn assembly is shown above with
the high frequency driver circled. Four
screws need to be removed from the
driver using the 3mm allen wrench.
4
4
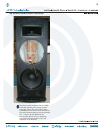
Keep the four screws in a safe place.
5
5
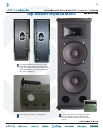
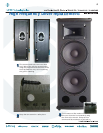
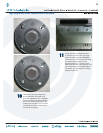
The diaphragm and plate adapter are
easily removed from the horn assembly.
Notice the terminal locations in relation
to the indents of the high frequency
driver (circled above).
Diaphragm replacement:
2
2
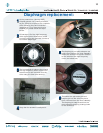
Follow steps 1-5 of the high frequency
driver replacement instructions, as the
horn will need to be removed in order to
access the diaphragm.
1
1
At the present time (January 2007),
diaphragms are not currently available,
so you will have to replace the complete
driver following the previous section
(pages 9-12). If you have received a
diaphragm, please follow the steps
below.
1
1
2
2
3
3
4
4
6
6
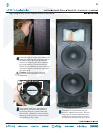
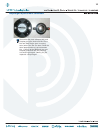
This is what the plate adapter and
diaphragm look like after they have
been removed from the horn assembly.
The diaphragm is separated from the
plate adapter simply by pushing down
on the terminals.