


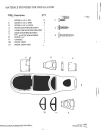

I. PREPARATION OF VEHICLE INTERIOR
.""4.'
..
~
({
~
$
"'
~
*
;t
~
,;
,J:
if.
,
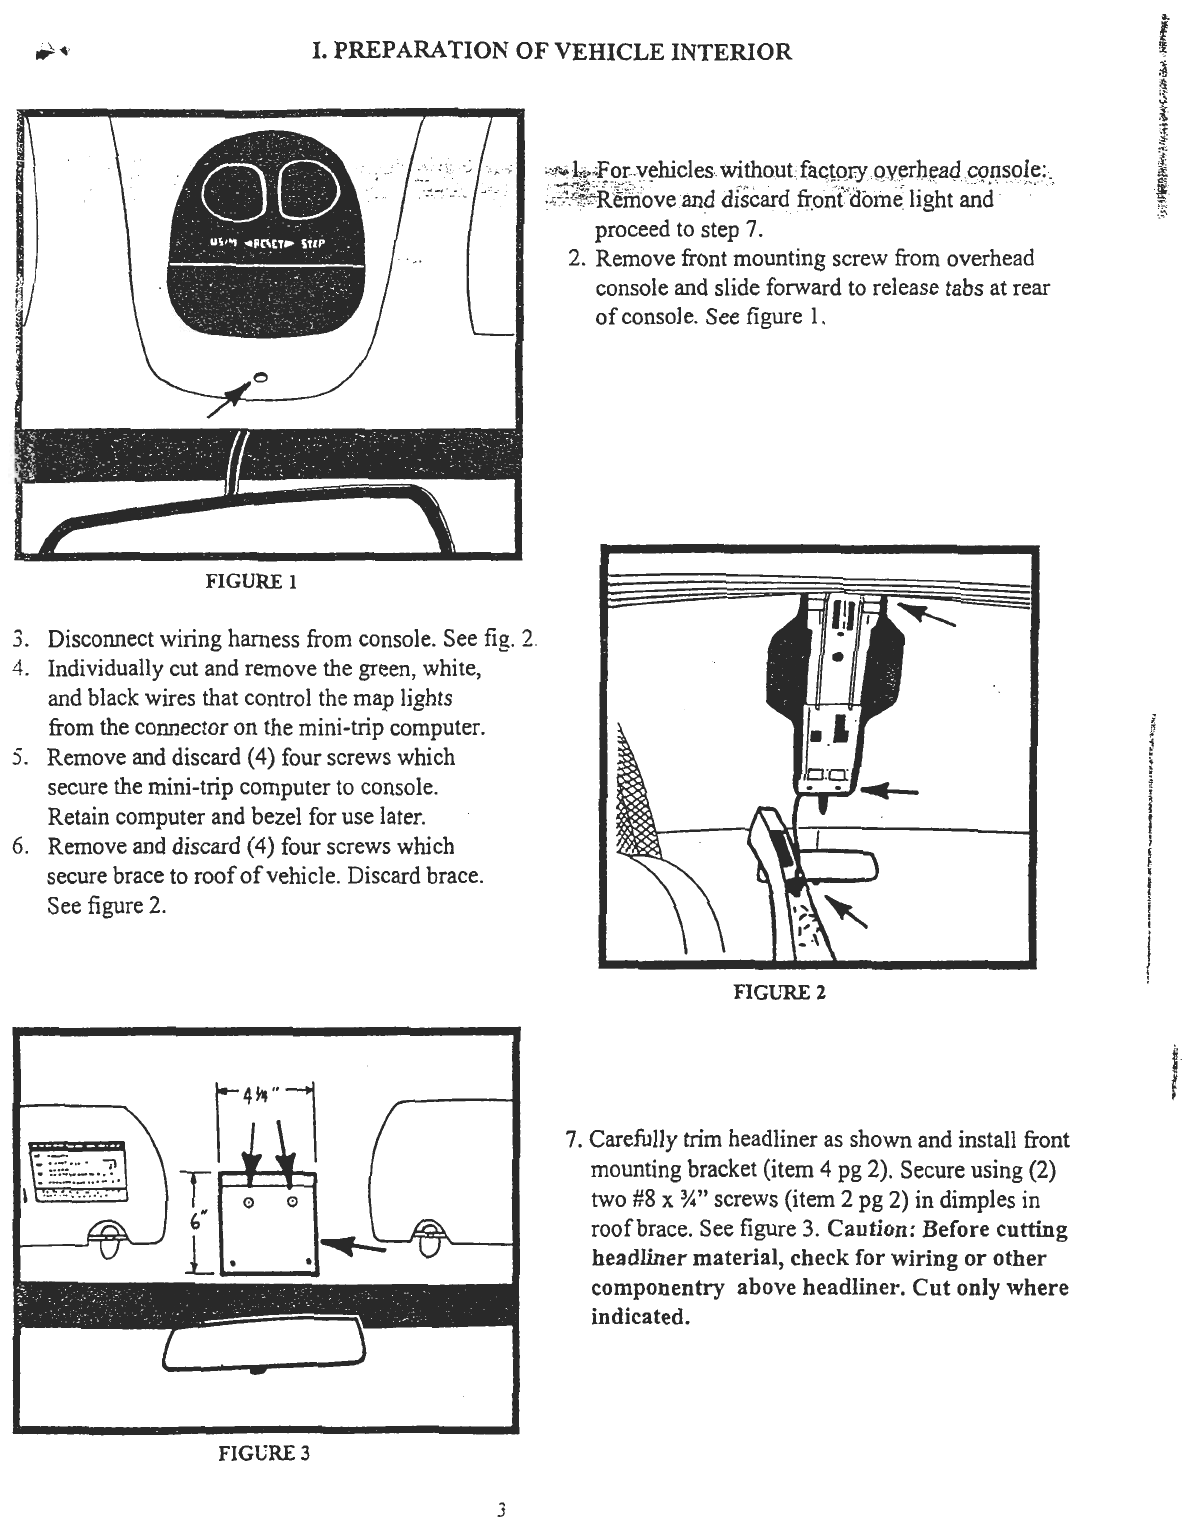
,;;::.:!~emoveand discard fr.on(dOln~ light and
proceed to step 7.
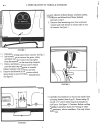
2. Remove front mounting screw from overhead
console and slide forward to release tabs at rear
of console. See figure 1.
I
0
/
/
FIGURE 1
3. Disconnect wiring harness from console. See fig. 2
4. Individually cut and remove the green, white,
and black wires that control the map lights
from the connector on the mini-trip computer.
5. Remove and discard (4) four screws which
secure the mini-trip computer to console.
Retain computer and bezel for use later.
6. Remove and discard (4) four screws which
secure brace to roof of vehicle. Discard brace.
See figure 2.
.
.
,
~
~
2
.
.
t
I
~
~
f
f
i
I
[
I
!
~
-
-\:
FIGLTRE 2
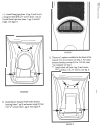
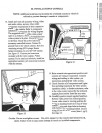
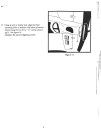
7. Carefully trim headliner as shown and install front
mounting bracket (item 4 pg 2). Secure using (2)
two #8 x ~" screws (item 2 pg 2) in dimples in
roof brace. See figure 3. Caution: Before cutting
headliner material, check for wiring or other
componentry above headliner. Cut only where
indicated.
~
~
v
FIGURE 3
3