4
absolute fidelity
build crates strong enough to transport these loudspeakers without
damage.
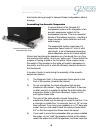
Assembling the Acoustic Suspension
A unique feature of the Genesis 2.2
loudspeaker system is the integration of an
acoustic suspension system for the
loudspeaker columns. This is an essential
feature of the cabinet structure – resulting in
lower coloration, better definition and rock-
solid imaging.
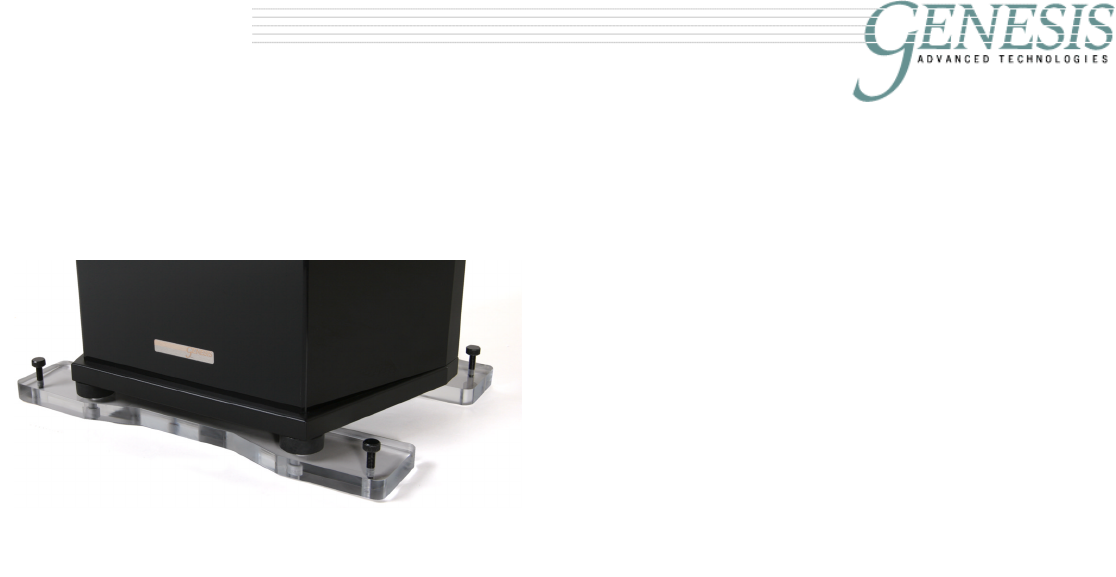
The suspension system comprises of a
suspension frame made of 1-inch of solid
cast acrylic, a set of Neoprene decoupling
shock absorbers, and a set of steel spikes.
Should you be placing the speakers on a hardwood floor or a floor
that would scratch easily, do not use “spike cups”. These defeat the
purpose of having a spike in the first place! Use a copper penny –
the weight of the speaker on the spike will create a depression in
the penny, and this point is what will efficiently transfer vibration to
the floorboards.
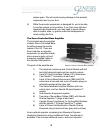
A couple of points to note during the assembly of the acoustic
suspension system:
1) The triangular “hole” in the suspension frame points to the
front of the speaker (towards the listener).
2) Do not over tighten the shock absorbers that are pre-
installed on the cabinet – finger tight is sufficient. A hex-key
(or allen wrench) is supplied to tighten the bolts holding the
suspension frame to the shock absorbers. Again, do not
over tighten these bolts.
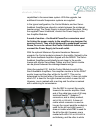
3) The point of the spike should protrude through the
suspension frame only far enough to couple to the floor. If on
a concrete or marble floor, for example, 5mm or 1/5” is more
than sufficient. If you have your speakers on a 1/2" deep pile
carpet, then you will need to have the spike protrude about
3/4" so that the suspension frame clears the carpet.
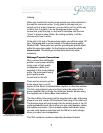
4) If you need to move the loudspeaker after you have installed
the spikes, do not “walk” the speaker cabinet on the spikes –
retract the spikes first, shift the speakers, and then lower the
Acoustic Suspension under the
midrange/tweeter wings


